
EZ Mono (XXL)
Price range: £20.00 through £30.00
A sterile mushroom grow kit which supports almost any mushroom species. Beginner-friendly.
Not included: you will need a gourmet spore syringe for this kit (we do not currently have any in stock).
- 1-7 working day dispatch. Order and pay before 1pm Monday to Thursday.
EZ Mono (Complete grow kit without spores)
Simpler to use. Harder to contaminate. Faster to fruit than the MonoBox.
What makes this different to the MonoBox Grow Kit:
1. Our latest EZ Coir substrate doesn't need to be sterilised or pasteurised - you simply add water and its immediately ready to mix with your spawn.
2. There is no separate colonising stage after mixing the substrate with the colonised spawn, you go straight to fruiting stage. Meaning you are also null and voiding the need for the MonoBox with it's special filters all together - dropping our price by close to a tenner in the process!
Is this new grow kit a big deal? Yes. It allows us to drop our prices and for you to grow in any container you want, faster and easier than ever.
What's included
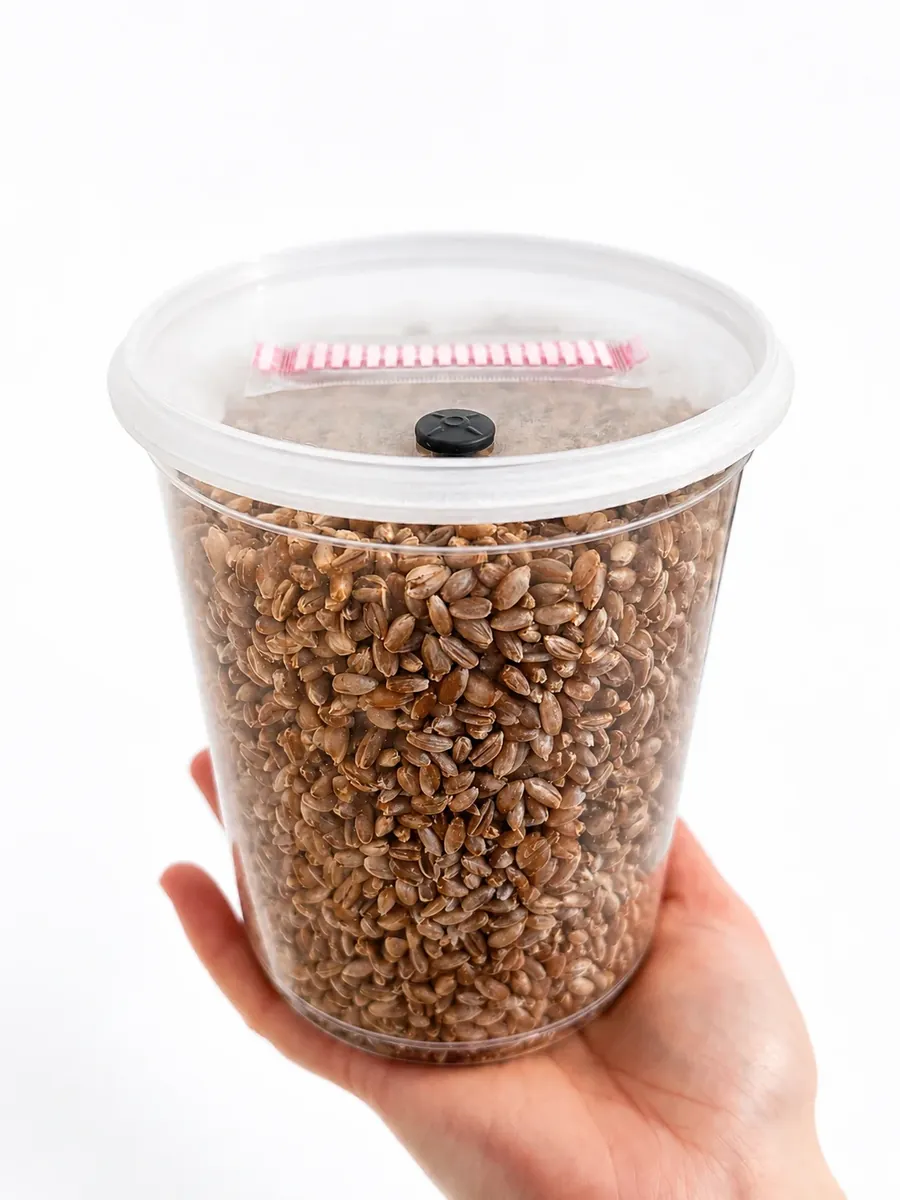
- 1L Sterile Rye SpawnTub (Filtered, Injectable)
- EZ-Coir Substrate (Just add water. Done.)
- Grow Tent with FAE Filter
- 3L Perlite (for growing in your own containers inside the tent)
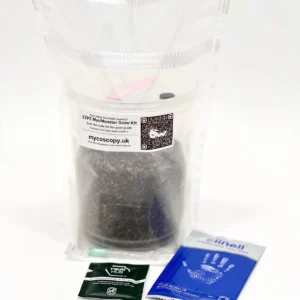
- 1 x 70% IPA / 2% Chlorhexidine wipe
Not included
- 3ml BYOS (Bring Your Own Spores)
- Sterile gloves, facemask, handwipes - you don't need any of them.
Technically, you also don't need the alcohol wipe but we include it in case grubby fingers touch the injection port prior to injecting!
How easy?
Growing mushrooms is easy. Your only challenge is injecting the SpawnTub without contaminating it, and that's why we make sure it's ultra clean for you. We sterilise all SpawnTubs in an electric autoclave before unpacking them in ISO4-filtered air. Our products are as clean as they can get. Now it's just down to you, your syringe and mother nature. After that part, you are almost certain to get mushrooms with this kit.
But what if something goes wrong?
Get in touch with us and we'll help you.
What's the full process
Injecting SpawnTub
Our SpawnTubs are sterile tubs containing 1000mL of Rye Grain. We package these SpawnTubs into special clean bags so that you can open them and know that the entire surface of the tub is clean - there's no dust, no bacteria. The injection port on top doesn't technically need to be cleaned before you inject it with your gourmet spore syringe or lc syringe - but we include the gear to do it.
You will want to inject 2-3ml of a standard syringe, do not go over this amount as you don't want water pooling - the less water you add, the better but the less gourmet spores you use the slower colonisation will be.
We find it best to inject around the sides of the tub, with a little in the middle. This helps to see mycelium faster - because we are impatient people!
Put the bag it came in over the top of it, that will allow the mycelium to breathe at the same time as keeping it clean.
If you're wondering what the tape is around the SpawnTub, it's micropore and the main reason we use it is to protect the rim of the lid from being an easy place for contaminants to get in while you handle it. It also works as a good way to stop people trying to open the lid before it's colonised.
Now place the SpawnTub somewhere warm. In around a week or two, you will notice mycelium growing rapidly over the grains. Mycelium is beautiful. We used to tell customers to wait and then shake the spawn around to spread the mycelium around further, but with our newer larger SpawnTubs we now produce - we fill them to the top so you can't try that little trick anymore.
Don't use heat mats. They don't work for this hobby.
Preparing EZ-Coir Substrate
Coco coir is ground down coconut husk, and it turns out to be a fantastic substrate ingredient for mushrooms because not only will it hold lots of water but it's quite nutritious to mushrooms too.
Once your 1L SpawnTub has finished colonising with healthy white mushroom mycelium, add 850ml of bottled spring water to your EZ-Coir and it expands to 2L of substrate. There's no microwaving or pasteurising to do.
Field Consistency
This is one of the most annoying terms in mushroom cultivation, but it means when you take a hand full of substrate and squeeze it hard that you get a tiny short stream of water releasing. A more gentler squeeze can release a few droplets of water. We have calculated our substrate mix to take 850ml of bottled spring water, which will make it expand to around 2L in volume. Then it gets mixed with your 1000mL of colonised grain - combining to 3L of mixed substrate. If something goes wrong and our 850ml of water isn't enough or it seems too much, it's simple - to remove water just squeeze a handful at a time. Squeezed too much out? Well, pour a little back in - it's easy to get right.
Mixing Spawn and Substrate
At that point, pour your EZ-Coir into the grow tent, open your SpawnTub and pour the 1L worth of colonised grain over the coir and mix it around thoroughly so the colonised grains are very evenly spread around. If you'd rather, you can do this in containers of your own: then use the 3L of perlite first - pour it into the bottom of your grow tent, pour in 6 cups of water and mix it all around with your hand until the perlite is wet, then snip a small hole on the bottom corner of the tent, just big enough for excess water to drain out - and sit your containers on the damp perlite. Or skip the perlite and grow it all straight in the bottom of the tent.
Then it goes straight into fruiting - it isn't left sealed up to colonise. It's time to grow mushrooms!
Fruiting Tent
You do it all inside the grow tent. Some will want to use a dedicated fruiting chamber, but you don't need to do that... the tent is ideal.
Fold over the top of the tent - there are some paper clips included to help seal it. But don't totally seal it off, mycelium needs air to breathe! Leave a top corner open and put the FAE filter in that corner to both hold it open and to help keeping dust out and your humidity in.
Humidity
You are probably wondering how this kit gets the humidity your mushrooms need to fruit. Well, that's why we used coir. Coir stores a whole lot of water in it and that will be your humidity source. Soon, you will see plenty of water build up inside your bag. Misting 3-6 times a day and fanning is recommended for best results.
Pinning
Eventually you will see some interesting things happen on your colonised cake. And once you do, get the popcorn out because you get to watch those little knots double in size each day to become fully mature mushrooms in the space of 5-7 days.
Harvest
So you've had tonnes of fun watching these mushrooms and taking ten thousand photos of them growing up, but be careful because once you see the mushroom veils begin to be stretched open they are about to sporulate and make an absolute mess. It's fast. But, maybe you could make your very own spore prints?
Harvesting all of your mushrooms is fun, but you're not done yet. It's now time for round 2.
Dunking for Round 2
The first flush of mushrooms will have taken a lot of water out of your substrate. That's why we need to put as much back in as we can. And it's easy.
Water. Plate. Wait. Pour. In that order!
Pour fresh water into your grow bag until the cake is covered, and put a dinner plate or two on top to hold it under. After 6-24 hours it will have taken in as much water as it can hold. For fun, you could measure the water you pour out compared with how much you put in and work out how much the cake drank! It's really just a quick rinse at this point, pour that water away too, and the cake is ready to go again right there in the tent.
Then it's just repeating - using everything you've learned from the first round to improve the second round. Tuning ftw.
Round 3+
You can keep going, but eventually you'll likely run into green mould as the mycelium will become so weak. Harvests dwindle and dwindle until there's not much left anymore. It's up to you to decide how many rounds you want to go, we've had customers tell us they've got up to 7 flushes out of the EZ Mono GK before it gave up. Impressive, eh??
Step-by-step guide
EZ Mono GK
Step by step instructions for your EZ Mono GK, from inoculation to harvest.
5 steps
SpawnTub
SAC O2 Microbox O119/140, from Belgium
| Size | 1000 ml. Lid 119 mm across, base 90 mm, 140 mm tall. |
|---|---|
| Material | Clear, tough polypropylene, so you can watch the mycelium grow. The lid seals airtight. |
| Filter | White #10 filter in the lid: the lowest of SAC O2's three air-exchange grades, made for long incubation. |
| How the filter works | Randomly arranged fibres, working on the HEPA principle, trap mould spores, mites and thrips while air passes through. |
| Heat | Can be autoclaved at up to 123C. |
| Afterwards | Box and lid are 100% recyclable. |
Only logged in customers who have purchased this product may leave a review.
Reviews
There are no reviews yet.