What's in your kit
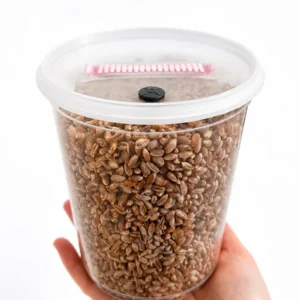
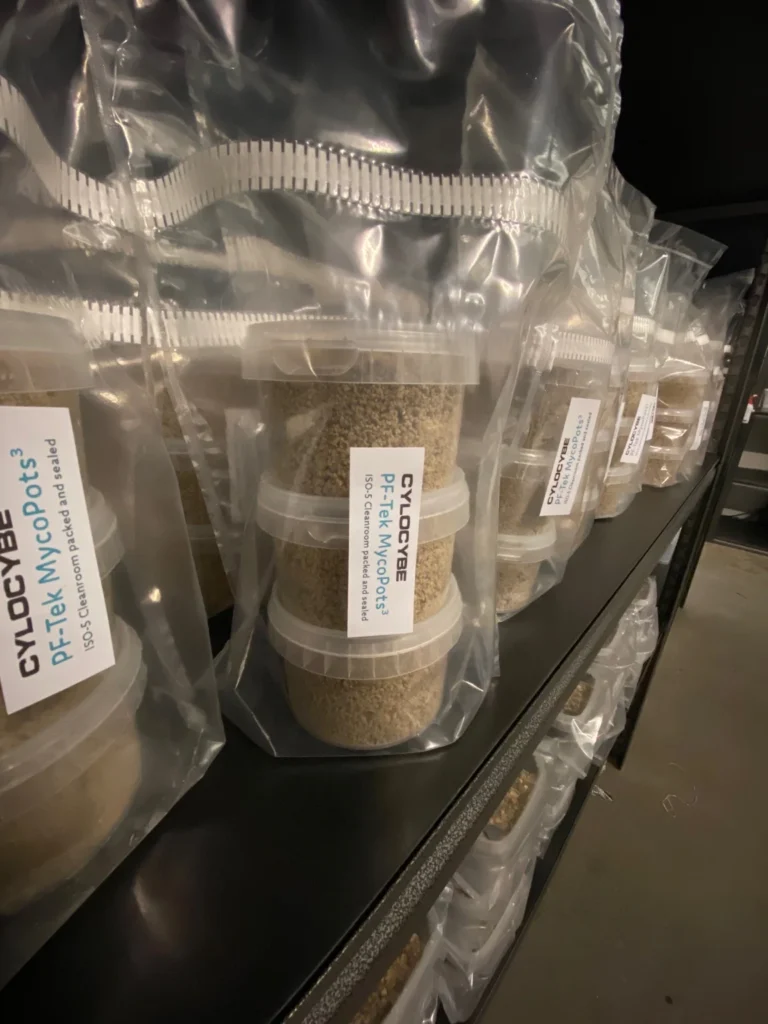
- 1L sterile rye SpawnTub (filtered, with an injection port)
- EZ-Coir substrate (expands to 2L of substrate by adding 850ml of bottled spring water)
- Grow Tent with FAE filter, and paper clips
- 1 x 70% IPA / 2% Chlorhexidine Wipe
You will also need
- 2-3ml of gourmet spore or culture syringe solution
- Kitchen foil
- A dinner plate or two (for dunking later on)
- A spray bottle for misting
- A clean scalpel or knife for harvesting
Step 1
Inoculation
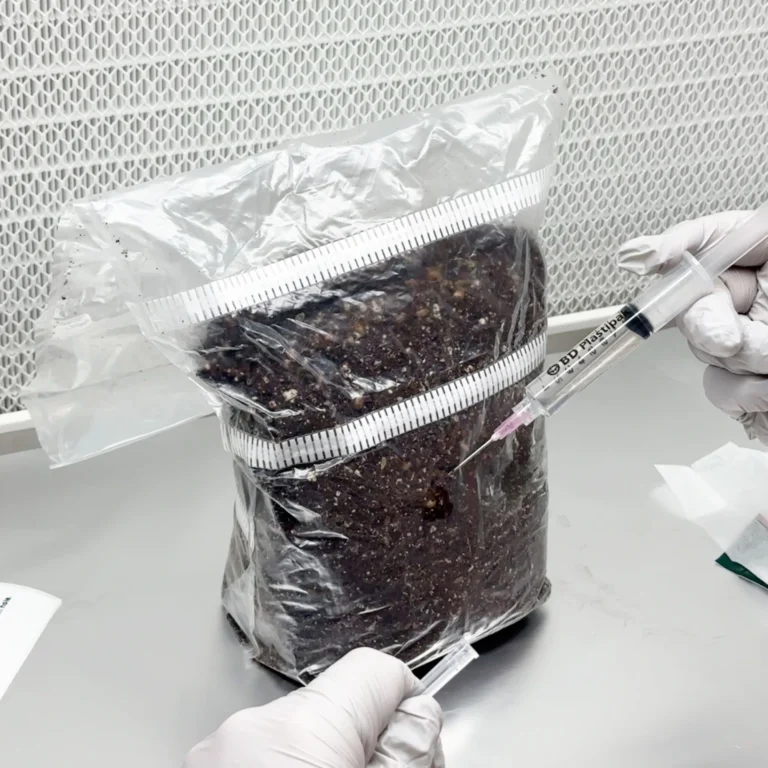
Prepare your chosen gourmet mushroom spore or culture syringe: make sure a sterile needle is screwed onto it.
Carefully take your SpawnTub out of its packaging. It's now exposed to the open air and potential contaminants.
Immediately inject 2-3ml of solution into the grain - do not go over this amount, as you don't want water pooling.
If you took too long to remove the SpawnTub from the bag or the injection port touched against anything, use a 70% IPA / 2% Chlorhexidine wipe to clean the grey rubber for 40-60 seconds, then inject it.
While injecting, we recommend aiming it towards the edge and moving it slowly around the full circumference of the SpawnTub as you push down on the syringe plunger to add the solution, with a little in the middle.
Distributing it evenly like this will speed up the colonisation time. It also makes the mycelium growth easier to see, as it starts on the visible edge of the SpawnTub rather than hiding in the centre of the grain where you can't.
Step 2
Colonisation of the grain
Now keep your SpawnTub somewhere clean and safe. Mycelium is living and needs to breathe, so don't ever store it in an airtight container - the filter strip in the lid provides the clean air exchange it needs. Put the bag it came in over the top of it - that will allow the mycelium to breathe at the same time as keeping it clean.
Temperature is extremely important for good colonisation. Too hot (above 26C) or too cold (below 18C) will very likely cause problems like contamination, or slow to no growth.
Aim for 23C (give or take a couple of degrees) if you can, and try to hold steady whatever temperature you're able to achieve - don't let it swing up and down too much.
Using a liquid culture, agar or grain-to-grain instead of spores? Aim for 26C - those are live mycelium, not spores.
Avoid heat mats, please! It's a very common mistake. They don't spread the warmth evenly, which can cause excessive condensation and water build-up - an easy pathway for contamination to enter your SpawnTub.
Consider building or buying an incubator if you're struggling to hold these temperatures - it's way cheaper than running your home heating constantly, and gives much better results.
At 23C (give or take a couple of degrees), it will generally take around 2-3 weeks for your SpawnTub to fully colonise - meaning the grains are completely covered in healthy, white mushroom mycelium. That said, it depends on a lot of factors, and nature can simply be unpredictable!
Even once it looks fully covered in mycelium, if you have the patience, give it an extra 3-7 days - this will almost guarantee full colonisation in the places you can't see.
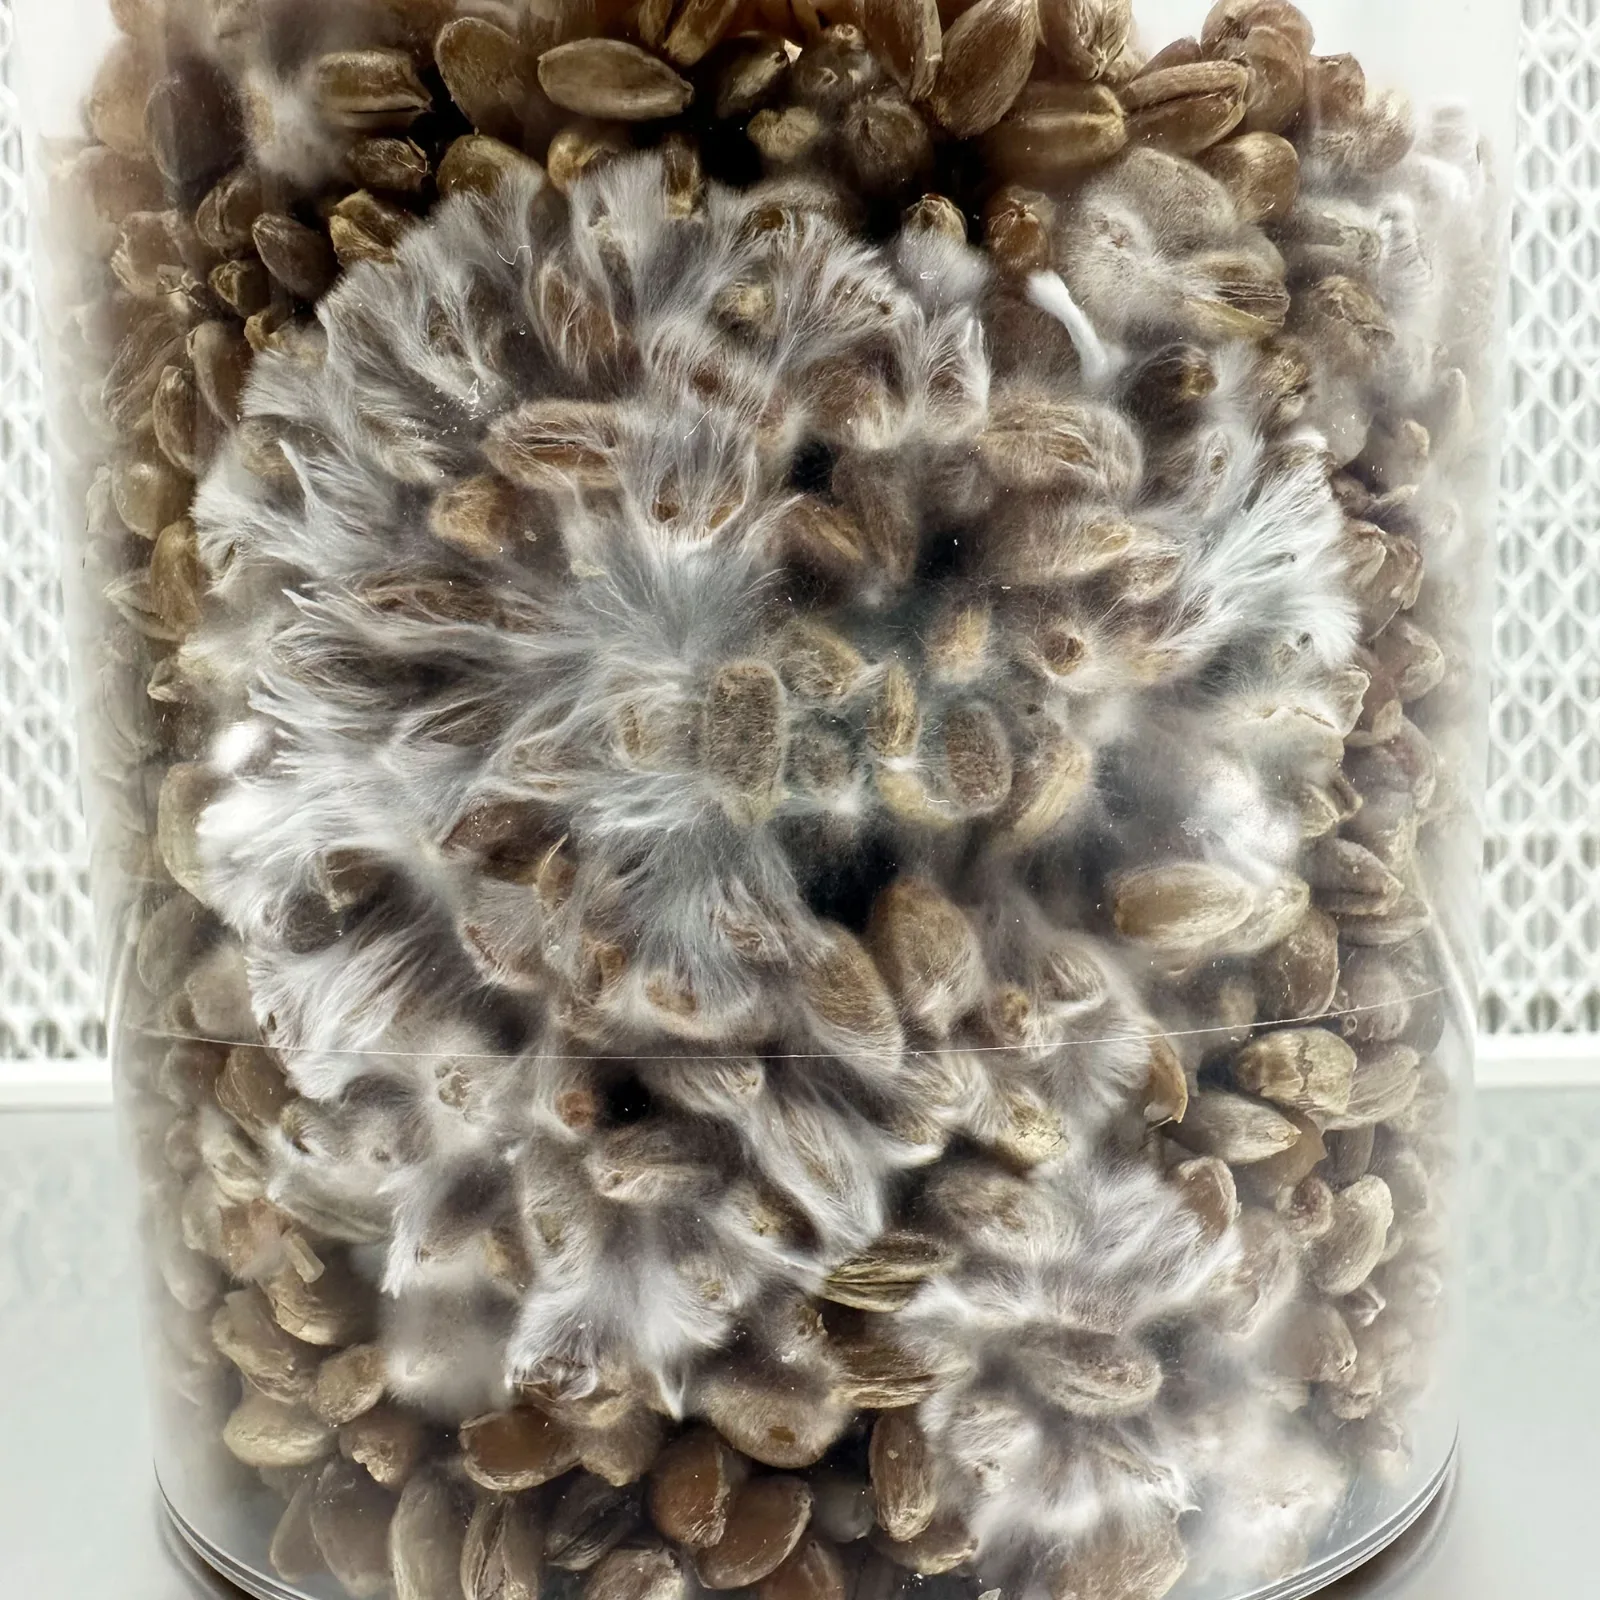 Open the photo full size
Step 3
Preparing the EZ-Coir
When you're confident you have full colonisation of the grain inside your SpawnTub, you can begin this step.
It's crucial that you don't open your SpawnTub before full colonisation, as you'll expose uncolonised grains to the open air and hugely risk contamination.
Add 850ml of bottled spring water to your EZ-Coir and it expands to 2L of substrate. There's no microwaving or pasteurising to do.
Now check it's at 'field capacity' (you'll also hear it called field consistency). This is one of the most annoying terms in mushroom cultivation, but it just means the coir is holding as much water as it can, with none to spare. Take a handful and squeeze it hard: you want a few drops, or at most a short trickle that stops straight away. If water keeps running out, it's too wet. If nothing comes out and it feels crumbly, it's too dry. If you're not sure, go slightly on the dry side - a little too dry is much easier to put right than too wet, and too wet invites bacteria and stunted mushrooms. We have calculated our substrate mix to take 850ml of water, but if something goes wrong and it isn't enough or it seems too much, it's simple - to remove water just squeeze a handful at a time. Squeezed too much out? Well, pour a little back in - it's easy to get right.
Now you're ready for the next step, where you'll mix everything together.
Step 4
Spawning to substrate
When your substrate is ready, first wash your hands and forearms thoroughly with soap and water.
Pour your prepared EZ-Coir into the bottom of your grow tent. Remove any micropore tape from around the edge of your SpawnTub, then open the lid and tip the colonised grain straight into the grow bag, on top of the substrate. It'll come out as a solid block that you'll need to break up - it can take a bit of force to get going, so be firm, but careful not to squish any grains.
Take your time breaking the spawn up into individual kernels and mixing them evenly through the substrate. Each kernel is an inoculation point, so the better you spread them, the faster and stronger your colonisation will be!
Once it's all well mixed, level it out in the bottom of the tent so the surface is flat and even, and push it down gently around the edges. No need to press hard.
If your home is very dry, take a small handful of the coir out before you add the spawn, then once everything is mixed and levelled, sprinkle it thinly over the top (3-6mm) so no grains show - it helps keep the surface moist.
If you'd rather, you can mix and level it in a container of your own and sit that in the tent instead - it works the same way.
Fold the top of the tent over, leaving a gap at one corner for top-FAE (Fresh Air Exchange), and tuck the FAE filter we give you into that gap. It holds the gap open, helps keep the humidity in and keeps flies and dust out. There are some paper clips included to help keep it folded - but don't totally seal it off, mycelium needs air to breathe!
That's it - it isn't left sealed up to colonise. It goes straight into fruiting from here: keep the tent somewhere warm with a little indirect light and carry on with the next step.
Step 5
The best bit... fruiting your mushrooms!
Maintaining a temperature of around 21C (give or take a couple of degrees) for this stage is crucial for best results.
Humidity and FAE (fresh air exchange) are extremely important for pinning and healthy mushroom development, as is temperature and light. They all need to work in harmony.
You are probably wondering how this kit gets the humidity your mushrooms need to fruit. Well, that's why we used coir. Coir stores a whole lot of water in it and that will be your humidity source - soon, you will see plenty of water build up inside your tent. The filtered gap at the corner of your tent allows for fresh air exchange.
Mist and fan: mist when the surface needs it, not by the clock. A healthy surface has fine beads of moisture on it; when they've gone and it starts to look dull or dry, open the tent, give the surface a fine mist of water (don't drench it), fan in some fresh air (a wave of your hand or a piece of card is plenty) and close it back up. Once pins appear, mist around them rather than straight onto them - water sitting on tiny pins can leave you with dented or blotchy caps. If you find yourself misting several times a day, the coir was probably made a little too dry - make it slightly wetter next time. After a dunk, wait at least 24 hours before you start misting again.
You don't need an electric fan - normal air movement in your home is enough. If the air in the room is very still, a fan on a low setting somewhere in the room (never pointed at the tent) can help, but it will dry things out faster.
Your mushrooms will need light to grow. Indirect sunlight is fine, but if you want to use grow lights - a 5000-6500K LED or fluorescent light a couple of feet away is recommended (it doesn't need to be pointed down from above, the light source can come from an angle).
If you notice the inside of your grow tent looking dry, there are a few things which can cause this. The fan is too close, or grow lights are too close and hot.
Observe what's happening and adjust your setup as required - fantastic results depend on it.
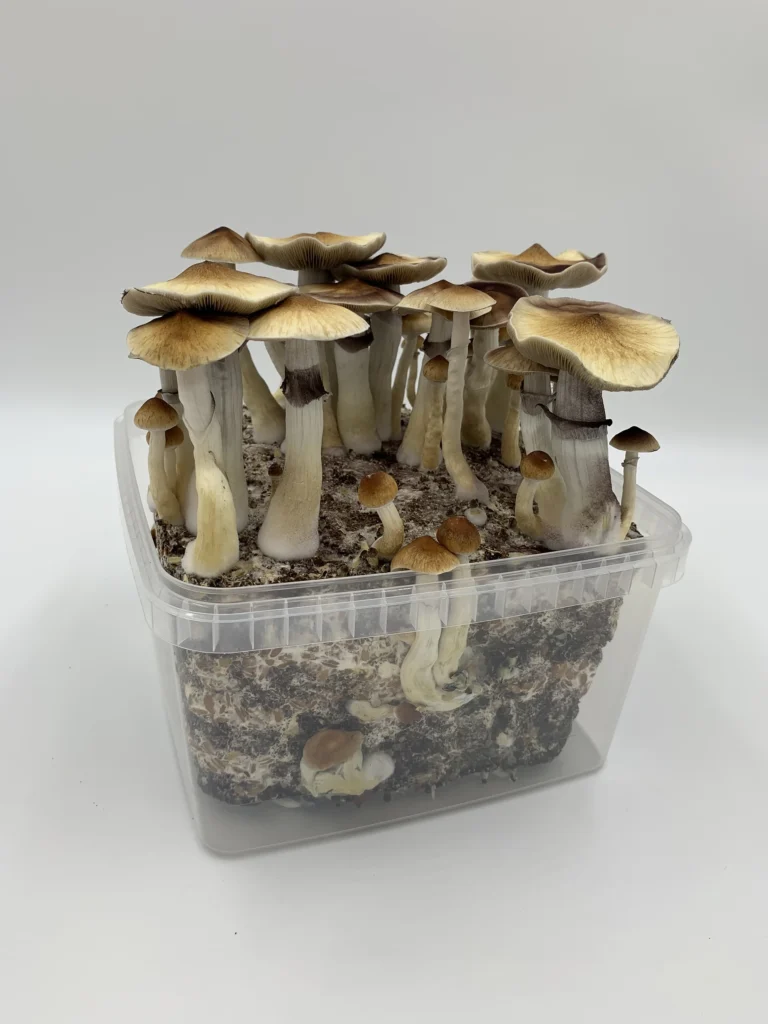
After around 3-7 days you'll begin to see lots of tiny white dots - these are hyphal knots which will develop into primordia, aka mushroom pins... the exciting part!
It should then only take 4-5 days for the pins to grow into fully mature mushrooms ready for harvest.
During this time, they'll let you know if something isn't quite right - fuzzy mycelium at the base of the mushrooms and/or thin stems are an indication that more FAE is needed so increasing the fan speed or opening the corner gap a little wider might be something to try.
Very dark caps on short, stubby mushrooms usually mean the coir was made a little too wet - go slightly drier next time.
Don't worry about any mushrooms growing around the sides and bottom of the cake, you'll still be able to harvest them. If you want to give your mushrooms more room to grow next time (although the Grow Tent should provide plenty of space!), use a fruiting chamber instead of a grow tent.
When the veil beneath one of your mushroom caps is about to tear off, this is when you should harvest your first flush. If you don't get there quick enough, spores will begin to drop from your mushroom caps and make a mess! It's best to cut the mushrooms off with a clean scalpel or knife, you can also just pull them off but be careful not to damage the substrate too much.
After you've harvested all the mushrooms from your first flush, you can use a method called 'dunking' to get more moisture into your substrate. You do it right there in your grow bag: pour fresh water into the bag until the cake is covered, then put a dinner plate or two on top of the cake to weigh it down. It will try to float, and you need it to be fully submerged in water at all times. (If you used your own container, do the same in that.)
Fold the top of the bag back over to stop dust and flies getting in. Leave your cake submerged for anything between 6-24 hours.
When it's done, take the plates out and carefully pour the water out of the bag, holding the cake in place with your hand - it's been sitting in its own dirty bath water for up to 24 hours. Give it a quick rinse with some fresh water, pour that away too, and let any excess water drain off. The cake stays in your grow tent the whole time.
You should continue to dunk your substrate after each flush.
You can also bottom water between dunks: once the next pins are in, pour a little water around the base of the cake so it soaks in from below - it helps later flushes.
If you've taken good care of it, you should achieve multiple flushes of mushrooms from your grow kit before the nutrients are all used up.