The container
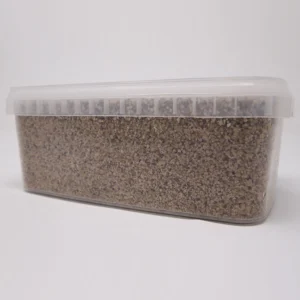
| Container | SAC O2 Microbox TP1200, from Belgium |
|---|---|
| Size | 1200 ml. Lid 180 x 120 mm, base 172 x 110 mm, 70 mm tall. |
| Material | Clear, tough polypropylene, so you can watch the mycelium grow. The lid seals airtight. |
| Filter | White #30 filter in the lid: SAC O2's middle air-exchange grade, white rather than red so the colour is never confused with contamination. |
| How the filter works | Randomly arranged fibres, working on the HEPA principle, trap mould spores, mites and thrips while air passes through. |
| Heat | Can be autoclaved at up to 123 °C. |
| Afterwards | Box and lid are 100% recyclable. |
Step 1
Inoculation
For this stage, you will need
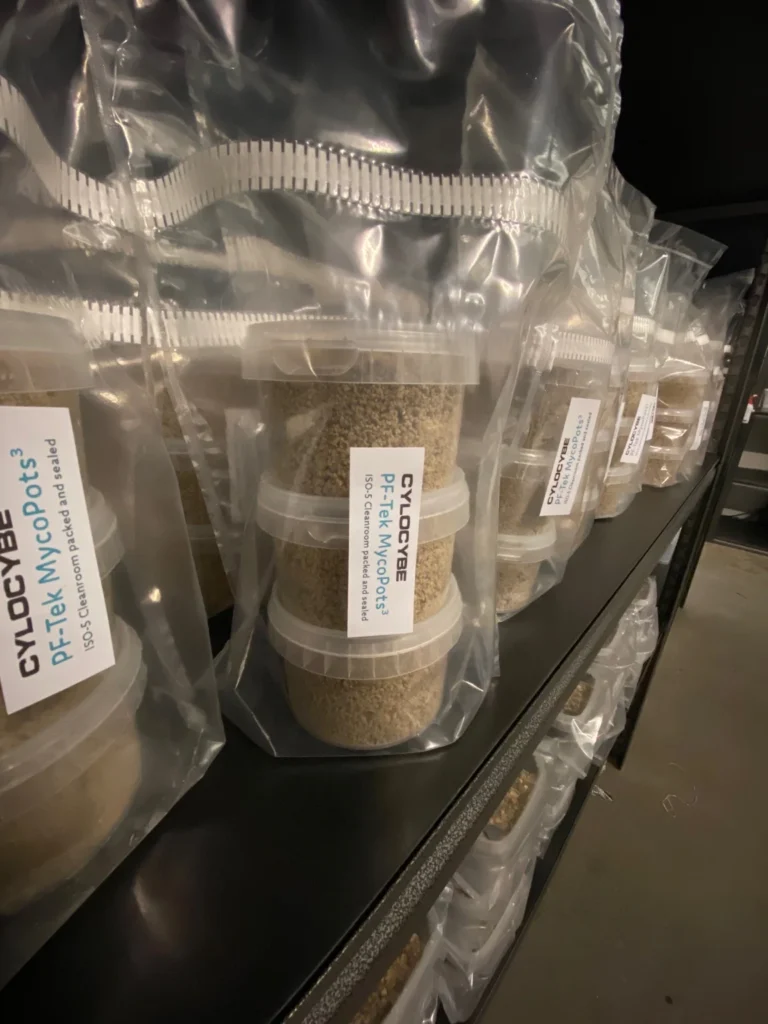
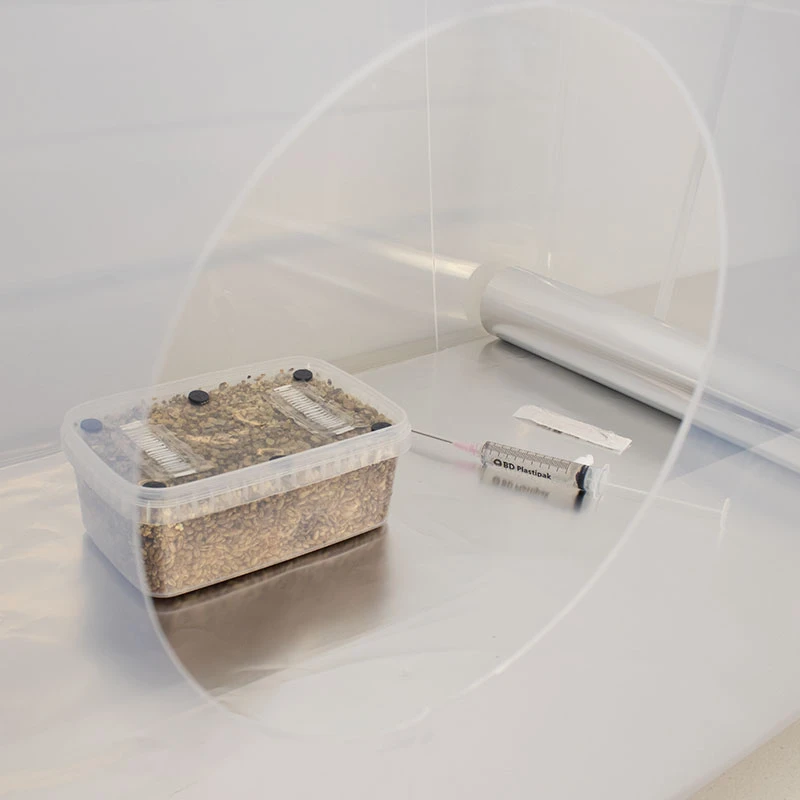
- 1 x PF-Tek MykoBox (supplied)
- Hygiene Kit (supplied): face mask, 2 x hand wipes, 1 x 70% IPA / 2% Chlorhexidine wipe for the box's injection ports and 1 x spare sterile needle, plus sterile gloves if you picked a glove size
- Gourmet spores / liquid mycelium syringe (not supplied)
- Zipper bag for leaving the box in afterwards (not supplied but recommended)
Summary:
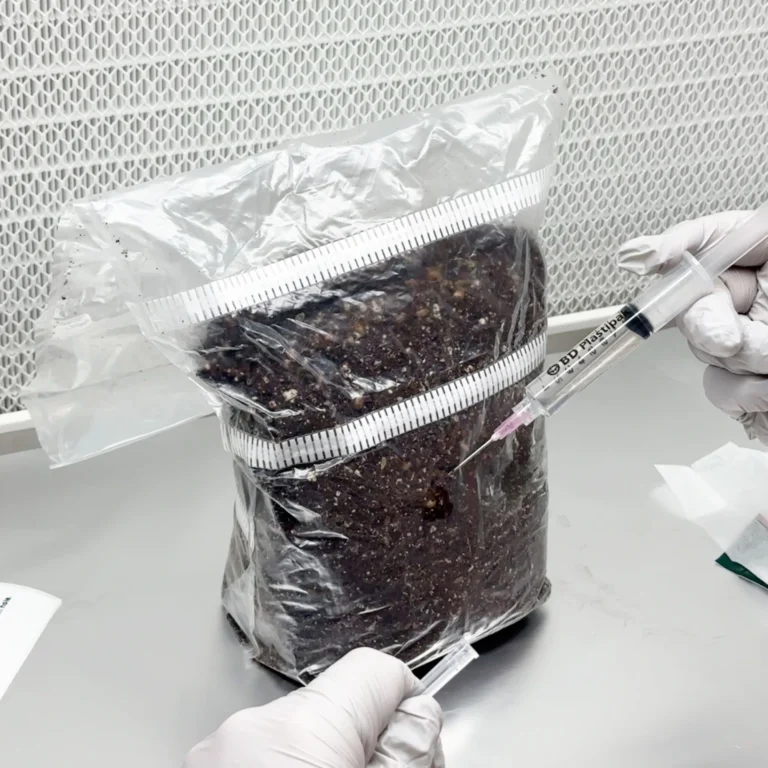
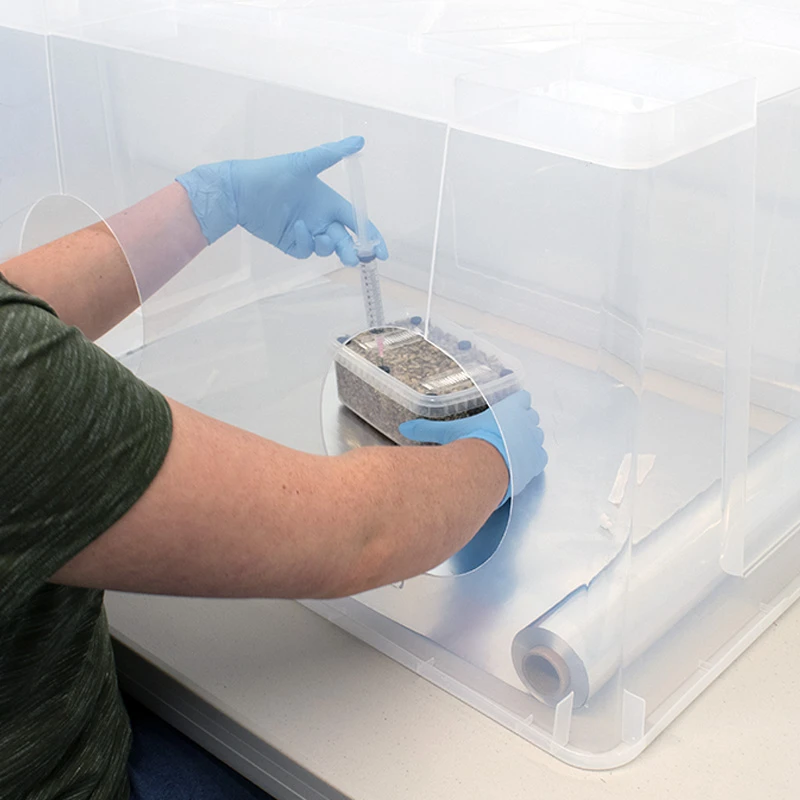
Make sure you and the room are clean and draught-free (no pun intended!). Fit your gloves and face mask - make sure your hands are clean and bone dry before fitting them or you won't get the gloves on, trust us! Use the 70% IPA / 2% Chlorhexidine wipe to thoroughly clean the rubber ports built into the tub for 40-60 seconds (allow a few seconds to become visibly dry) and then pierce into each rubber port to inject between 0.5ml and 1ml. We've given you a sterile needle for this kit - use a new needle for every kit you inoculate.Now place the box into a plastic zipper bag to keep dust and other nasties off it - leave a gap in the seal so it can still breathe! Place somewhere at room temperature to begin colonising, they will turn completely white in time, so be patient. Don't put these tubs in any direct sunlight. When it looks complete, don't rush it - if you have the patience, give it an extra 3-7 days.
 Open the photo full size
 Open the photo full size
Detailed:
1. Get organised
Choose a space to use as your 'lab' - An ideal room to use will be draught-free, such as a small cupboard. Kitchens and bathrooms are generally not suitable because of the increased risk of mould.Take everything you will need into your lab at this point, you want to keep air currents to an absolute minimum - close the door and keep it closed until you are finished! - to lower the odds of contaminant spores getting into the box.
2. Cleanliness
Take the time to ensure you are completely clean - have a shower, brush your teeth and change into fresh clothes. Before you begin the inoculation process, take your face mask out of the bag and secure it tightly to your face. Then, make sure your hands and forearms are clean - you can wipe them with one of the included hand wipes for 40-60 seconds and let them completely air dry first or you'll struggle to put your gloves on!
3. Inoculation
Give the syringe a good rattle and shake to help break any clumping. Remove the cap from the end of the syringe, unwrap the sterile needle and screw it on to the syringe. Thoroughly wipe the rubber injection ports on the box for 40-60 seconds and allow them to dry before swiftly piercing the needle through and injecting 0.5-1ml of liquid into each port, try to get close to where the substrate meets the plastic wall.
We've given you a sterile needle for this kit - always use a new needle for each kit you inoculate.
Never wipe a needle with a 70% IPA / 2% Chlorhexidine wipe - this will only sanitise it.
4. Colonisation
Now it's time to leave the box in a safe place to fully colonise with mycelium. We recommend that you place the box into a plastic zipper bag to keep it as clean as possible for the next stages. Remember not to seal the bag fully to allow the growing mycelium to breathe! It's recommended to leave the box to colonise in a room with indirect sunlight or light from a fluorescent bulb.. although a dark cupboard won't do any harm. Just keep it out of direct sunlight and it will be fine!
Regarding heat, many species love very warm climates during colonisation but it can be a balancing act because so do bacteria!.. If your mycelium is going strong, it can outrun many types of bacteria and you will never know they were even present. Aim for 23C (give or take a couple of degrees).
Using a liquid culture, agar or grain-to-grain instead of spores? Aim for 26C - those are live mycelium, not spores.
If you are determined to have a warmer environment for faster colonisation times, we strongly advise against the use of heat mats as they can dry out the bottom of the substrate and stall colonisation. It's a far better idea to store your substrates somewhere with more balanced heat like a warm cupboard above a fridge or near the water boiler..
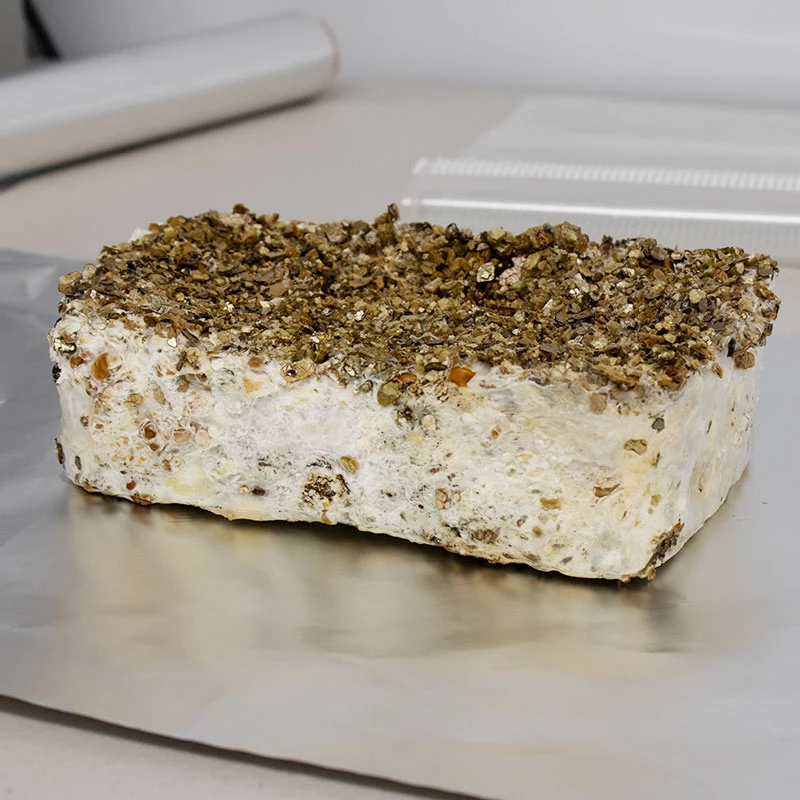
Generally, you will start to see mycelium growth after 10 days depending on optimum conditions - if not, just hang in there a while longer as you may have injected too deep to see any growth yet.. Injecting gourmet spores or culture close to the walls of the container (tub in this case) is of course going to show quicker results than injecting deeper into the substrate - and that's the most common reason we get emails saying 'I can't see any mycelium..'. Patience is key here! Full colonisation normally takes 2-4 weeks at optimum conditions (but can sometimes take longer). That's when the box is covered in white mycelium and becomes what we refer to as a 'cake', but again, this depends on a range of factors such as temperature, genetics, etc.
When the box has reached full colonisation, if you have the patience, leave it for an extra 3-7 days - this will almost guarantee full colonisation in the places you can't see.
Step 2
Grow method choice
Here we will lay out a couple of different methods for you to choose from. Each have their own pros and cons, each option is great in our opinion!
1. Removing the cake from the box for fruiting:
Move straight to the next stage.
2. Fruiting the cake within the box:
Simply remove the lid and store it away for another time. Now mist the vermiculite 'casing' layer heavily to make sure it's very damp and move straight to Step 4.
Step 3
Dunk n roll
This stage is optional but provides extra moisture in your cake to help support bigger and better flushes. Many cultivators in the scene don't bother with this stage until after their first harvest..
For this stage, you will need
- 1 x Bag of vermiculite (supplied)
- A pot with a lid, big enough to submerge your cake in water (not supplied)
Summary:
Remove the fully colonised cake from the box. Place the cake inside a pot of fresh water so it fully submerges under the weight of a couple of plates, with a lid on the pot to stop dust and flies getting in. Leave like this for 6-24 hours before removing and giving it a little rinse under the tap, as it's been sitting in its own dirty bath water. Take the bag of dry verm, pour this into a dinner dish and roll the cake around in it to cover as much of the surface as possible.
Detailed:
1. Carefully clean a work surface near a sink and take your fully colonised box to this area. Remove the plastic lid, turn upside down and hit it off the solid surface so it falls out.
 Open the photo full size
2. Find a pot and fill it with fresh, cool tap water. Now, place your cake in and make sure that it is going to stay submerged (a couple of plates on top of it does the job) and put a lid on the pot to stop dust and flies getting in. Submerge for 6-24 hours.
3. Then it's time for the 'roll'.. Grab the bag of vermiculite we supplied in your kit and empty it either on to a clean work surface or something big enough to move your cake around in.
4. Take the cake out of the water and give it a little rinse under a cold tap - it's been sitting in its own dirty bath water for up to 24 hours.
5. Place the wet cake into the vermiculite and work it until every side has a vermiculite coating. Don't be scared to firmly press the vermiculite onto the cake to get it to stick.
Step 4
Preparing the XXL Grow Tent
We will now set up the chamber for growing your mushrooms.
For this stage, you will need
- 1 x 2L bag of perlite to provide humidity (supplied)
- 1 x XXL Grow Tent for fruiting your mushrooms in, with filter material for its top-FAE gap (supplied)
Summary:
Place your perlite in a strainer and rinse under the tap until soaking. Pour it into the XXL Grow Tent - don't worry if it's still dripping wet.
Detailed:
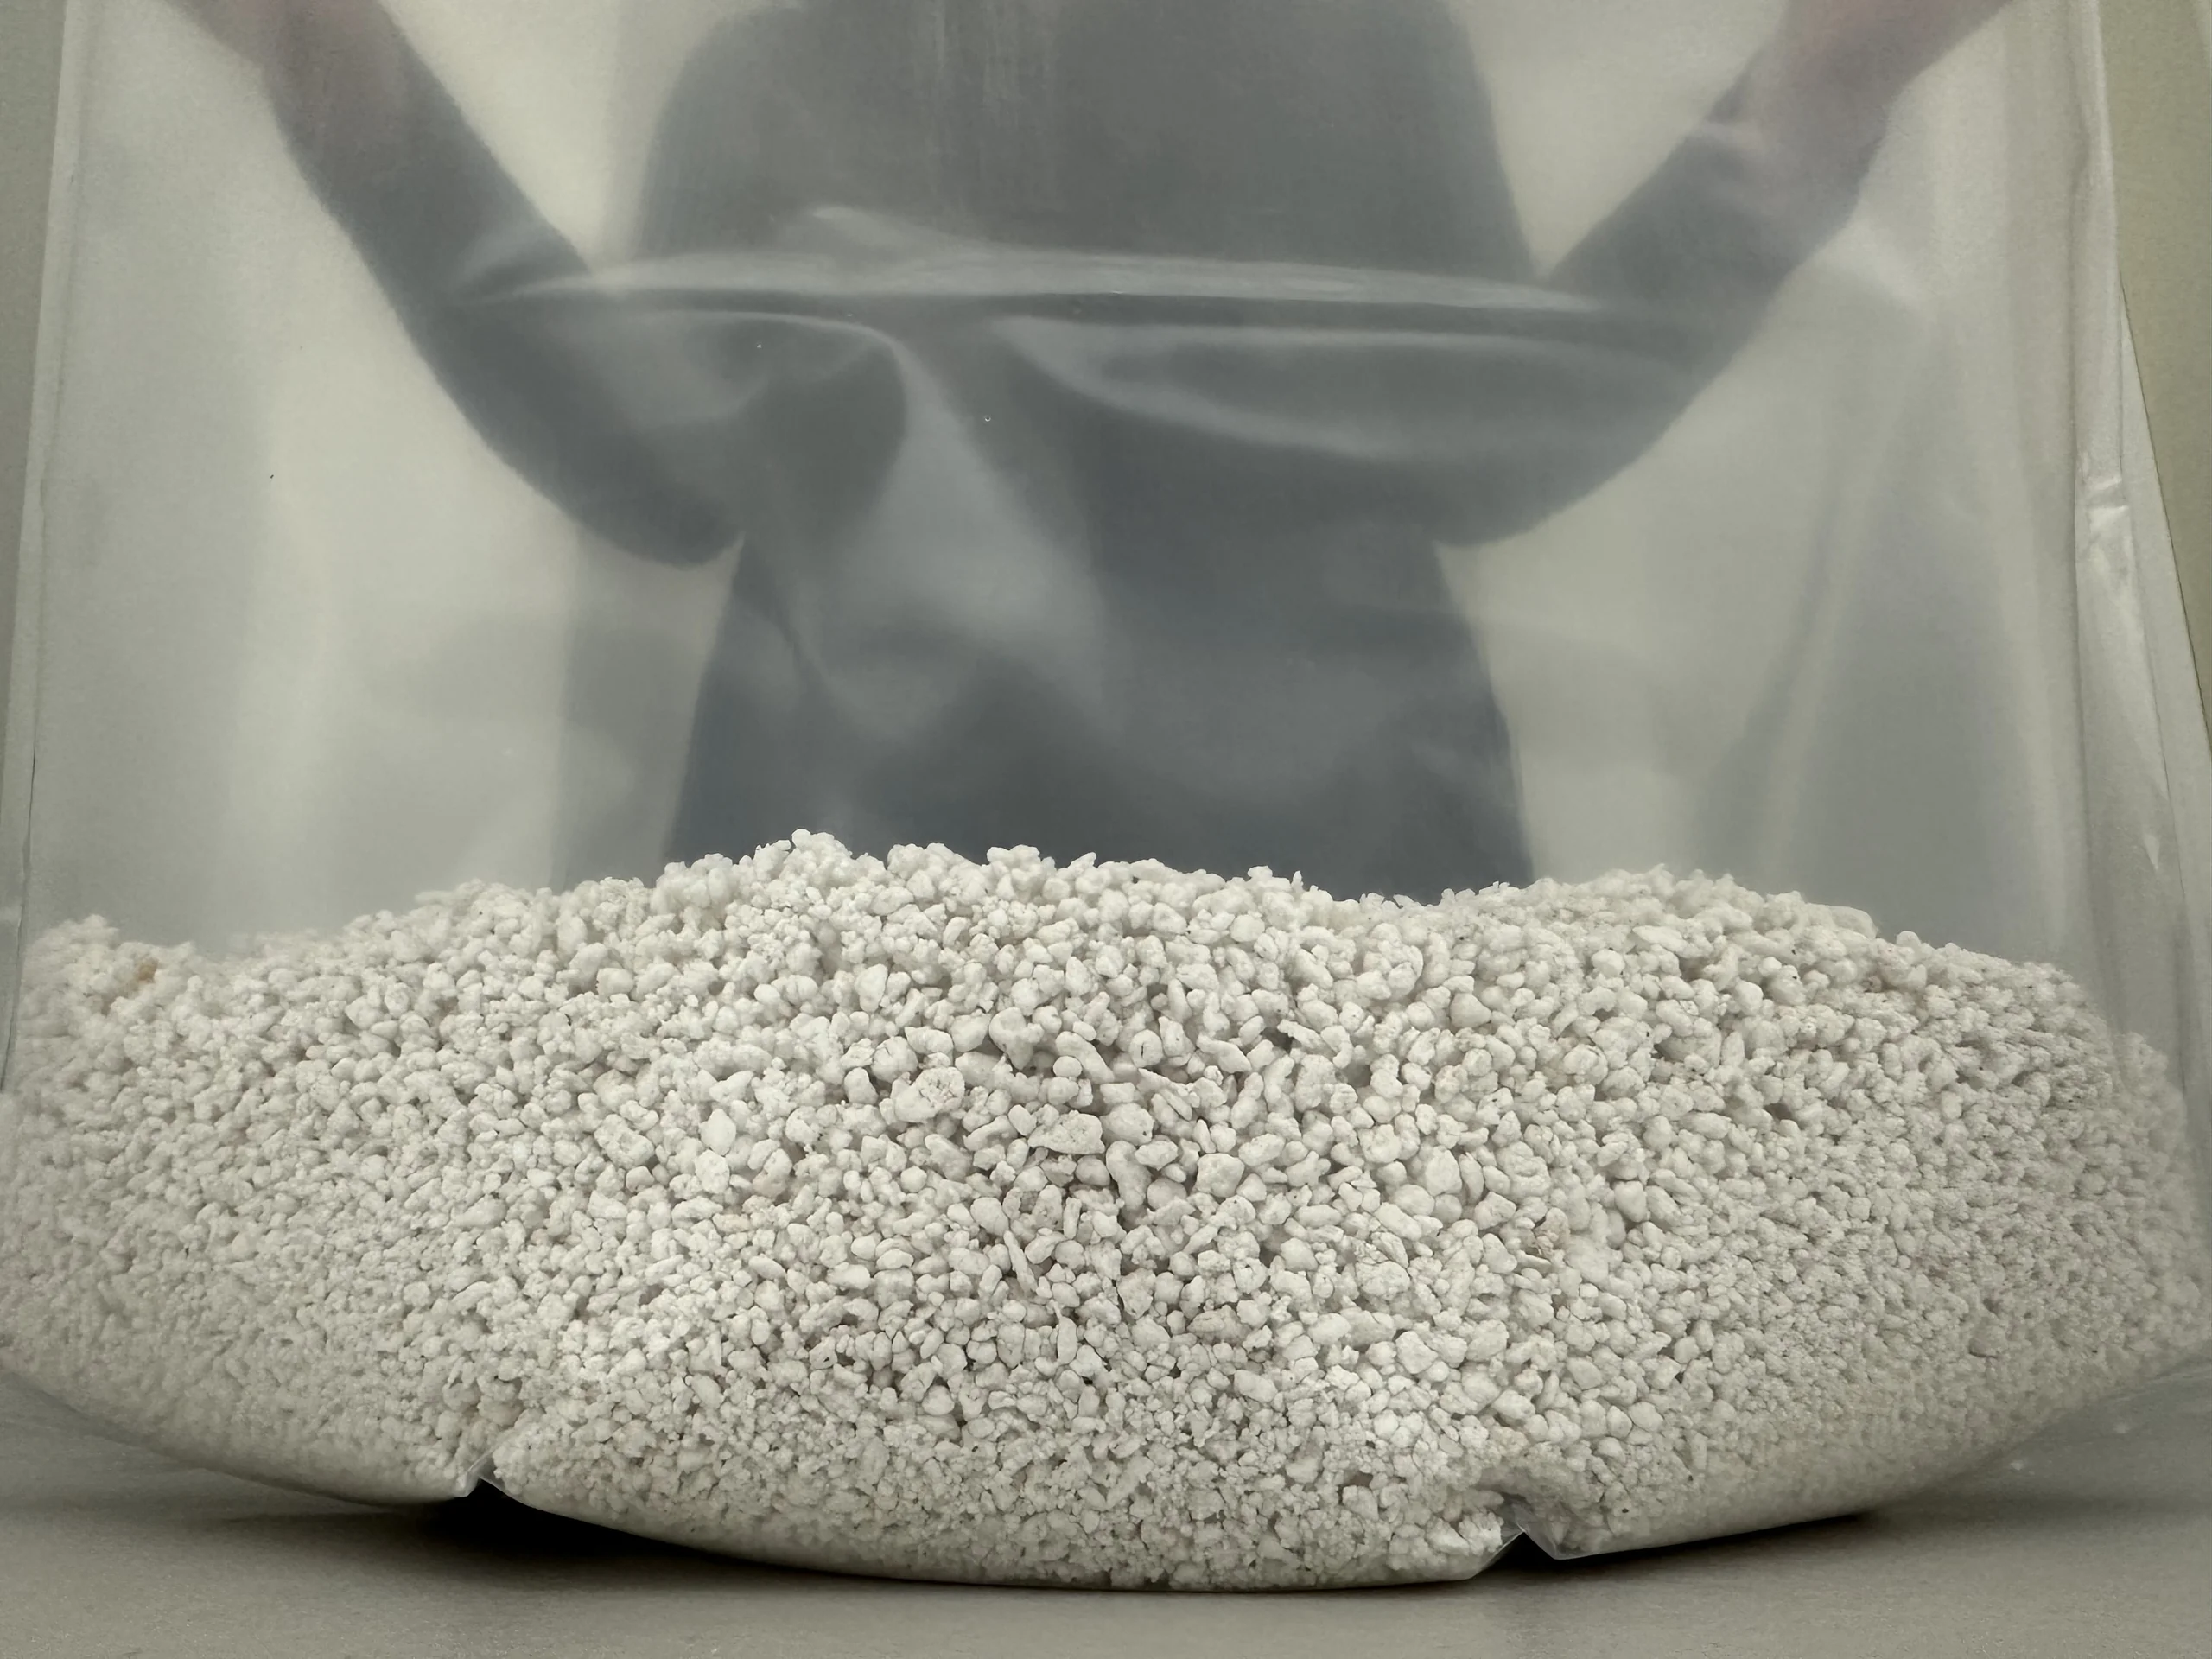
1. The first step is to rinse the perlite to get rid of all the excess dust. Please wear a face mask or cover your mouth and nose in some way when working with perlite. Get yourself a sieve or strainer (of course with holes smaller than the size of the perlite) and empty the perlite into it. Rinse under a running tap until you can see all of the dust is gone and that the perlite is fully soaked, turn the tap off - don't worry if it's still dripping wet.
2. Pour the wet perlite into your XXL Grow Tent - this will create the humid environment mushrooms love.
 Open the photo full size
Step 5
Fruiting style
If you have opted to remove the cake from the box to fruit then you will need to cut a fitting piece of tin foil to place down on to the perlite first so the cake isn't touching it.
If you have chosen to grow directly from within the box, you can now simply place it onto the perlite.
Now close the tent: Fold the top of the tent over, leaving a gap at one corner for top-FAE (Fresh Air Exchange), and tuck the piece of filter material we give you into that gap. It holds the gap open, helps keep the humidity in and keeps flies and dust out.
Step 6
Humidity control
Whichever fruiting style you chose, the humidity techniques will be the same.
For this stage, you will need
- Spray bottle to mist your cake with water (not supplied)
You will now need to mist the cake with water regularly to ensure constant hydration. If you have opted for the Dunk 'n' Roll method then it's best to avoid misting your cake for the first 12 hours to help keep the vermiculite stuck good. Mist your cake / casing layers directly until they glisten with moisture and when you can no longer see the glisten on it, it's time to mist it again.. Misting 3-6 times a day and fanning is recommended for best results. Each time you mist, fan in some fresh air (a wave of your hand or a piece of card is plenty) before you close the tent back up.
Click here to view some photos which will help you see what is meant by 'glistening with moisture'.
The evaporation of moisture from the cake is the trigger for mushroom pins to form and grow - that's what the filtered corner gap in your tent is for - it provides clean air exchange. If you do not mist regularly to replace this evaporating moisture, you will break the cycle and you will have a poor harvest.. Simple as that.
You must continue to mist throughout the full growing process - when you see pins forming and whilst your mushrooms are growing.. remember mushrooms are 90% water, they need all that extra moisture!!
An extra tip on humidity (recommended, but not totally necessary): perlite dries out quickly, so every other day, pour some water into your XXL Grow Tent and mix it around with a clean hand so the perlite becomes drenched. It's okay to have an excess of water in there, and adding a little bit of 3% hydrogen peroxide to the water can help kill microbes. If your cake is sitting on foil, be careful the wet perlite never touches it - it just sits there, so it can bring a higher risk of contamination. The more work you put in the greater your reward.
Step 7
Harvest time
When your mushrooms are ready for harvest, you can either cut them off the cake with a scalpel/knife or some people prefer to just twist and pull their mushrooms off - but be aware this can sometimes pull some of the cake off with the mushroom, so it's not the best method.
When you have harvested all of your mushrooms, you can dunk the cake in a pot of fresh water again for 6-24 hours (with a little rinse afterwards) - but no need to roll in dry vermiculite this time - just place back within your XXL Grow Tent for more fruiting!
Step 8
Happy shroomin' ♡
Thanks so much for ordering our grow kit. We hope you love using it and reap the rewards!
If there's anything you're still unsure about, get in touch through Messages in your account or the chat button at the bottom of any page. We're a friendly bunch!