Step 1
Inoculation
For this stage, you will need
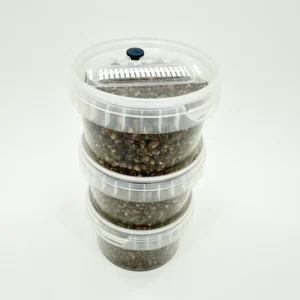
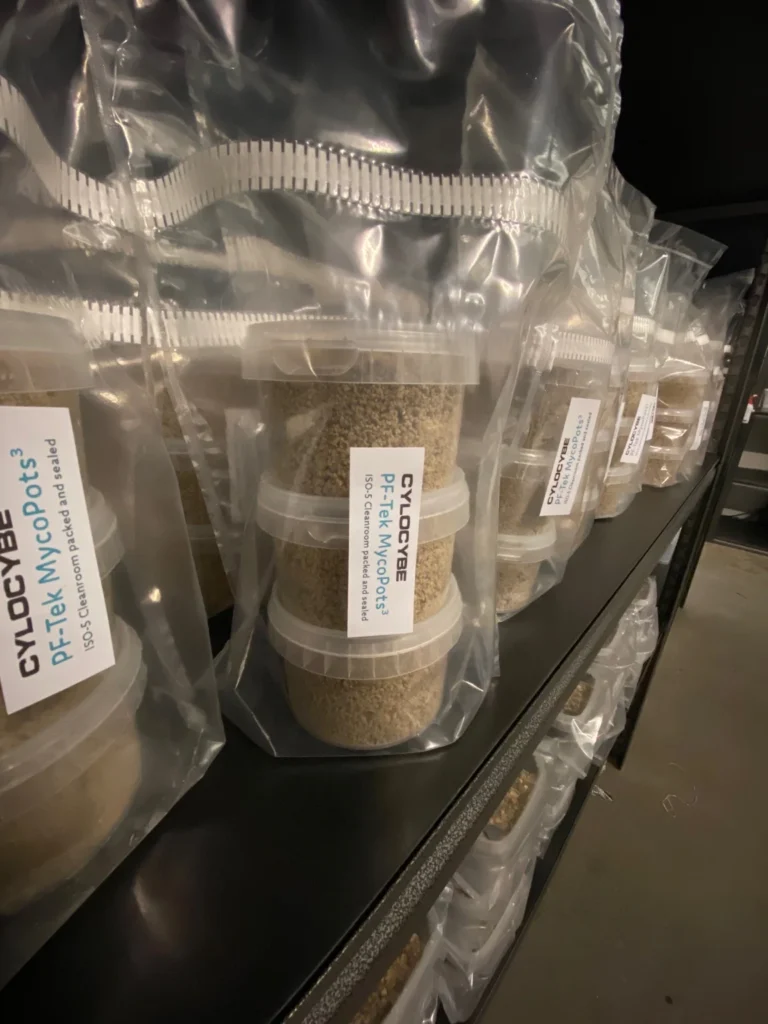
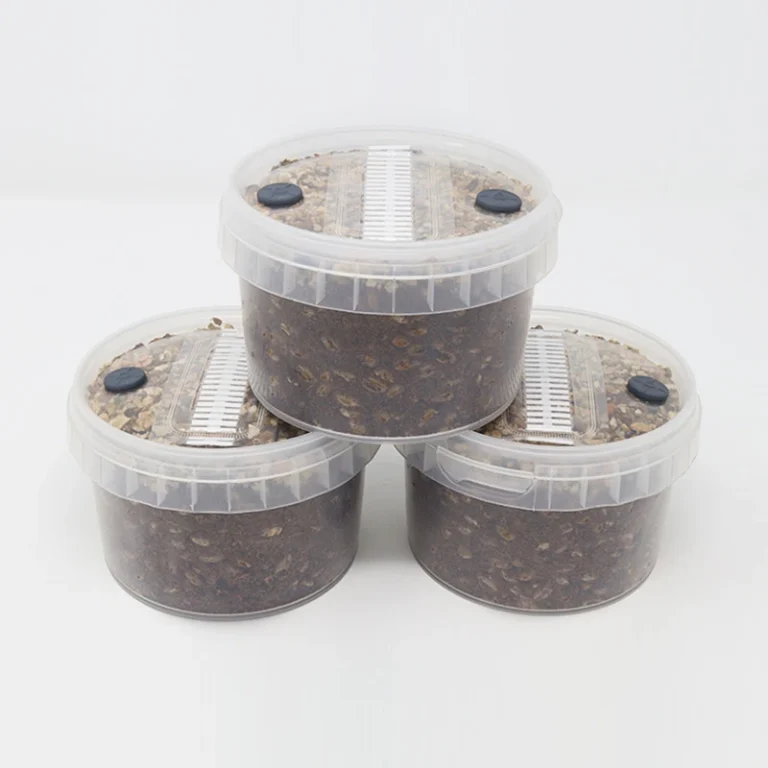
- 3 x MycMonster Pots (supplied)
- 3 x sterile-wrapped 21G needles and 3 x 70% IPA / 2% Chlorhexidine wipes (supplied, one of each for every pot)
- 3ml spore solution (not supplied)
Summary:
Make sure you and the room are clean and draught-free (no pun intended!). Make sure your hands are clean and bone dry. The pots come clean on the outside, so you only need the 70% IPA / 2% Chlorhexidine wipe if fingers or anything else have touched a rubber port: then clean that port for 40-60 seconds (allow a few seconds to become visibly dry). Inject 1ml into each pot's port. Use a new needle for each pot - we've given you three, one for each.
Now place the pots somewhere warm to colonise, they will turn completely white in time, so be patient. Don't put these pots in any direct sunlight. When they look complete, don't rush it - if you have the patience, give them an extra 3-7 days.
Detailed:
1. Get organised
Choose a space to use as your 'lab' - An ideal room to use will be draught-free, such as a small cupboard.
2. Cleanliness
Make sure your hands and forearms are clean.
3. Inoculation
Remove the cap from the end of the syringe, unwrap a sterile needle and screw it on to the syringe.
We provide the pots already clean on the outside, so you do not need to wipe the rubber ports prior to inoculation unless you think something might have brushed off it during removing them from the sealed bag.
Inject 1ml of solution all around and over the sterile substrate, the better your coverage the faster it will colonise.
4. Colonisation
Now it's time to leave the pots in a warm place to fully colonise with mycelium.
Dark, light, it doesn't matter. They will colonise fine either way. Just don't have strong sunlight hitting them.
We don't know which species you are growing, but many popular species seem to love 23C (give or take a couple of degrees).
Don't use heat mats, you'll kill your mycelium.
Generally, you will start to see mycelium growth after 5-10 days depending on optimum conditions - if not, just hang in there a while longer as you may have injected too deep to see any growth yet.. Injecting gourmet spores or culture close to the walls of the container (pot in this case) is of course going to show quicker results than injecting deeper into the substrate - and that's the most common reason we get emails saying 'I can't see any mycelium..'. Patience is key here!
Full colonisation normally takes 2-4 weeks at optimum conditions (but can sometimes take longer). That's when the pots are covered in white mycelium and become what we refer to as 'cakes', but again, this depends on a range of factors such as temperature, genetics, etc.
When the pots have reached full colonisation, if you have the patience, leave them for an extra 3-7 days - this will almost guarantee full colonisation in the places you can't see.
Next is the dunk and roll.
Step 2
Dunk n roll
MycMonster is a substrate which is intentionally produced on the drier side. This means that prior to first flush, you will absolutely want to get some extra moisture into the colonised cakes you have if you want the very best results.
For this stage, you will need
- 250ml fine grade vermiculite (supplied)
- A pot with a lid, big enough to submerge your cakes in water (not supplied)
Summary:
Remove the fully colonised cakes from the pots. Place the cakes inside a pot of fresh water so they fully submerge under the weight of a couple of plates, with a lid on the pot to stop dust and flies getting in.
Leave like this for 6-24 hours before removing and giving them a little rinse under the tap, as they've been sitting in their own dirty bath water. Take the bag of dry vermiculite, pour this into a bowl and roll the cakes around in it to cover as much of the surface as possible. This vermiculite layer is not mandatory, but it enhances results.
Detailed:
1. Carefully clean a work surface near a sink and take your fully colonised pots to this area. Remove the plastic lids, turn upside down and hit it off the solid surface so they fall out.
2. Find a pot and fill it with fresh, cool tap water. Now, place your cakes in and make sure that they are going to stay submerged (a couple of plates on top of them does the job) and put a lid on the pot to stop dust and flies getting in. Submerge for 6-24 hours.
3. Then it's time for the 'roll'.. Grab the bag of vermiculite we supplied in your kit and empty it either on to a clean work surface or into a bowl big enough to move your cakes around in.
4. Take the cakes out of the water and give them a little rinse under a cold tap - they've been sitting in their own dirty bath water for up to 24 hours.
5. Place the wet cakes into the vermiculite and work them until every side has a vermiculite coating. Don't be scared to firmly press the vermiculite onto the cakes to get it to stick.
Step 3
Preparing the grow tents
We will now set up the chamber for growing your mushrooms.
For this stage, you will need
- 3 x sealed small Grow Tents, each including 500ml of perlite and a couple of paper clips.
Summary:
Cut the three tents open just below where we've heat-sealed them.
Pour in a cup of water and mix it all around with your hand until the perlite is wet.
Snip a small hole on the bottom corner of the tent, just big enough for excess water to drain out.
Step 4
Fruiting style
Place the pot lids on the perlite, then sit the cakes on top so they aren't directly touching the damp perlite.
Fold over the top of each tent and either leave it as is (if the opening is pointing downwards, no dust/mould particles can fall in there) or if you prefer - you can use the paper clips we gave you to keep it better sealed.
Step 5
Humidity control
For this stage, you might want
- Spray bottle to mist your cakes with water (not supplied)
While not necessary with this kit, many growers still like to mist their cakes with water often to help with pinning.
As you have added vermiculite to the cakes, it's best to avoid this for a good 12 hours at least - as that seems to avoid the vermiculite washing off the cake surface.
Mist until the cakes glisten with moisture. And only when you can no longer see the glisten on them, it's time to mist them again.. Each time you mist, fan in some fresh air (a wave of your hand or a piece of card is plenty) before you close the tent back up.
The evaporation of moisture from the cakes is a trigger for mushroom pins to form and grow.
The addition of perlite to this kit as well as the kind of substrate MycMonster is means that misting isn't as important as other kits - not misting this kit can still yield excellent results. But if your home is dry, then it might become particularly necessary.
Perlite can dry out quite quickly, so every other day, pour some water into your grow tents and mix it around with a clean hand so the perlite becomes drenched again.
Step 6
Harvest time
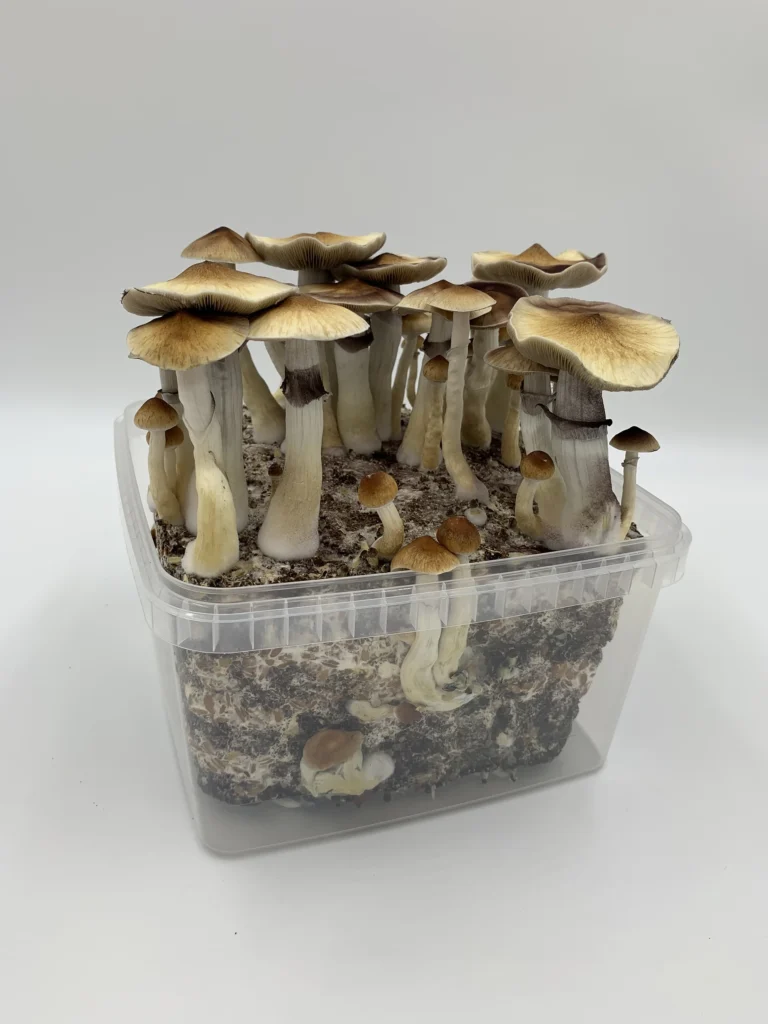
When your mushrooms are ready for harvest, you can either cut them off the cakes with a scalpel/knife or some people prefer to just twist and pull their mushrooms off - but be aware this can sometimes pull some of the cake off with the mushroom, so it's not the best method.
When you have harvested all of your mushrooms, you can dunk the cakes in a pot of fresh water again for 6-24 hours (with a little rinse afterwards) - but no need to roll in dry vermiculite this time - just place back within your grow tent(s) for more fruiting!