The container
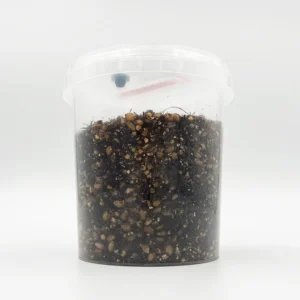
| Container | SAC O2 Microbox O119/140, from Belgium |
|---|---|
| Size | 1000 ml. Lid 119 mm across, base 90 mm, 140 mm tall. |
| Material | Clear, tough polypropylene, so you can watch the mycelium grow. The lid seals airtight. |
| Filter | White #10 filter in the lid: the lowest of SAC O2's three air-exchange grades, made for long incubation. |
| How the filter works | Randomly arranged fibres, working on the HEPA principle, trap mould spores, mites and thrips while air passes through. |
| Heat | Can be autoclaved at up to 123 °C. |
| Afterwards | Box and lid are 100% recyclable. |
Step 1
Inoculation of Sterile EZPZ substrate
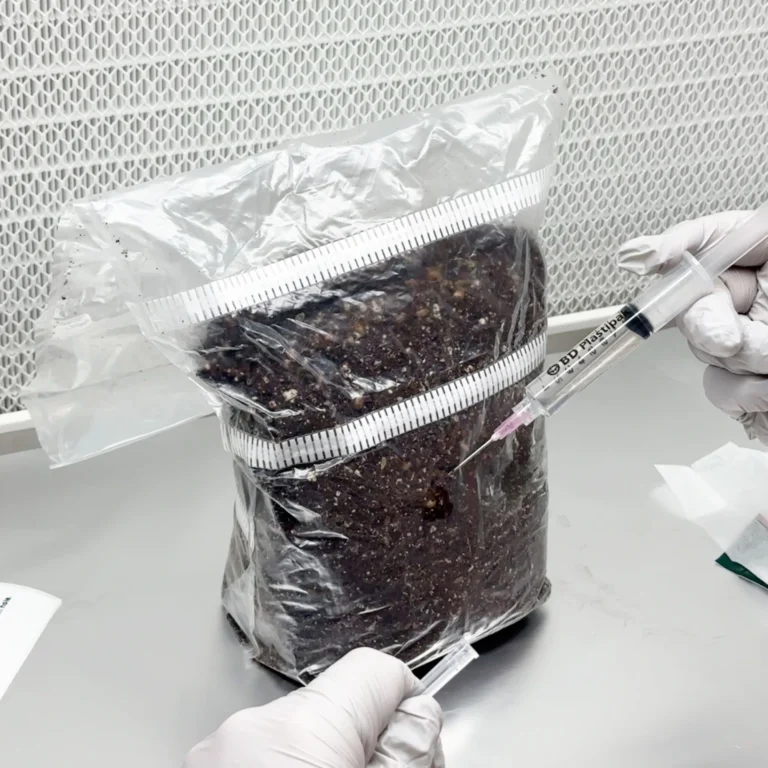
In this initial stage of mushroom cultivation, the goal is to inoculate the sterile EZPZ substrate with your selected gourmet mushroom spores or culture. This process involves preparing a spore/culture syringe and injecting a specific amount of this solution into the EZPZ, our specialised container designed for mushroom growth. It's crucial to maintain a clean and sterile environment throughout this process to prevent any contamination. Also, it's important to ensure the correct amount of spore or culture solution is used, and essential components of the EZPZ, like the air exchange filter, remain undisturbed.
Set up: Work in a small, clean and draught-free room. We always recommend working within a Still-Air Box (SAB).
Prepare for the process: First, ensure cleanliness to avoid contamination. Use one of the hand wipes provided to thoroughly clean your hands and forearms for 40-60 seconds, then fit your face mask and gloves.
Prepare the mushroom spore/culture syringe: Get your gourmet mushroom spore or culture syringe ready. Attach the spare sterile needle we've given you by screwing it onto the syringe.
Clean the injection port: On the lid of your EZPZ, you'll find a grey rubber injection port. Use a 70% IPA / 2% Chlorhexidine wipe to clean this area for 40-60 seconds, right before you inject.
Be cautious of the pink filter strip: You'll notice a pink filter strip on the lid of your EZPZ. This strip is crucial for maintaining clean air exchange, so don't touch it or attempt to remove it.
Inject the solution: Pierce your needle through the cleaned grey injection port. Aim towards the inner side wall of the tub so the mycelium grows there and you can see it sooner, then slowly inject 3ml of your spore or culture solution. Please be careful not to exceed 3ml to avoid overfilling.
Step 2
Colonisation of Sterile EZPZ substrate
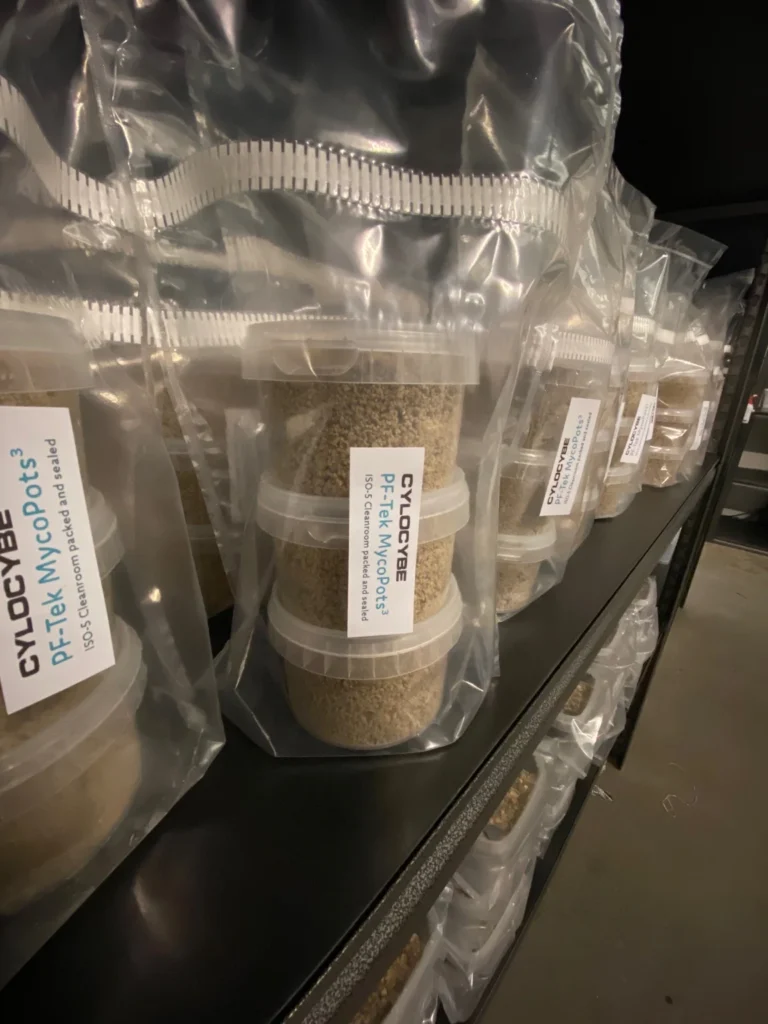
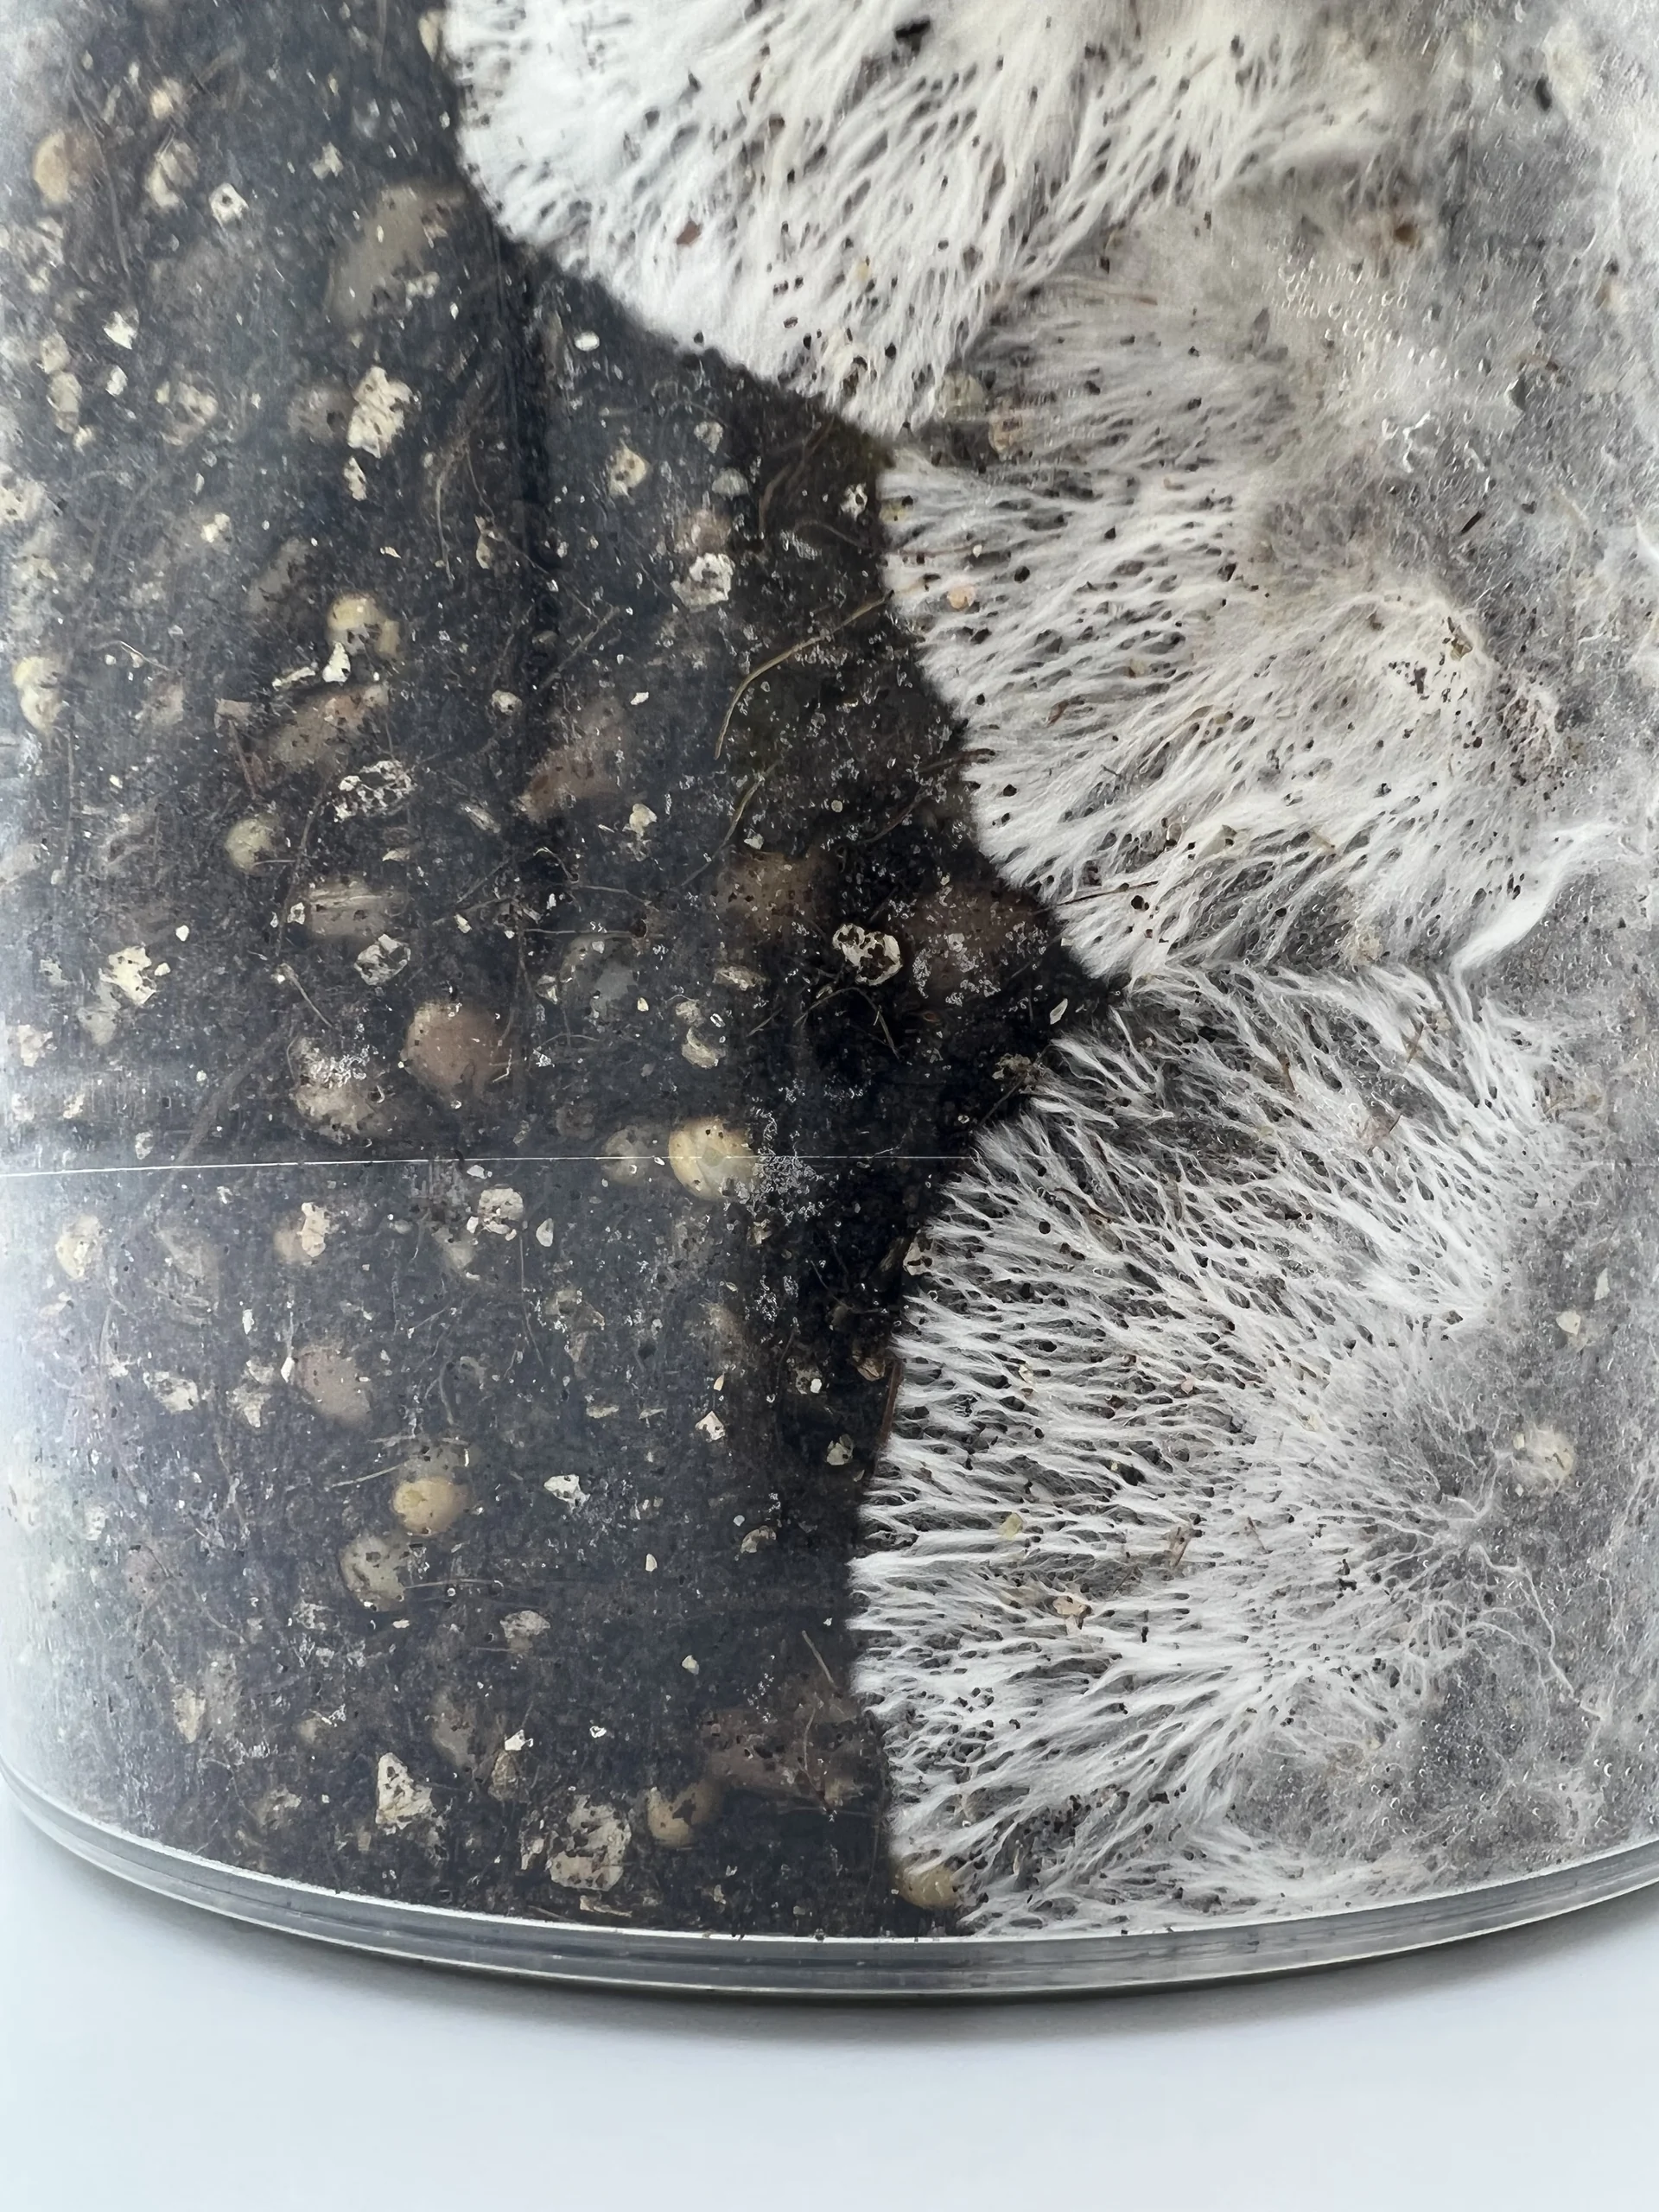
Step 2, colonisation of the sterile substrate, is where you'll start seeing signs of growth from the mycelium, the root structure of your mushrooms. During this stage, it's essential to provide an environment that's conducive to mycelium growth. This means storing your EZPZ in a place that's not airtight - the EZPZ's original cardboard box is perfect for this. One of the critical factors to monitor is temperature; holding a steady 23C (give or take a couple of degrees) helps avoid problems like contamination or slow growth. While it might be tempting to use heat mats, we advise against it due to potential uneven heat distribution and excessive condensation. If you're having trouble maintaining the right temperature, consider using an incubator for better control. With these conditions met, you should see mycelium growth in 5-7 days, and full colonisation in around 2-3 weeks from gourmet spores.
Using a liquid culture, agar or grain-to-grain instead of spores? Aim for 26C - those are live mycelium, not spores.
Don't suffocate your Mycelium: Your Mycelium is a living organism and needs to breathe. Avoid placing your EZPZ in an airtight container.
Use the box for storage: The cardboard box that your EZPZ arrived in makes a perfect storage spot. It will help to keep your colonising EZPZ clean.
Keep an eye on temperature: Temperature plays a significant role in successful colonisation. Avoid temperature extremes; too hot (above 26C) or too cold (below 18C) can lead to problems, like contamination or slow/no growth.
Maintain consistent temperature: Aim to keep a stable temperature of 23C (give or take a couple of degrees). Avoid frequent or drastic temperature fluctuations.
Say no to heat mats: Heat mats can lead to uneven warming, causing excessive condensation. This could result in water buildup, inviting contamination into your EZPZ.
Consider an incubator: If maintaining the right temperature is difficult, think about creating or purchasing an incubator. It's more cost-efficient than constantly heating your home and yields better results.
Wait for growth: At 23C (give or take a couple of degrees), expect to see mycelium growth in about 5 to 7 days. After this point, the growth rate will increase significantly.
Full colonisation timeline: With optimal conditions, your EZPZ could be fully colonised in around 2-3 weeks from gourmet spores. Even once it looks fully colonised, if you have the patience, give it an extra 3-7 days - this will almost guarantee full colonisation in the places you can't see.
 Open the photo full size
Step 3
Fruiting your Mushrooms!
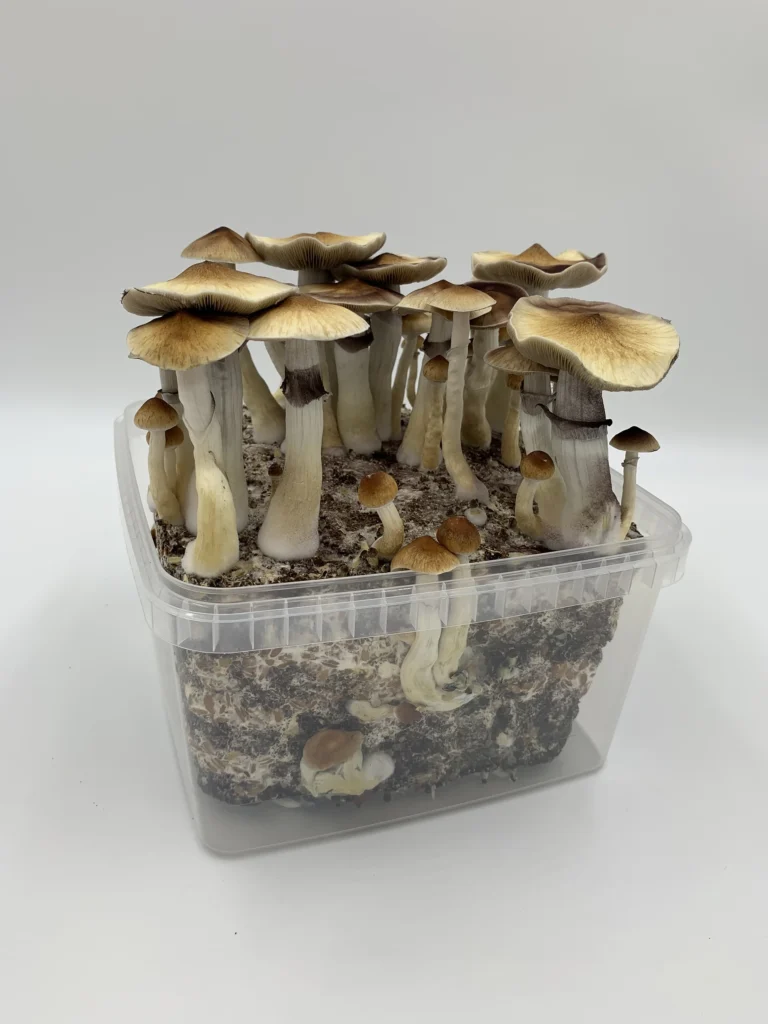
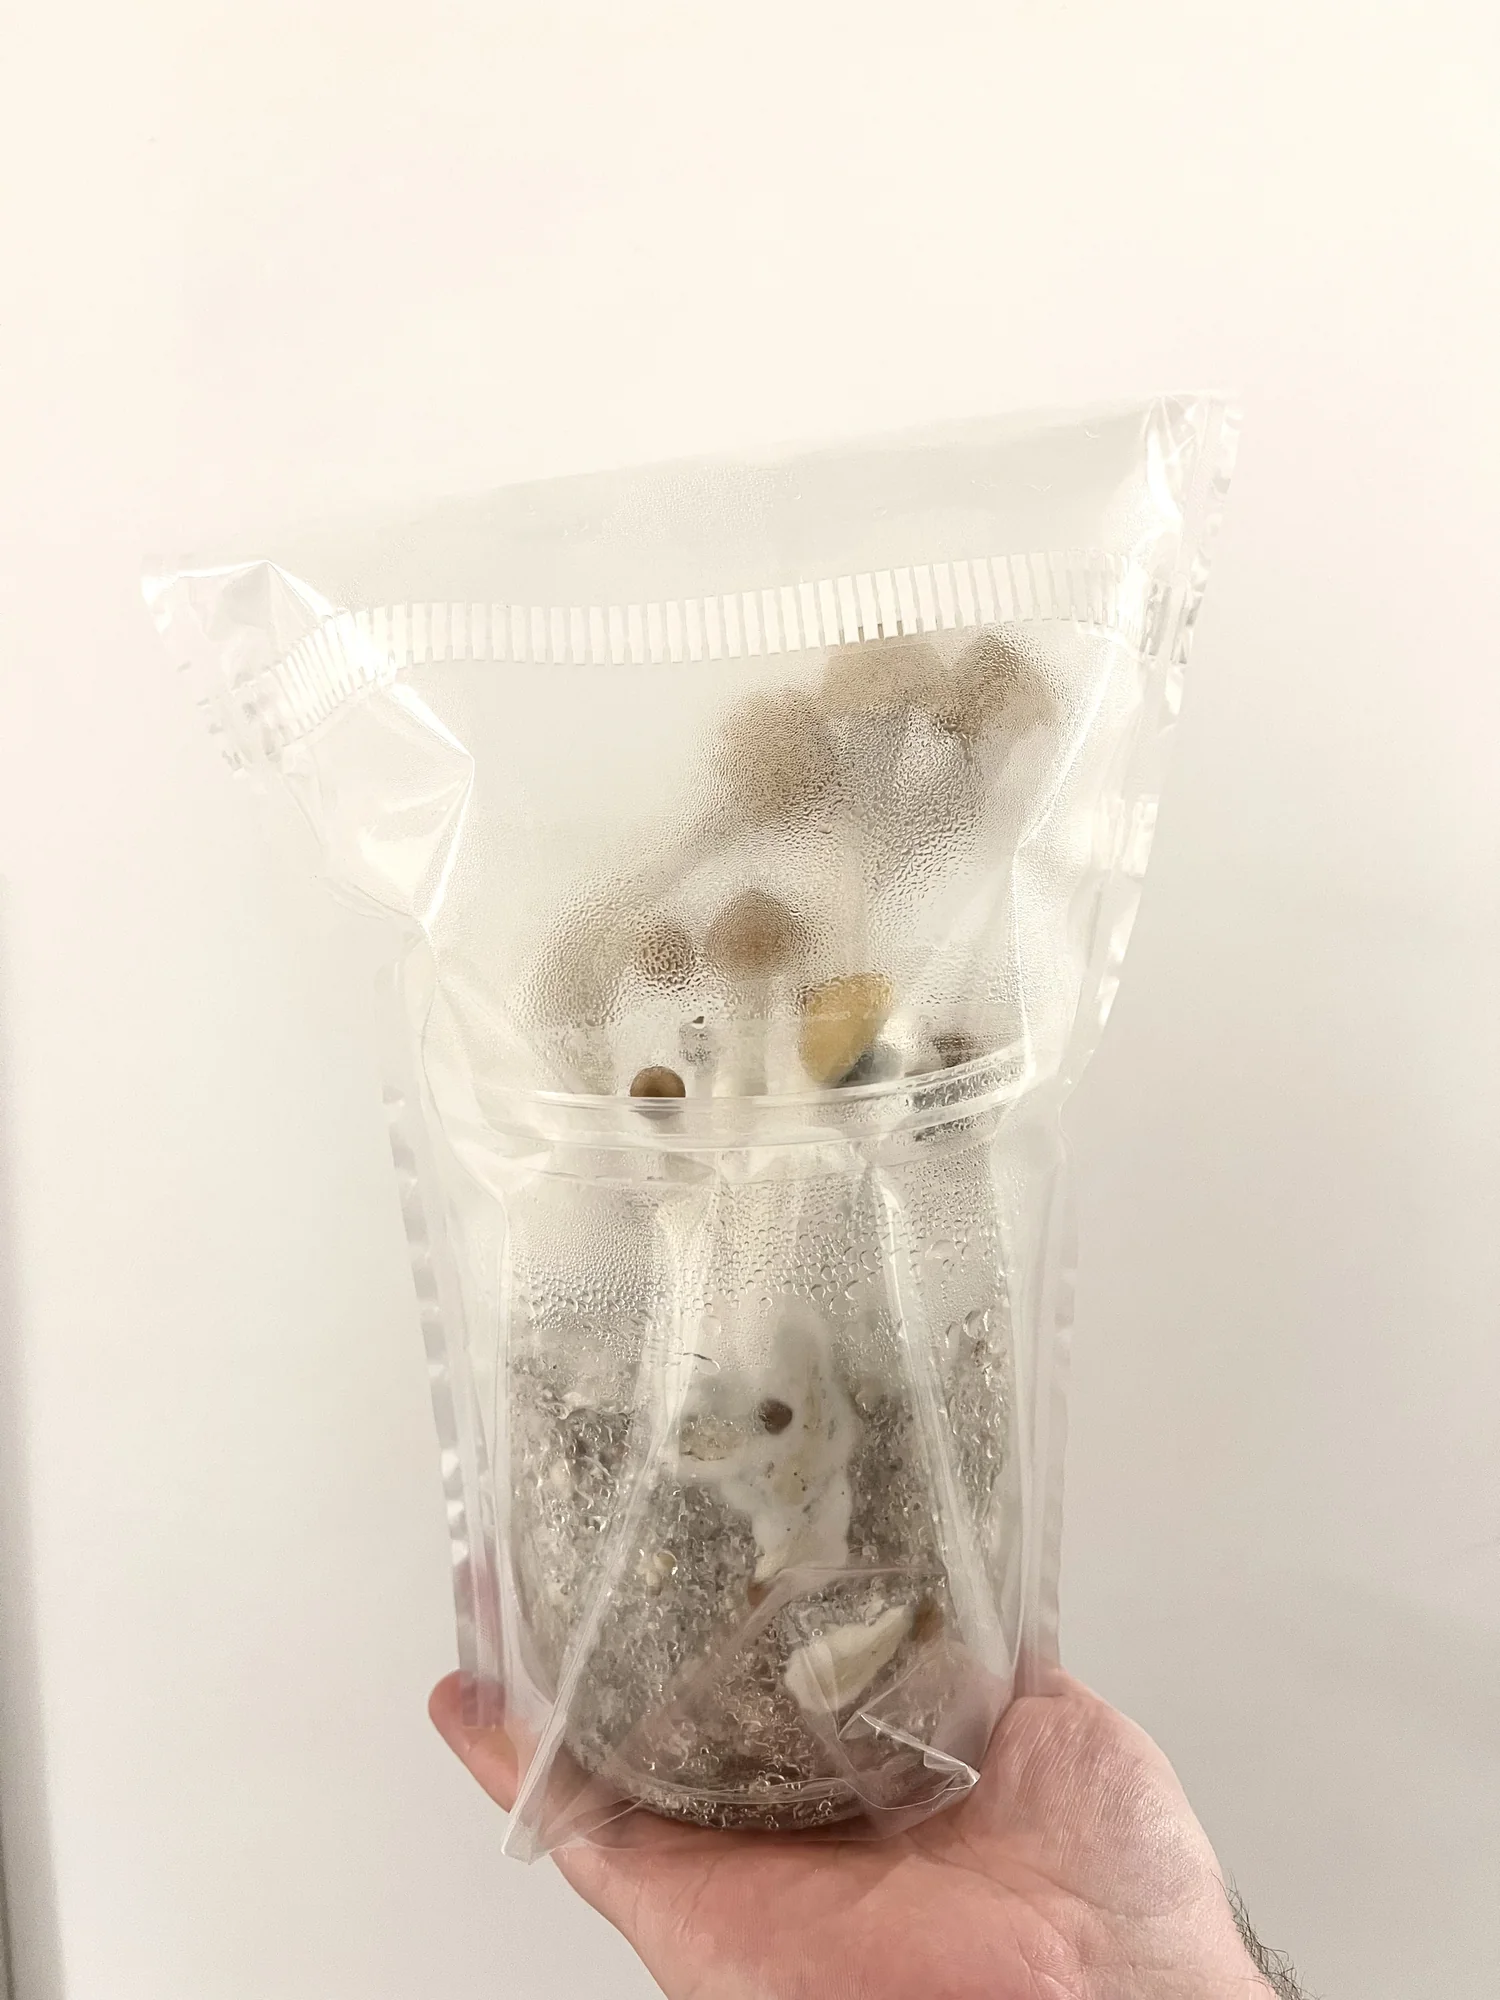
In the third stage of the mushroom cultivation process, we transition from mycelium colonisation to mushroom fruiting. Once your EZPZ is fully covered in white mycelium, it's ready for this fruiting phase. The EZPZ is moved to a grow tent where conditions such as temperature and humidity are carefully managed. Misting 3-6 times a day and fanning is recommended for best results. Harvesting your mushrooms comes next when the veil beneath the mushroom cap is about to tear. After the first harvest, the substrate is hydrated by a process known as 'dunking' to stimulate further flushes of mushroom growth. With appropriate care, your EZPZ can produce multiple flushes until the substrate nutrients are exhausted.
Wait for full colonisation: Wait until your EZPZ is entirely covered in white mycelium - that's when you know it's fully colonised and ready for the next step.
Move to the grow tent: Remove the lid from your EZPZ and place it in the grow tent. Fold over the tent's opening to keep the humidity in - a little tape can help keep it closed.
Manage temperature: For the fruiting stage, keep the temperature slightly lower than your incubation temperature, ideally 21C (give or take a couple of degrees).
Humidity is key: At the right temperature, humidity will naturally increase inside the grow tent due to the moisture in the substrate. This is crucial for fruiting.
Mist and fan: Misting 3-6 times a day and fanning is recommended for best results. Open the tent, give the surface a fine mist of water (don't drench it), fan in some fresh air (a wave of your hand or a piece of card is plenty) and close it back up. After a dunk, wait at least 24 hours before you start misting again.
Harvest time: When the veil under one of your mushroom caps is about to tear, it's time to harvest your first flush. Use a clean scalpel or knife to cut the mushrooms off.
Dunk it after harvesting: 'Dunking' is a method used to add moisture back into your substrate for the next flush. After harvesting, take the cake out of your EZPZ and place it into a pot of fresh water. Put a couple of plates on top to keep it submerged (it will try to float!) and a lid on the pot to stop dust and flies getting in, then leave it for 6-24 hours - the longer you leave it, the better. Lift it out and give it a little rinse under the tap, as it's been sitting in its own dirty bath water, let the excess water drain off, then put it back into your EZPZ and back into the grow tent.
Expect multiple flushes: Continue this dunking process after each flush. With proper care, you should be able to get multiple mushroom flushes from your grow kit until all nutrients are used up.
 Open the photo full size
Step 4
Additional Tips for Enhanced Mushroom Growth:
In addition to the main steps of growing mushrooms with our kit, there are several other practices that can enhance your results. Central to healthy mushroom development is a balance between humidity, fresh air exchange (FAE), temperature, and light. You can increase FAE by making small slits in your grow tent and using a fan to circulate air gently within the room. Providing indirect sunlight or using an LED/fluorescent light with a specific wavelength can also help mushrooms grow optimally. If your grow tent seems dry, there are various adjustments you can make, such as adjusting the environment's temperature or the position of your fan or grow lights. Within a week of entering the grow tent, you should see small white dots known as hyphal knots, which will develop into mushroom pins. Keep a close eye on your mushrooms' growth and adjust your setup if needed, especially the level of FAE. It's all about observing and making necessary tweaks to achieve that delicate balance for optimal mushroom growth.
Achieving the best results: For healthy mushroom development, maintaining a balance between humidity, fresh air exchange (FAE), temperature, and light is key.
Increase FAE: To enhance FAE, make a 1cm slit on both sides of the grow tent, near the top. Position an electric fan in the room on a low setting, which will stimulate a gentle air current and increase FAE inside the tent.
Provide sufficient light: Provide indirect sunlight or place a 5000-6500K LED/fluorescent light a couple of feet away. This will give your mushrooms the necessary light for optimal growth.
Troubleshoot dry conditions: If your grow tent seems dry, it could be due to the following:
Too cold of an environment, preventing humidity from developing.
The fan being too close, thus drying out the tent.
The slits in the grow tent being too large and allowing too much humidity to escape (in this case, use tape to reduce their size).
Grow lights being too close and generating excessive heat.
Watch for the first signs of growth: After 3-7 days in the grow tent, you should see tiny white dots (hyphal knots) that will develop into primordia (the precursor to mushroom pins).
Mushroom development: It usually takes another 4-5 days for these pins to grow into mature mushrooms. Keep an eye on their progress; they'll let you know if conditions aren't right.
Adjust FAE if needed: If you see fuzzy mycelium at the base of the mushrooms or thin stems, you may need to increase FAE. Try increasing the fan speed or enlarging the slits in the tent.
Observe and adjust: The fruiting stage requires careful observation. Adjust your setup as needed to maintain the balance of humidity, FAE, temperature, and light.
Step 5
Happy shroomin' ♡
Thanks so much for ordering our grow kit. We hope you love using it and reap the rewards!
If there's anything you're still unsure about, get in touch through Messages in your account or the chat button at the bottom of any page. We're a friendly bunch!