The container
| Container | SAC O2 Microbox O95/60, from Belgium |
|---|---|
| Size | 280 ml. Lid 90 mm across, base 80 mm, 60 mm tall. |
| Material | Clear, tough polypropylene, so you can watch the mycelium grow. The lid seals airtight. |
| Filter | White #10 filter in the lid: the lowest of SAC O2's three air-exchange grades, made for long incubation. |
| How the filter works | Randomly arranged fibres, working on the HEPA principle, trap mould spores, mites and thrips while air passes through. |
| Heat | Can be autoclaved at up to 123 °C. |
| Afterwards | Box and lid are 100% recyclable. |
What's included
- 8 x MycoPots with Inject-Thru Lids
- Pre-measured bag of PF-Tek Mix
- 2 x XXL Grow Tents, which fit 4 cakes in each
- 3 litres of Perlite
- 2 litres of Vermiculite
- Hygiene Kit: face mask, 2 x hand wipes, 8 x 70% IPA / 2% Chlorhexidine wipes and 8 x spare sterile needles (one of each for every MycoPot), plus sterile gloves if you picked a glove size
Step 1
Preparing the mix
Open the bag of PF-Tek mix - which is a combination of brown rice flour, gypsum and vermiculite - and pour it all into a large mixing bowl.
 Open the photo full size
Use a wooden spoon to mix the dry ingredients until the flour looks evenly spread throughout it, then add 500ml of water and mix it all together.
Get your hands in there and break up all the little clumps of flour. You are aiming for a very light, fluffy consistency and it will take a good few minutes of mixing.
The final mix will resemble cous cous, as the flour coats all the little bits of vermiculite.
Now give your hands a good clean before moving on to filling the MycoPots...
Step 2
Preparing the MycoPots™
We recommend using 1 clean hand to hold the MycoPots and the other to fill with - this saves time and effort in cleaning them later.
Fill the MycoPots around a third full and very lightly tap the mixture down until it's level and there's no gaps in the mix. The mix needs to be light and airy for optimum mycelium growth, so apply light touches only - as light as the touch you use with your phone screen.
Continue filling each MycoPot until the mix is in line with the bottom of the plastic rim (which is 17mm from the top) and gently tap the mixture down again.
Before adding dry vermiculite on top, you need to ensure there aren't any traces of flour around the rim of the MycoPots. Use a piece of dry kitchen roll to thoroughly wipe the inside and outside of each MycoPot rim. Let's not leave a tasty pathway for microbes to easily find their way in!
Now take the bag of dry vermiculite and cut away a corner for easy pouring.
Fill the MycoPots to the top with vermiculite, 2mm from the top is the perfect point to ensure the lid pushes on comfortably. This is commonly known as a 'casing layer' or a 'contamination barrier'.
Now place the lids on all of the Mycopots and click them down fully.
Step 3
Sterilising the MycoPots™
Cut squares of tin foil and wrap these over the top of the MycoPot lids - the foil will ensure the injection port underneath stays sterile until you have to use them and also crucially keeps the filters drier.
Fill the largest kitchen pot you have with a couple of inches of water. Distilled is best but tap water is fine.
The MycoPots should not be sitting in the water so raise them above the water level - we suggest rolling up tin foil into balls and then putting a large plate on top to sit your MycoPots on.
Put the lid on the pot and set your cooker hob to high to get the water boiling. Keep an eye on it and set a timer for 90 minutes when the water starts to boil.
Turn the hob down to a lower heat but make sure the water is still boiling. This slows down the evaporation of water but make sure you top up with more boiling water from your kettle if you need to - don't ever let the pot go dry.
When the 90 minutes are up, turn off the heat and leave it all to cool down to room temperature.
When you're able to comfortably handle the MycoPots, remove them from the pot and you're ready to begin inoculating them!...
Step 4
Inoculation
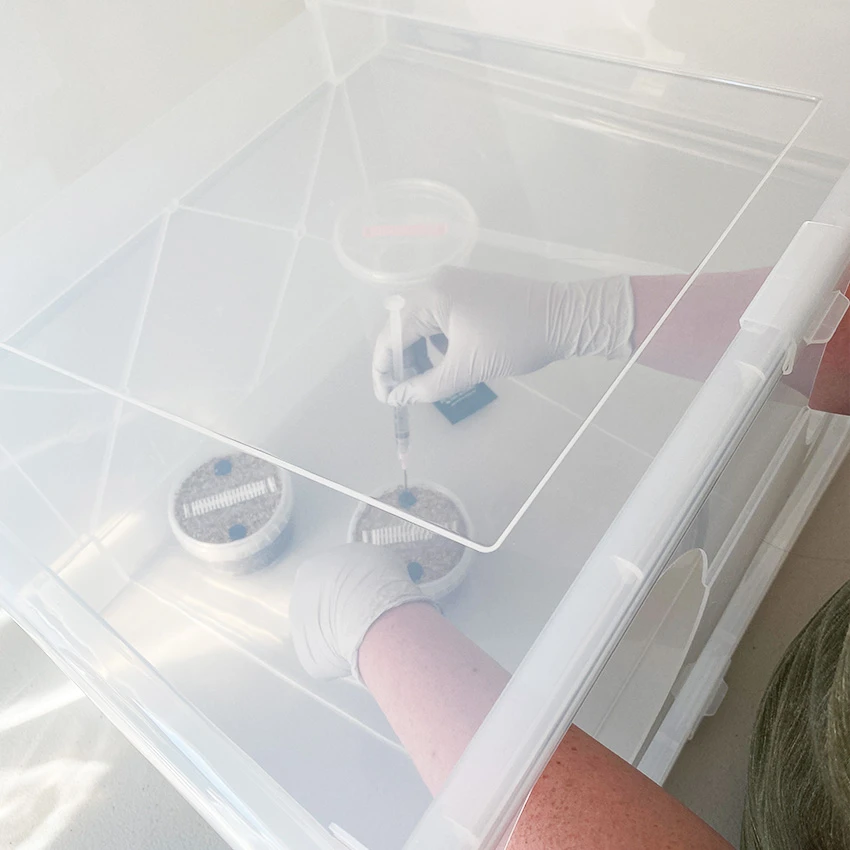
Work in a small, clean and draught-free room. We highly recommend working within a Still-Air Box. Make sure you're showered with fresh clothes and clean your hands and forearms with one of the hand wipes for 40-60 seconds before starting. Fit your face mask and gloves.
Prepare your syringe for use by carefully rattling it off a surface to dislodge stuck spores and then screwing on a new sterile needle.
Remove the foil from a MycoPot and use a 70% IPA / 2% Chlorhexidine wipe to clean the grey rubber injection port on the lid for 40-60 seconds.
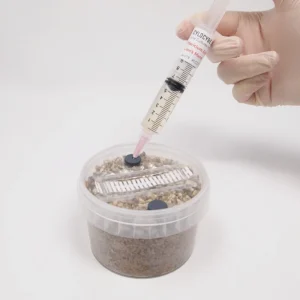
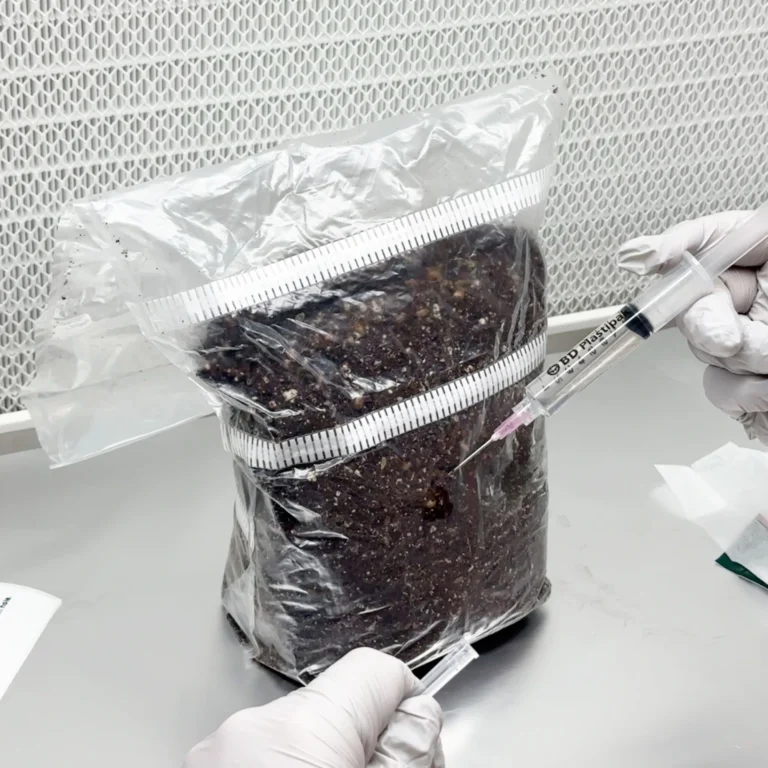
Remove cover from the needle and inject 1ml of solution through the port.
Place the cover back on your needle, screw it off and replace with a new sterile needle.
Repeat the process with each MycoPot - only removing the foil right before you are ready to inject and always replacing the needle for each MycoPot.
Step 5
Colonisation
We recommend that you store the MycoPots inside a cardboard box to keep them clean (if you're not using an incubator). This won't be airtight so there will be sufficient airflow. Mycelium is living and needs to breathe, so don't ever store in an airtight container.
Temperature is extremely important to get right for successful colonisation: 23C (give or take a couple of degrees) is ideal. Much colder than this and you will risk very slow colonisation or no mycelium growth at all.
Using a liquid culture, agar or grain-to-grain instead of spores? Aim for 26C - those are live mycelium, not spores.
Mycelium generally starts to make an appearance in around a week - exciting!
We have incubating equipment available on our website if you struggle to maintain warm temps.
Full colonisation normally takes 2-4 weeks at optimum conditions (but can sometimes take longer). That's when the PF-Tek mix inside the MycoPots is covered in white mycelium (the dry vermiculite won't colonise but you may see strands of mycelium poking through, on the hunt for more food!) and this block of mycelium is now commonly referred to as a 'cake'.
Although not a requirement, if you have the patience, wait an extra 3-7 days after seeing full colonisation - this will almost guarantee full colonisation in the places you can't see.
Step 6
Dunk and roll
When and only when the substrate is fully colonised, you are ready to use a method called 'dunk and roll' to prepare your substrates for fruiting.
Fill a pot with enough fresh water to submerge your cakes fully, then open your MycoPots and drop your colonised cakes into the water.
Put a couple of plates on top to weigh the cakes down and stop them floating, as they will need to be fully submerged for the full time. Put a lid on the pot to stop dust and flies getting in.
Leave your cakes submerged like this for anything between 6-24 hours.. depending on how much patience you have! But obviously, the longer you leave them, the better the results will be.
Just before you're ready to take them out of the water, pour some of the provided vermiculite out onto a clean surface or plate. Don't use it all as you will be repeating this process a few times between each flush of mushrooms!
Lift your cakes out of the water, give them a little rinse under a tap (they've been sitting in their own dirty bath water for up to 24 hours) and then place them onto the vermiculite. Roll them around until there is vermiculite stuck to the full surface area of the cakes.
Step 7
Preparing the grow tent
Place your perlite in a strainer and rinse under a tap until it's soaking wet.
Your 8 cakes fruit in the two XXL Grow Tents, 4 cakes in each.
Pour the perlite into the two tents, sharing it equally between them - don't worry if it's still dripping wet.
Depending on the size of strainer you have, you may find it easier to do this in batches!
Cut squares of tin foil slightly larger than each of your cakes and place on top of the perlite.
Step 8
The best bit... fruiting your mushrooms!
Now take your freshly dunked and vermiculite rolled cakes and place them on top of the tin foil within your grow tents - do not ever sit your cakes directly onto damp perlite!
Keep your perlite wet (recommended, but not totally necessary): Perlite can dry out quickly, so every other day, pour some water into your grow tents and mix it around with a clean hand so the perlite becomes drenched. It's okay to have an excess of water in there, and adding a little bit of 3% hydrogen peroxide to the water can help kill microbes. Just be careful the wet perlite never touches your cakes - it just sits there, so it can bring a higher risk of contamination.
Close each tent: Fold the top of the tent over, leaving a gap at one corner for top-FAE (Fresh Air Exchange), and tuck the piece of filter material we give you into that gap. It holds the gap open, helps keep the humidity in and keeps flies and dust out. Store them in indirect sunlight.
Maintaining a temperature of around 21C (give or take a couple of degrees) for the fruiting stage is essential for best results.
Humidity and FAE (fresh air exchange) are extremely important for pinning and healthy mushroom development, as is temperature and light. They will all need to work in harmony.
The filtered corner gap in each tent lets fresh air in, and placing an electric fan somewhere in the room on low setting will create a gentle air current inside the room which will help increase the FAE inside the grow tents.
Or, if you don't have a fan, you should open the grow tent and manually fan some air in there at least a couple of times each day - you can use anything to do this, like a piece of cardboard. It's very important to do this regularly to introduce fresh air and help get rid of any CO2 build-up.
Your mushrooms will need light to grow - we recommend indirect sunlight or a 5000-6500K LED or fluorescent light a couple of feet away.
If you notice the inside of your grow tent looking dry, there are a few things which can cause this... the fan being too close, the corner gap being open too wide, grow lights (if using them) being too close and hot.
Observe what's happening and adjust your setup as required - fantastic results depend on it.
Mist and fan: Misting 3-6 times a day and fanning is recommended for best results. Don't start misting until at least 24 hours have passed since you dunked, as there will be loads of water in your substrate at this point and you could waterlog it. After that, open the tent, give your cakes a fine mist until they glisten, fan in some fresh air (a wave of your hand or a piece of card is plenty) and close it back up. If you notice any excess water, dab it up with tissue paper.
After around 3-7 days you'll begin to see lots of tiny white dots - these are hyphal knots which will develop into primordia, aka mushroom pins... the exciting part! It'll then only take 4-5 days for them to grow into fully mature mushrooms ready for harvest.
During this time, they'll let you know if something isn't quite right - fuzzy mycelium at the base of the mushrooms and/or thin stems are an indication that more FAE is needed so increasing the fan speed or opening the corner gap a little wider might be something to try.
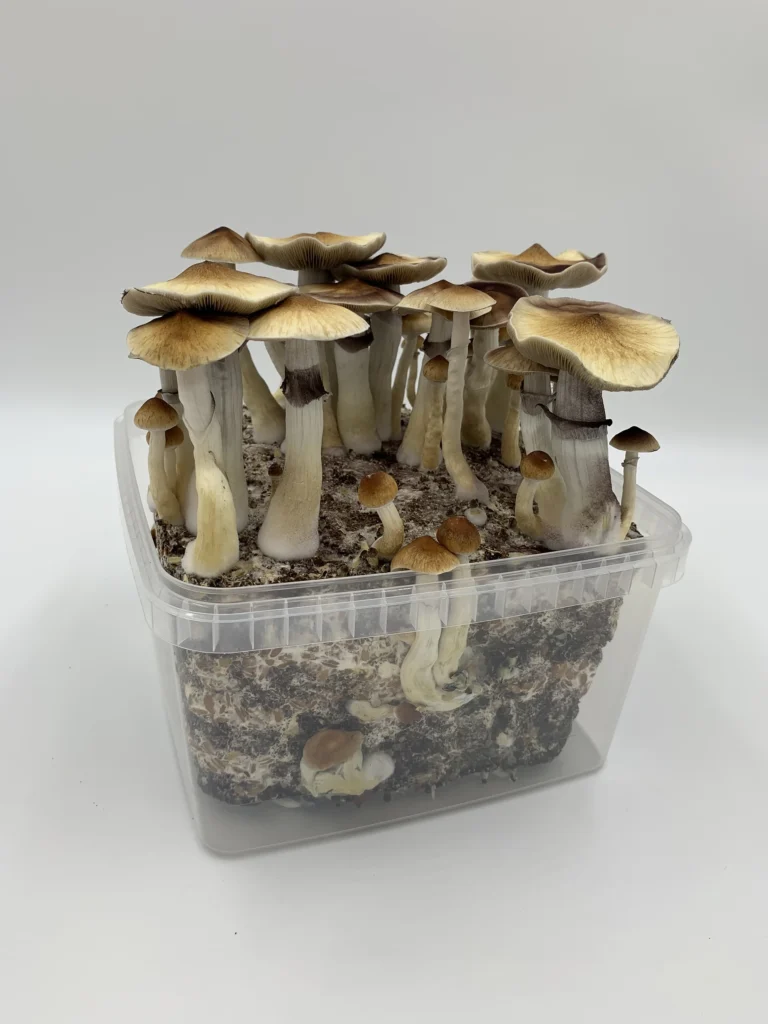
Don't worry about any mushrooms growing around the sides and bottom of the cake, you'll still be able to harvest them. If you want to give your mushrooms more room to grow next time, use a fruiting chamber instead of a grow tent. Check out the photos on our CyLab product page for results when growing inside our CyLab fruiting chamber!
When the veil beneath one of your mushroom caps is about to tear off, this is when you should harvest your first flush. If you don't get there quick enough, spores will begin to drop from your mushroom caps and make a mess!
It's best to cut the mushrooms from the substrate cakes with a clean scalpel or knife. Some people just 'twist and pull' them but this can break some of the cake away with them.
When you've finished harvesting your first flush of mushrooms - make sure to cut off all of them, even the small ones - you should now repeat the dunk and roll process, as you need to get a lot of moisture back into the cakes to support more mushroom growth.
After your cakes are dunked and rolled in vermiculite again, return them to the grow tents. You can also pour your perlite out of the tents into a strainer to re-wet and refresh it before placing your cakes on top - always remember the tin foil below the cakes though!
Follow the process as above to fruit and harvest your second flush of mushrooms and then continue to repeat the full process from dunk and roll onwards for your next flushes...
If you've looked after the kit well, you can expect multiple flushes of mushrooms!
Step 9
Happy shroomin' ♡
Thanks so much for ordering our grow kit. We hope you love using it and reap the rewards!
If there's anything you're still unsure about, get in touch through Messages in your account or the chat button at the bottom of any page. We're a friendly bunch!