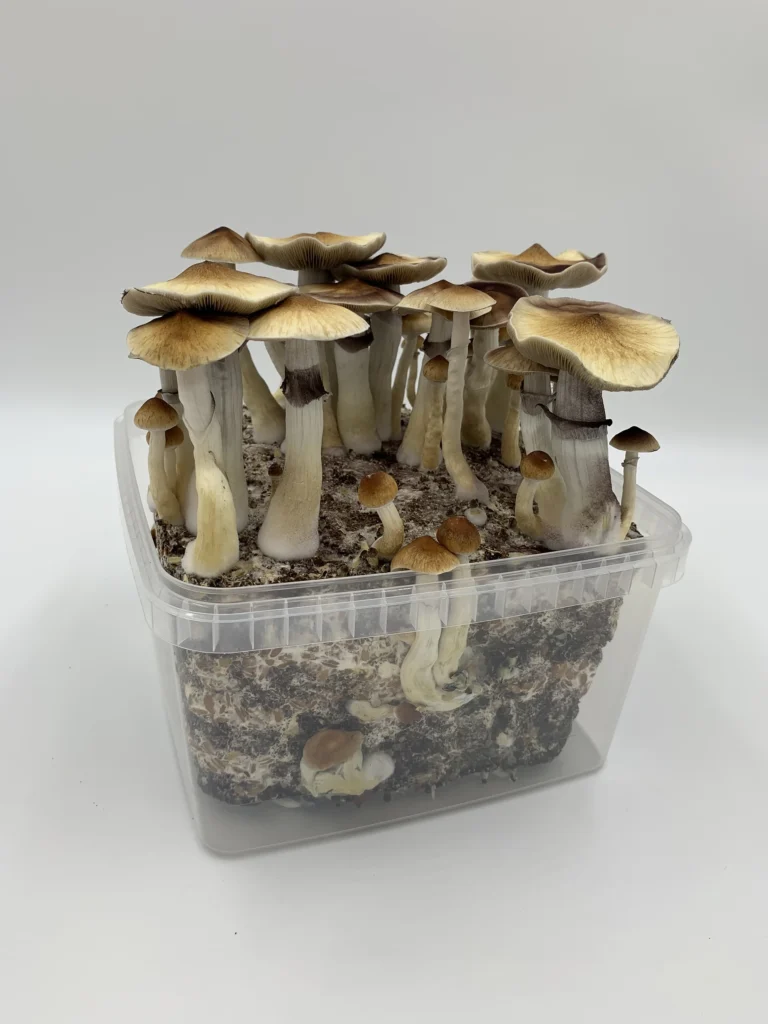
Working with gourmet spore swabs, prints or syringes? Looking to grow those wild species of mushrooms you discovered during your foraging? Our premium Malt Extract AgarPots are the perfect solution, plus they are injectable. Easy to work with, large 120mm diameter with Inject-thru™ lids. Once you have clean growth, simply cut a wedge of mycelium and drop it into our SpawnTubs.
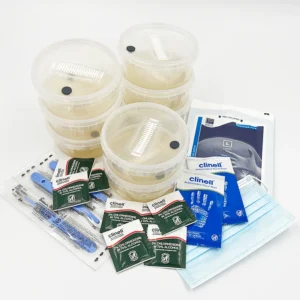
What's in your pack
- 8x AgarPots™ (agar-agar, light malt extract, nutritional yeast and distilled water), sterile wrapped in a breathable sterile bag
- 1x face mask
- 8x 70% IPA / 2% Chlorhexidine wipes
- 2x anti-microbial hand wipes
- 2x sterile gloves (if you picked a glove size)
You will also need
- Your gourmet spore syringe, swab or print
- A sterile needle, if you're using a syringe
- A sterile scalpel for cutting wedges
- A Still-Air Box (SAB)
- SpawnTubs, for when you have clean growth
Step 1
Inoculating your AgarPots
Agar work needs to be done clean. Always work within a Still-Air Box (SAB), in a small, clean and draught-free room.
Get clean: Make sure you're showered with fresh clothes. Clean your hands and forearms with a hand wipe for 40-60 seconds and let them dry completely, then fit your face mask and gloves.
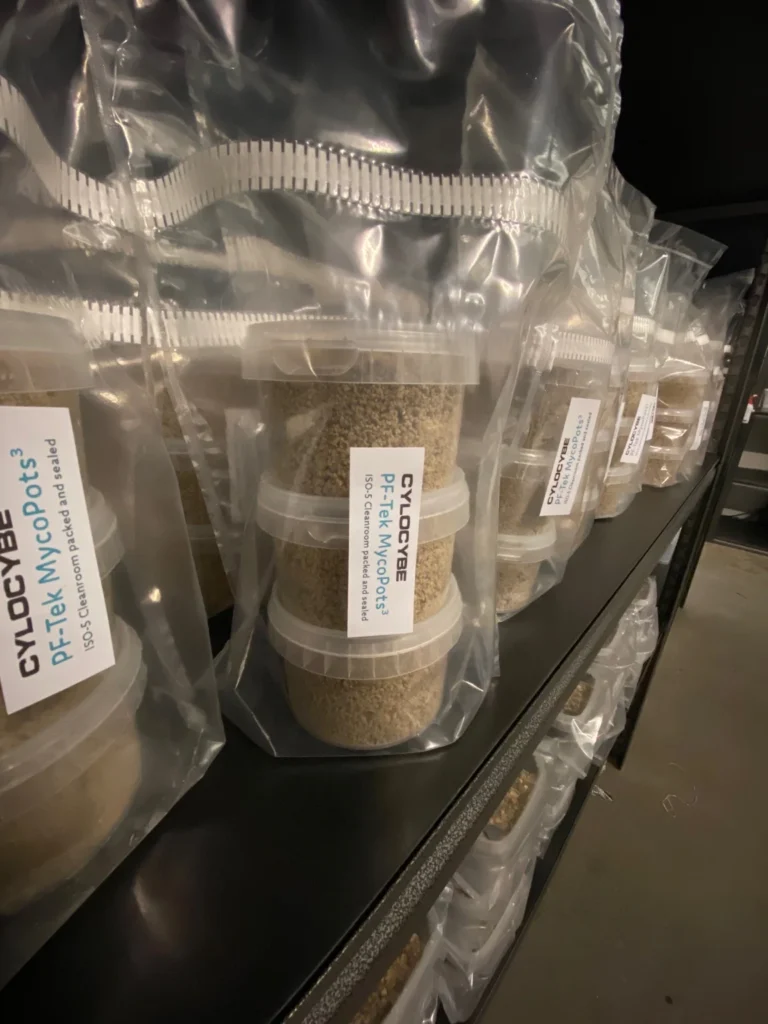
Everything in the SAB: Put your AgarPots (still in their sterile bag), wipes and syringe, swab or print inside the SAB before you start. The AgarPots are packed within a breathable sterile bag, so you can take them out for inoculation and easily place them back inside to colonise cleanly.
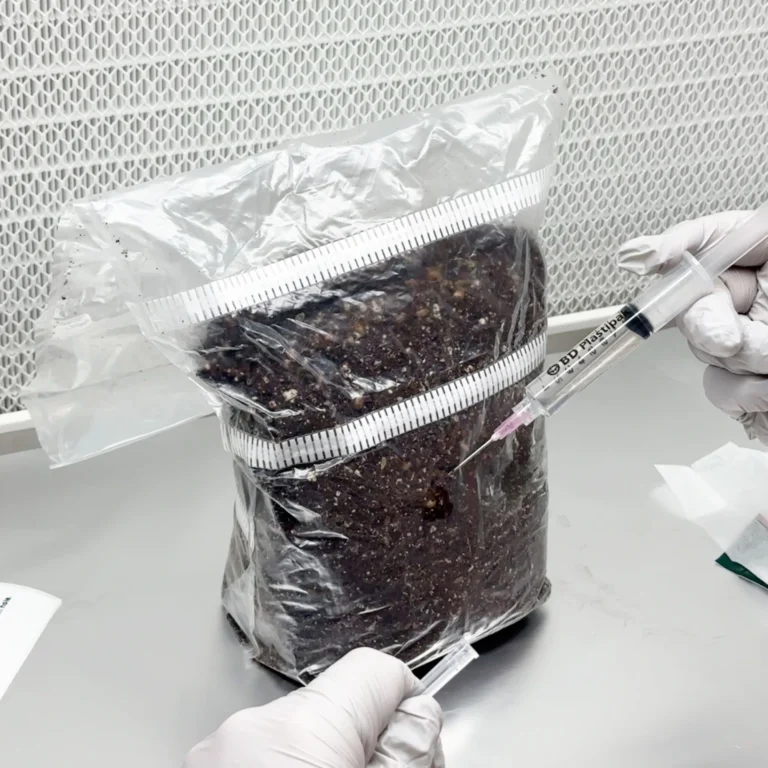
With a syringe: Screw a sterile needle onto your syringe, wipe the Inject-thru™ port on the lid with a 70% IPA / 2% Chlorhexidine wipe for 40-60 seconds and let it dry, then pierce the port and let only a droplet or two fall onto the agar.
With a swab or print: Lift the lid only as far as you need to, gently streak the swab (or a little of the print) across the surface of the agar, and close the lid straight away.
Back in the bag: Put your inoculated AgarPots back inside their sterile bag to colonise cleanly.
Step 2
Colonisation
Somewhere warm: Keep your AgarPots somewhere warm and steady - aim for 23C (give or take a couple of degrees). Avoid heat mats!
Leave them alone: Try not to open or handle them while the mycelium grows.
What clean growth looks like: Healthy mycelium is white. Anything coloured, slimy or with a strange smell is contamination - don't use it.
 Open the photo full size
Step 3
Into your SpawnTubs
Back in the SAB: Get clean again (hands and forearms for 40-60 seconds), then work inside your SAB.
Cut a wedge: Once you have clean growth, cut a wedge of the clean white mycelium with a sterile scalpel.
Drop it in: Drop the wedge into your SpawnTub and close it straight away. Then colonise the SpawnTub as its own guide explains.
Step 4
Happy shroomin' ♡
Thanks so much for ordering our grow kit. We hope you love using it and reap the rewards!
If there's anything you're still unsure about, get in touch through Messages in your account or the chat button at the bottom of any page. We're a friendly bunch!