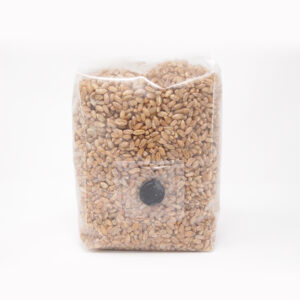
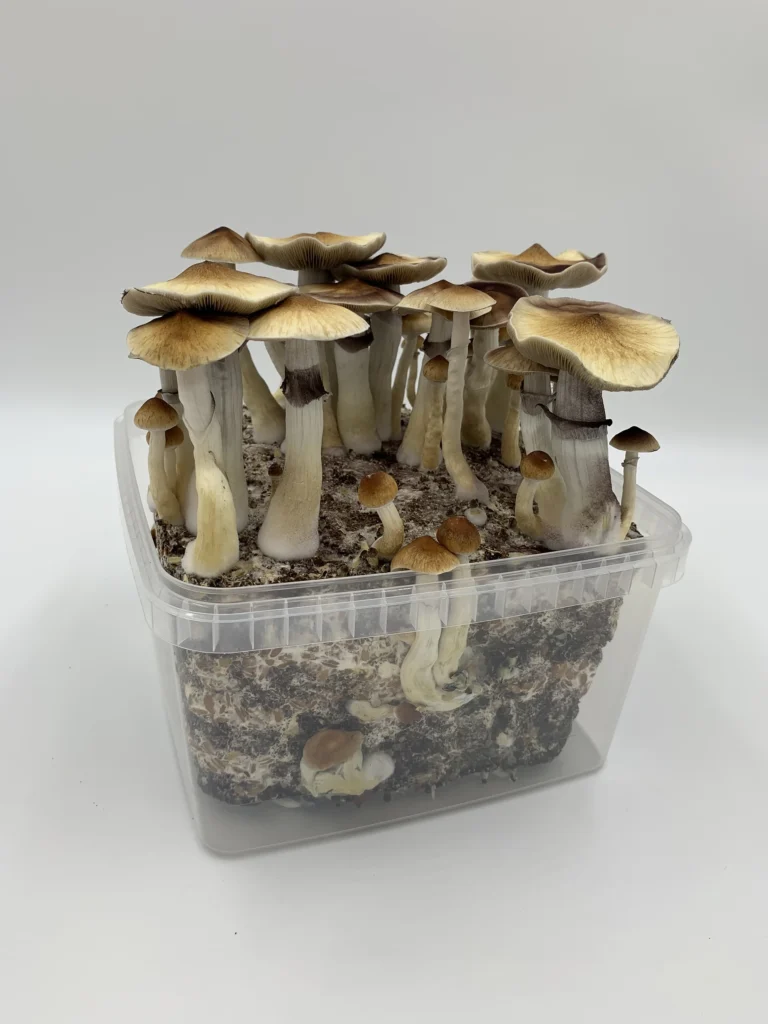
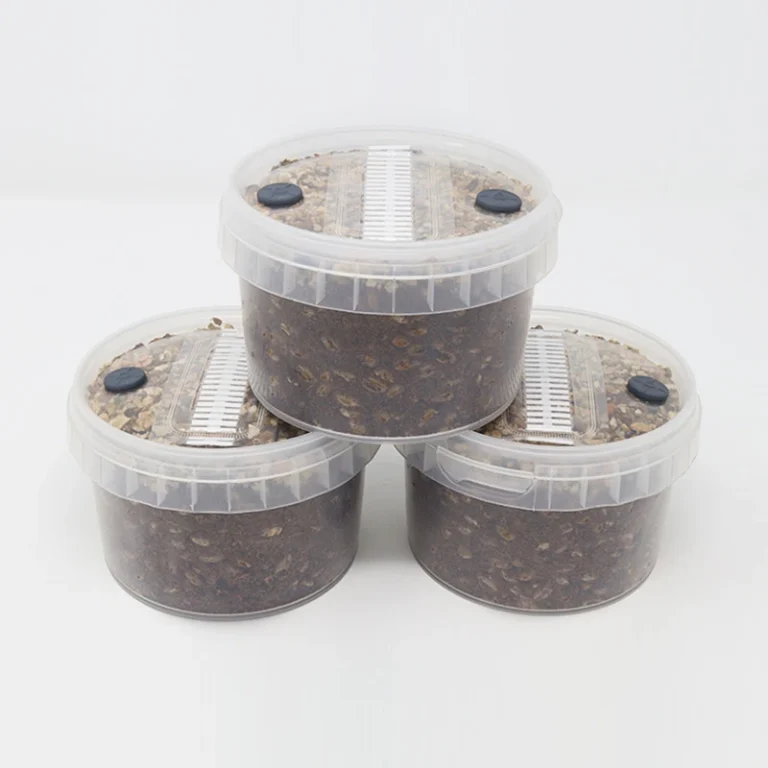
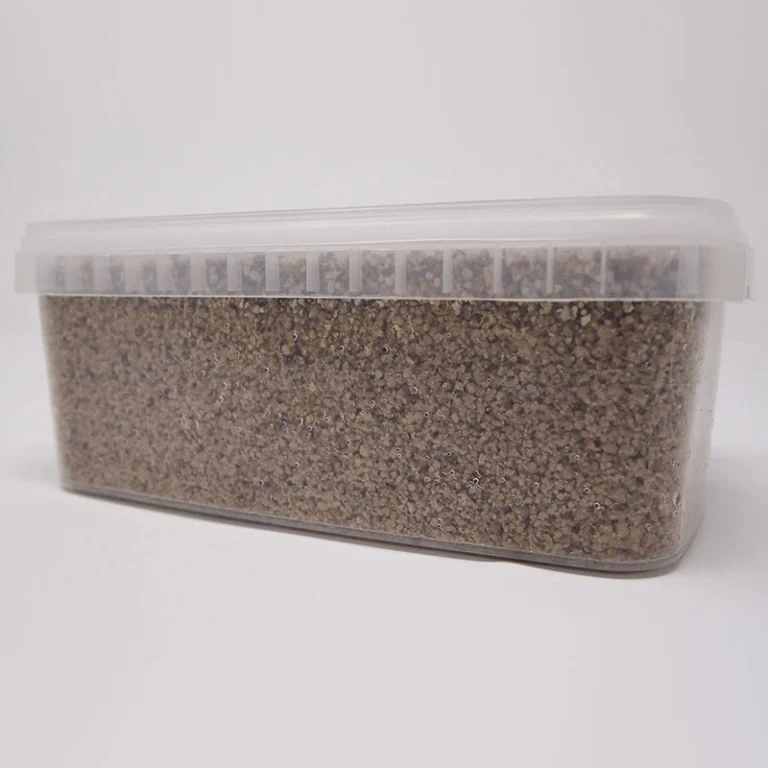
Wanna do bulk? This is a monotub kit and it comes with everything you need to grow a massive amount of mushrooms - all you add is your syringe and a tub (we recommend an IKEA SAMLA 65L tub). It's a common misconception that a grain is more difficult for newcomers, don't believe it. We first started out with grain and had amazing results, and you will too.
What's in your kit
- 2x 1KG MycoBags of rye grain spawn with added gypsum, each with an injection port and HEPA filter (each one is around the same as 2x 1L spawn jars!)
- 650g coco coir (1 brick)
- 2L vermiculite
- Hygiene Kit: face mask, 2x hand wipes, 2x 70% IPA / 2% Chlorhexidine wipes and 2x spare sterile needles (one of each for every MycoBag), plus sterile gloves if you picked a glove size
You will also need
- A gourmet spore or liquid culture syringe with 4-6ml of solution (2-3ml for each bag) - a 6ml syringe or bigger
- A monotub - we recommend an IKEA SAMLA 65L tub, with its lid
- An IKEA SAMLA 45L tub to weigh the cake down when you rehydrate it (optional, but it makes it easy)
- A clean bucket of at least 10 litres, with a lid
- A kettle for around 4 litres of boiling water
- A drill with 25mm and 50mm hole saw bits (or something else to make the holes)
- Polyfill (pillow stuffing) for the holes
- Micropore tape
- A spray bottle for misting
- A clean scalpel or knife for harvesting
Step 1
Inoculation of your spawn bags
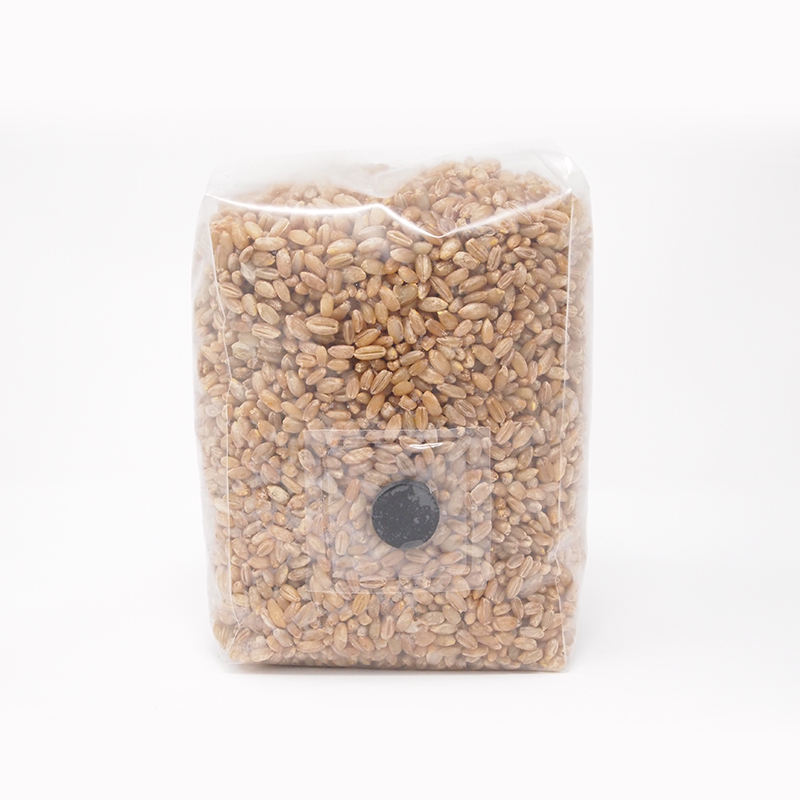 Open the photo full size
Work in a small, clean and draught-free room. We always recommend working within a Still-Air Box (SAB) when inoculating spawn.
Get clean: Make sure you're showered with fresh clothes. Clean your hands and forearms with the hand wipe for 40-60 seconds, then fit your face mask and gloves.
Get your syringe ready: Give your syringe a good shake to break up any clumps, then screw on one of the sterile needles we've given you.
Clean the port: Wipe the rubber injection port on the first MycoBag with a 70% IPA / 2% Chlorhexidine wipe for 40-60 seconds and give it a few seconds to dry.
Leave the filter alone: The white HEPA filter on the bag filters out dust and mould spores and allows clean air exchange. Don't touch it, cover it or try to remove it!
Inject: Pierce the injection port and inject 2-3ml of your gourmet spore or liquid culture solution into the grain.
Second bag: Do the same with the other MycoBag, using the second sterile needle.
Step 2
Colonisation of your spawn
Leave your spawn bags in a safe, warm place to fully colonise, standing up with the filters free to breathe. Temperature is so important for success - aim for 23C (give or take a couple of degrees). Being too hot or too cold may result in contamination or slow to no mycelium growth.
Using a liquid culture, agar or grain-to-grain instead of spores? Aim for 26C - those are live mycelium, not spores.
Keep it steady: Try to maintain a consistent temperature, i.e. don't let it go up and down too much.
Avoid heat mats! They will cause excessive condensation leading to water build-up and an easy pathway for contamination to enter your spawn. Consider building or buying an incubator if you're struggling to keep the temperature up.
Squeeze it once (optional): Squeeze the colonised grain to break up the mycelium at around 50-60% if you want - this will help speed up growth by spreading the mycelium further afield.. but, just do it once or it may end up stalling!
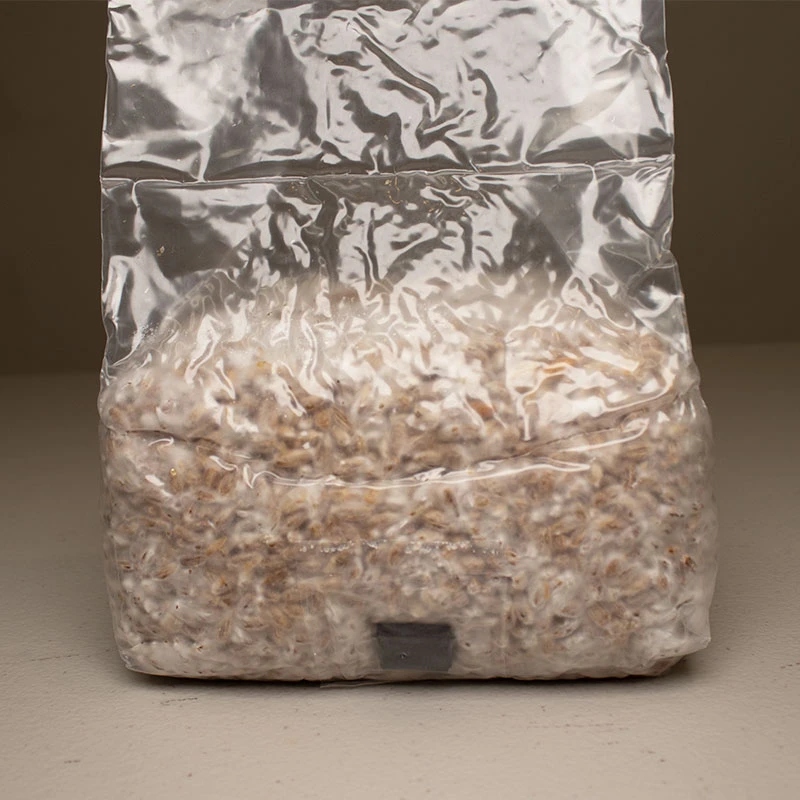
Ready? Your spawn is fully colonised when all of the grain is completely covered in healthy, white mycelium.
Give it a few extra days: Even once it looks fully colonised, if you have the patience, give it an extra 3-7 days - this will almost guarantee full colonisation in the places you can't see.
 Open the photo full size
Step 3
Preparing your substrate
Sterilising coir is COMPLETELY unnecessary for the monotub tek. And so is proper pasteurisation. With a full brick, the easiest way to get it ready is with boiling water in a bucket - it hydrates the coir and kills off what you need it to kill in one go. Healthy mycelium mixed in with it will outrun everything else unless you are doing something wrong, like temp issues or bad spawn.
Into the bucket: Put your coir brick and the 2L of vermiculite into a clean bucket.
Boiling water: Pour in around 4 litres of boiling water, put the lid on and leave it until it's completely cool - overnight is ideal. Warm substrate will cook your mycelium.
Mix and check: Break up the coir and mix it all together. It should be at 'field capacity' - when you squeeze a handful of it hard, you get a tiny short stream of water which comes to an abrupt stop. Too wet? Squeeze some out. Too dry? Pour a little more in - it's easy to get right.
Step 4
Preparing your monotub
Clean it: Give your tub and lid a good clean with hot soapy water, making sure to rinse all the soap off.
Air holes: Most growers use 25mm (1 inch) and 50mm (2 inch) holes, made with a hole saw drill bit. A popular setup for a 65L SAMLA is two 50mm holes on each long side and one 25mm hole on each short side, all about 5cm above where the top of your substrate will sit - around 10-12cm up from the bottom of the tub. That puts the fresh air right where your mushrooms grow.
Cover them for now: Put micropore tape over every hole for colonisation.
Step 5
Spawn to bulk
Get clean again: Clean your hands and forearms thoroughly and fit your gloves.
Break up the spawn: Squeeze and break up the colonised grain through each bag until it separates into individual grains.
Keep some back: Take a couple of good handfuls of your prepared substrate and set them aside for later.
Mix: Open both spawn bags and mix all of the grain through the rest of your substrate in the tub, as evenly as you can - the better you spread it, the faster colonisation will be.
Level it: Spread it out into an even layer around 5-6cm deep and press it down gently so the surface is flat.
Top it off: Spread the handfuls you kept back evenly over the top until you can't see any exposed grain. This is called a casing layer.
Lid on: Put the lid on, keeping the tape over the holes.
Step 6
Colonisation of your monotub
Store your monotub somewhere warm - aim for 23C (give or take a couple of degrees). Getting the temperature right here is absolutely crucial for success: you need colonisation to be quick, or there's a high risk of contamination taking hold.
Leave it alone: Keep the lid on and don't disturb it while it colonises. It doesn't need light yet.
How long? In the right conditions, full colonisation of the substrate takes around 7-14 days.
Ready? It's ready when the surface is covered in strong, healthy white mycelium.
Give it a few extra days: Even once it looks fully colonised, if you have the patience, give it an extra 3-7 days - this will almost guarantee full colonisation in the places you can't see.
Step 7
The best bit... Fruiting your mushrooms!
Maintain a temperature of around 21C (give or take a couple of degrees), this tends to be great for many popular species. Humidity and FAE (fresh air exchange) are extremely important for pinning and healthy mushroom development, as is temperature and light. They will all need to work in harmony.
Open the holes: Take the tape off the air holes and stuff each one loosely with polyfill. That's your fresh air, while dust and flies stay out.
Humidity: Coir stores a whole lot of water, and that will be your humidity source. A bit of condensation on the walls of the tub is exactly what you want.
Mist and fan: Misting 3-6 times a day and fanning is recommended for best results. Give the walls and the air above the cake a light mist rather than blasting the surface, then lift the lid and waft it a few times to swap the air inside the tub. After a rehydration, wait at least 24 hours before you start misting again.
Light: Your mushrooms will need light to grow - we recommend indirect sunlight or a 5000-6500K LED or fluorescent light a couple of feet away, for around 12 hours a day.
Pins! After around 3-7 days you'll begin to see lots of tiny white dots - these are hyphal knots which will develop into primordia, aka mushroom pins... the exciting part! It'll then only take 4-5 days for them to grow into fully mature mushrooms ready for harvest.
Listen to them: Your mushrooms will let you know if something isn't quite right - fuzzy mycelium at the base of the mushrooms and/or long thin stems mean more FAE is needed, so fan it more often or loosen the polyfill a little.
Step 8
Harvesting and more flushes
Harvest time: When the veil beneath one of your mushroom caps is about to tear, it's time to harvest. If you don't get there quick enough, spores will begin to drop from your mushroom caps and make a mess! Cut them off with a clean scalpel or knife, trying not to damage the substrate too much, and take every mushroom off the cake, even the small ones.
Give it its water back: Your cake is too big to take out in one piece, so it's rehydrated right where it is. Pour cool fresh water into the tub over the cake. It will float, so weigh it down with another tub - ideally an IKEA SAMLA 45L tub filled with water, sitting inside your 65L tub on top of the cake. Leave it for 6-24 hours.
Drain it: Take the weight out, then drill a small hole in one bottom corner of the tub and tilt it so all of the water drains out. Don't leave any water sitting in the bottom of the tub. Cover the hole with tape afterwards so it's ready for next time.
Back to fruiting: Put the lid back on and carry on as before. Your next flush should start to pin within a week or so.
Repeat: Rehydrate after every flush. If you've taken good care of it, you should achieve multiple flushes of mushrooms before the nutrients are all used up.
Step 9
Happy shroomin' ♡
Thanks so much for ordering our grow kit. We hope you love using it and reap the rewards!
If there's anything you're still unsure about, get in touch through Messages in your account or the chat button at the bottom of any page. We're a friendly bunch!