The container
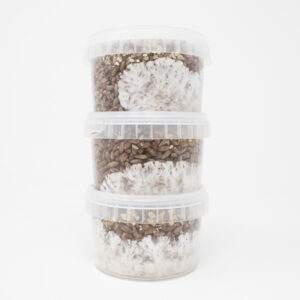
| Container | SAC O2 Microbox O95/60, from Belgium |
|---|---|
| Size | 280 ml. Lid 90 mm across, base 80 mm, 60 mm tall. |
| Material | Clear, tough polypropylene, so you can watch the mycelium grow. The lid seals airtight. |
| Filter | White #10 filter in the lid: the lowest of SAC O2's three air-exchange grades, made for long incubation. |
| How the filter works | Randomly arranged fibres, working on the HEPA principle, trap mould spores, mites and thrips while air passes through. |
| Heat | Can be autoclaved at up to 123 °C. |
| Afterwards | Box and lid are 100% recyclable. |
Follow this guide to get the best out of your Rye Grain MycoPots Grow Kit. Three pots of coffee-enhanced organic rye grain and gypsum, completely sterile inside and out and ready to inject. These kits are tailored for speed!
What's in your kit
- 3x 280ml MycoPots of organic rye grain and gypsum (and coffee water!)
- 3x grow tents to fruit each MycoPot on its own, plus 1x XXL Grow Tent to fruit them all together
- 2L perlite to keep the humidity up while your mushrooms fruit
- Hygiene Kit: face mask, 2x hand wipes, 3x 70% IPA / 2% Chlorhexidine wipes and 3x spare sterile needles (one of each for every MycoPot), plus sterile gloves if you picked a glove size
You will also need
- A gourmet spore or culture syringe
- A strainer or sieve for rinsing the perlite
- A clean scalpel or knife for harvesting
Step 1
Inoculation of your MycoPots
Work in a small, clean and draught-free room. We always recommend working within a Still-Air Box (SAB) when inoculating any product.
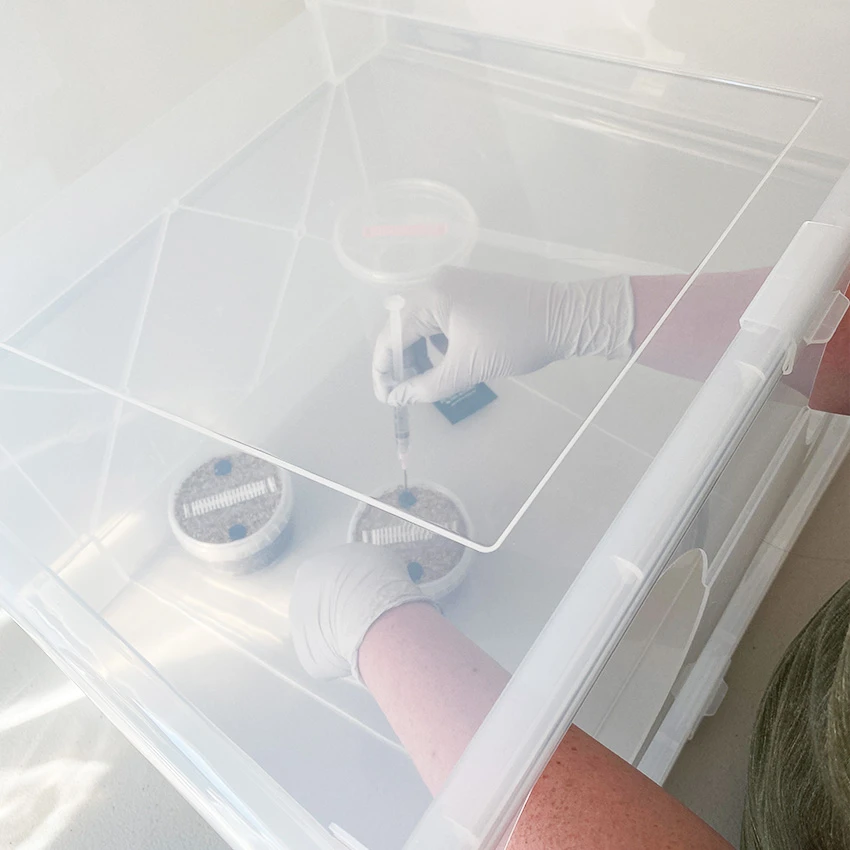 Open the photo full size
Get clean: Make sure you're showered with fresh clothes. Clean your hands and forearms with the hand wipe for 40-60 seconds and let them dry completely before fitting your gloves - trust us, you won't get them on otherwise!
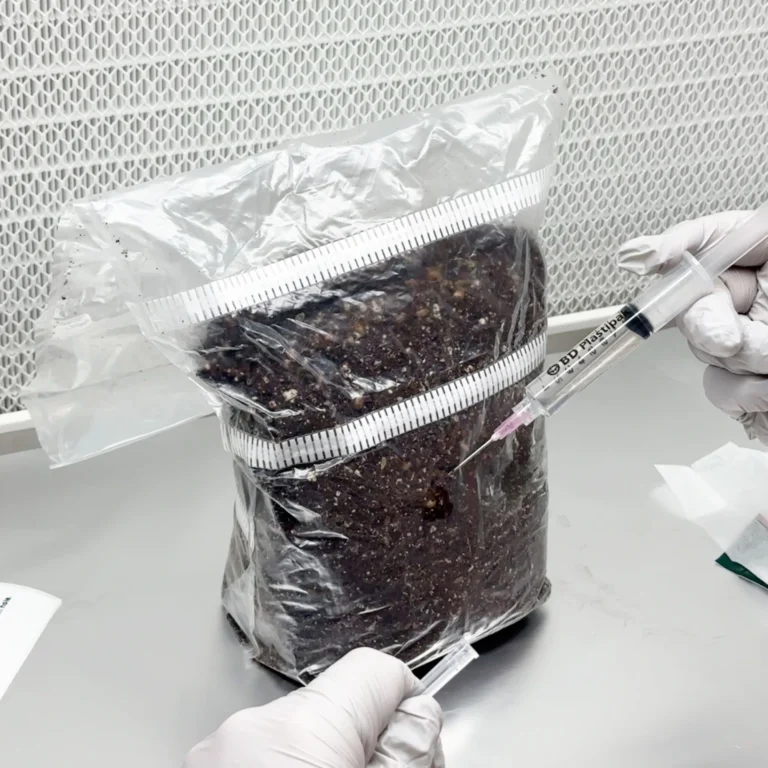
Get your syringe ready: Give your syringe a good shake to break up any clumps, then screw on one of the sterile needles we've given you.
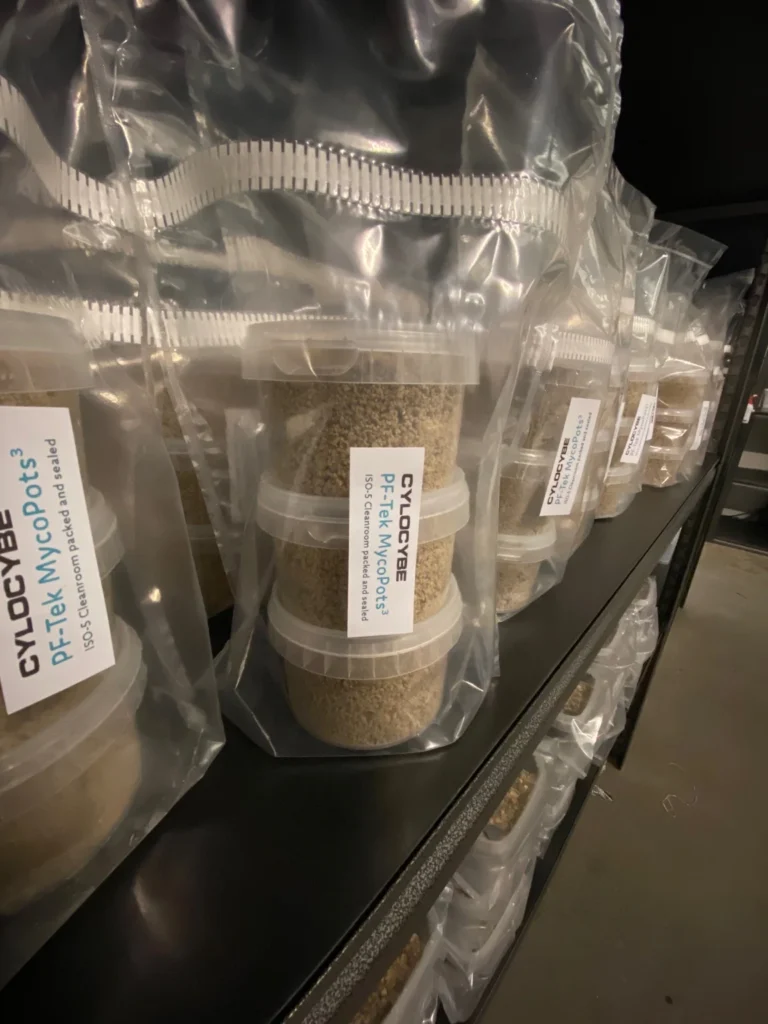
Take your MycoPots out of the bag: We bag them in front of a flowhood before heat-sealing them, so the injection ports are clean enough to inject as long as you don't touch them. If you do touch them, give them a wipe with the 70% IPA / 2% Chlorhexidine wipe for 40-60 seconds and let them dry for a few seconds.
Leave the filters alone: The white HEPA filters on the lids filter out dust and mould spores and allow clean air exchange. Don't touch them or try to remove them!
Inject: Pierce the injection port on the first MycoPot (there's just the one) and inject 1ml of your gourmet spore or culture solution. Try to get close to where the substrate meets the plastic wall, you'll see the mycelium much sooner.
Repeat: Do the same with the other two MycoPots, using a new needle for each one - we've given you three, one for each MycoPot.
Step 2
Colonisation of your MycoPots
Leave your MycoPots alone in a warm place to fully colonise. Temperature is so important for success - 23C (give or take a couple of degrees) is great. Being too hot or too cold may result in contamination or slow to no mycelium growth.
Using a liquid culture, agar or grain-to-grain instead of spores? Aim for 26C - those are live mycelium, not spores.
Keep it steady: Try to maintain a consistent temperature, i.e. don't let it go up and down too much.
Avoid heat mats! They will cause excessive condensation leading to water build-up and an easy pathway for contamination to enter your MycoPots. Consider building or buying an incubator if you're struggling to keep the temperature up - it's way cheaper than keeping your home heating on all the time and gives much better results too.
Keep them out of direct sunlight: A cupboard or a shelf out of the sun is perfect.
How long? With a culture syringe, these can be colonised in 10-14 days. With gourmet spores it's a few weeks, give or take. Exact times are impossible to say - patience, they are fast enough.
Can't see anything yet? Hang in there. If you injected deeper into the grain, it'll take a bit longer before you can see the mycelium through the pot.
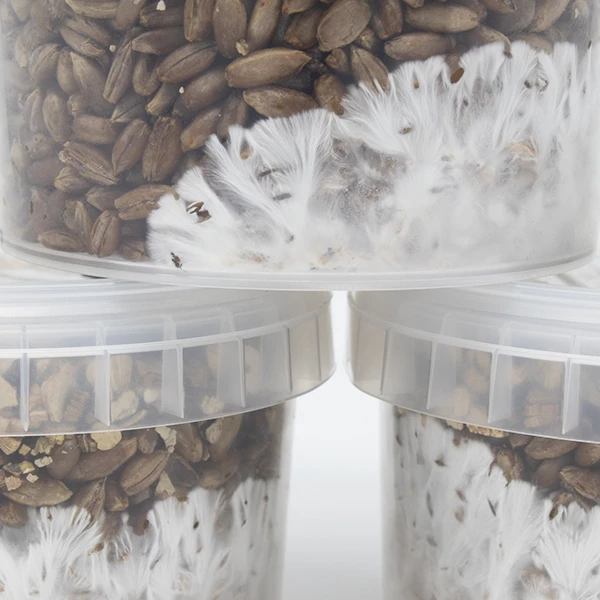
Ready? Your MycoPots are fully colonised when the grain is completely covered in white mycelium.
Give them a few extra days: Even once they look fully colonised, if you have the patience, give them an extra 3-7 days - this will almost guarantee full colonisation in the places you can't see.
 Open the photo full size
Step 3
Perlite for maximum humidity
Rye grain doesn't hold on to water the way the coir and grain mix in our other MycoPots does, so it can't provide much of its own humidity. That's where the perlite comes in - soaked and sitting in the bottom of your grow tents, it keeps the air nice and humid the whole time your mushrooms are growing.
Cover up: Please cover your mouth and nose when working with perlite - it's dusty and nasty to work with (take it from us).
Rinse and soak: Pour your perlite into a strainer and rinse it under a tap until all the dust is gone and it's soaking wet.
Fill your tents: You can fruit each MycoPot on its own in one of the three smaller grow tents, or all three together in the XXL Grow Tent - it's up to you. Split the perlite evenly between the three smaller tents, or dump it all into the XXL Grow Tent - don't worry if it's still dripping wet.
Step 4
Into the grow tents
Unlike our other MycoPots, the rye grain stays in its pot to fruit. Once it's colonised, rye grain can break apart into individual grains far too easily if you take it out of the pot.
Lids off: Once your MycoPots are fully colonised, take the lids off and store them away for another time.
In they go: Carefully place one MycoPot into each smaller grow tent, or all three into the XXL Grow Tent, sitting upright on the perlite.
Close them up: Fold over the top of each tent to keep the humidity inside and the dusty nasties out! A little tape or a paper clip might come in handy if it's not staying closed. In the XXL Grow Tent: Fold the top of the tent over, leaving a gap at one corner for top-FAE (Fresh Air Exchange), and tuck the piece of filter material we give you into that gap. It holds the gap open, helps keep the humidity in and keeps flies and dust out.
Step 5
The best bit... Fruiting your mushrooms!
Maintain a temperature of around 21C (give or take a couple of degrees), this tends to be great for many popular species. Humidity and FAE (fresh air exchange) are extremely important for pinning and healthy mushroom development, as is temperature and light. They will all need to work in harmony.
Mist and fan: Misting 3-6 times a day and fanning is recommended for best results. Open the tent, give the grain a fine mist of water, fan in some fresh air (a wave of your hand or a piece of card is plenty) and fold it straight back over.
Keep the perlite drenched (recommended, but not totally necessary): Perlite can dry out quickly, so be prepared to pour some water into each grow tent every other day (around the MycoPot, not into it) and mix it around with a clean hand so the perlite becomes drenched. It's okay to have an excess of water in there. Adding a little bit of 3% hydrogen peroxide to the water can help kill microbes.
Fresh air: In the smaller tents, cut a 1cm slit through both sides of each tent, near to the top (the XXL Grow Tent has its corner gap instead), and place an electric fan somewhere in the room on a low setting. This will create a gentle air current in the room which will increase FAE inside the grow tents.
Light: Your mushrooms will need light to grow - we recommend indirect sunlight or a 5000-6500K LED or fluorescent light a couple of feet away.
Looking dry? If the inside of a tent looks dry, the room may be too cold for humidity to build up, the fan may be too close, the slits may be too big (cover the extra with tape) or your grow lights may be too close and drying things out. Observe what's happening and adjust your setup as required - fantastic results depend on it.
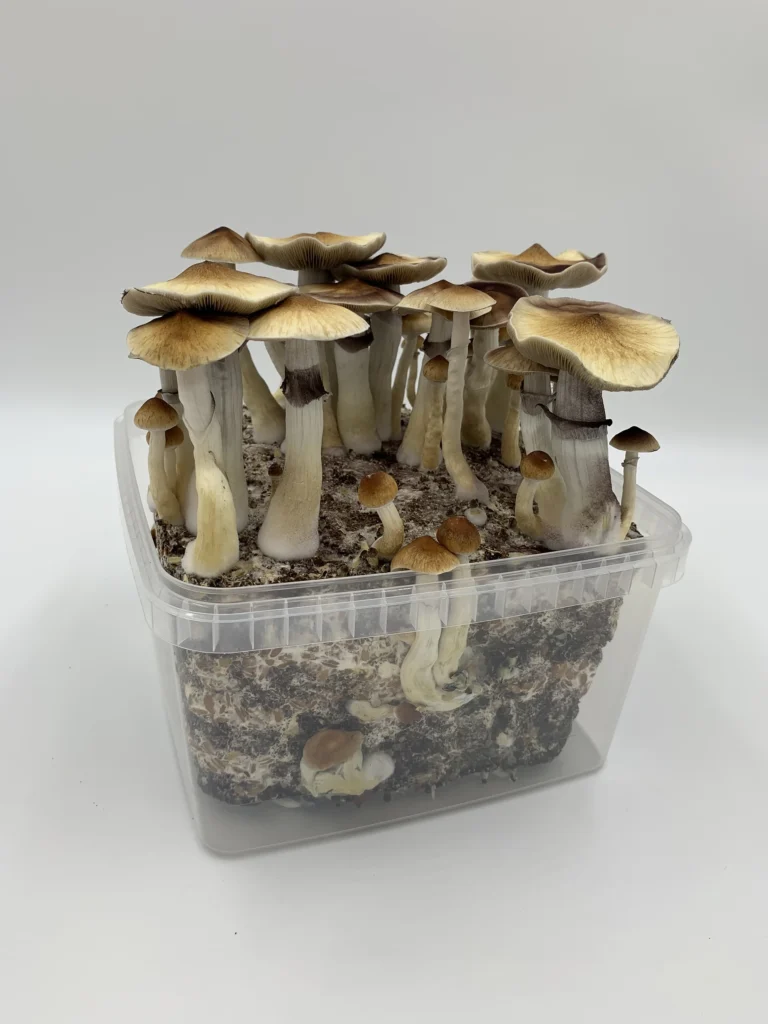
Pins! After around 3-7 days you'll begin to see lots of tiny white dots - these are hyphal knots which will develop into primordia, aka mushroom pins... the exciting part! It'll then only take 4-5 days for them to grow into fully mature mushrooms ready for harvest.
Listen to them: Your mushrooms will let you know if something isn't quite right - fuzzy mycelium at the base of the mushrooms and/or thin stems mean more FAE is needed, so try turning the fan up a little or making the slits a bit longer.
Step 6
Harvesting and more flushes
Harvest time: When the veil beneath one of your mushroom caps is about to tear, it's time to harvest your first flush. If you don't get there quick enough, spores will begin to drop from your mushroom caps and make a mess! Cut them off with a clean scalpel or knife, trying not to damage the substrate too much.
No dunking for rye grain: Unlike most of our other kits, you can't dunk rye grain. Taken out of its pot it would fall apart into individual grains, and it wouldn't soak up much water anyway - it's just colonised grain, not a substrate like coir, which can take in massive volumes of water for its weight. That's exactly why the perlite and misting matter so much with this kit.
Refresh the perlite: After each harvest, pour your perlite into a strainer, rinse it and give it a good soak before it goes back in the tent - don't worry if it's still dripping wet.
Back in the tents: Once the perlite is back in, sit your MycoPots on it and close the tent(s) up again.
Repeat: Keep misting and keep the perlite wet after every flush. Show them some love (and humidity!) and you can get 3+ harvests before the substrate is completely shrunk and spent of nutrients.
Step 7
Happy shroomin' ♡
Thanks so much for ordering our grow kit. We hope you love using it and reap the rewards!
If there's anything you're still unsure about, get in touch through Messages in your account or the chat button at the bottom of any page. We're a friendly bunch!