The container
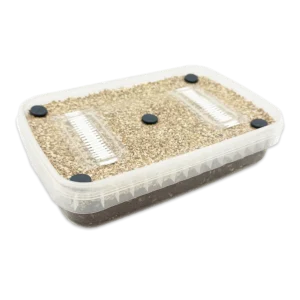
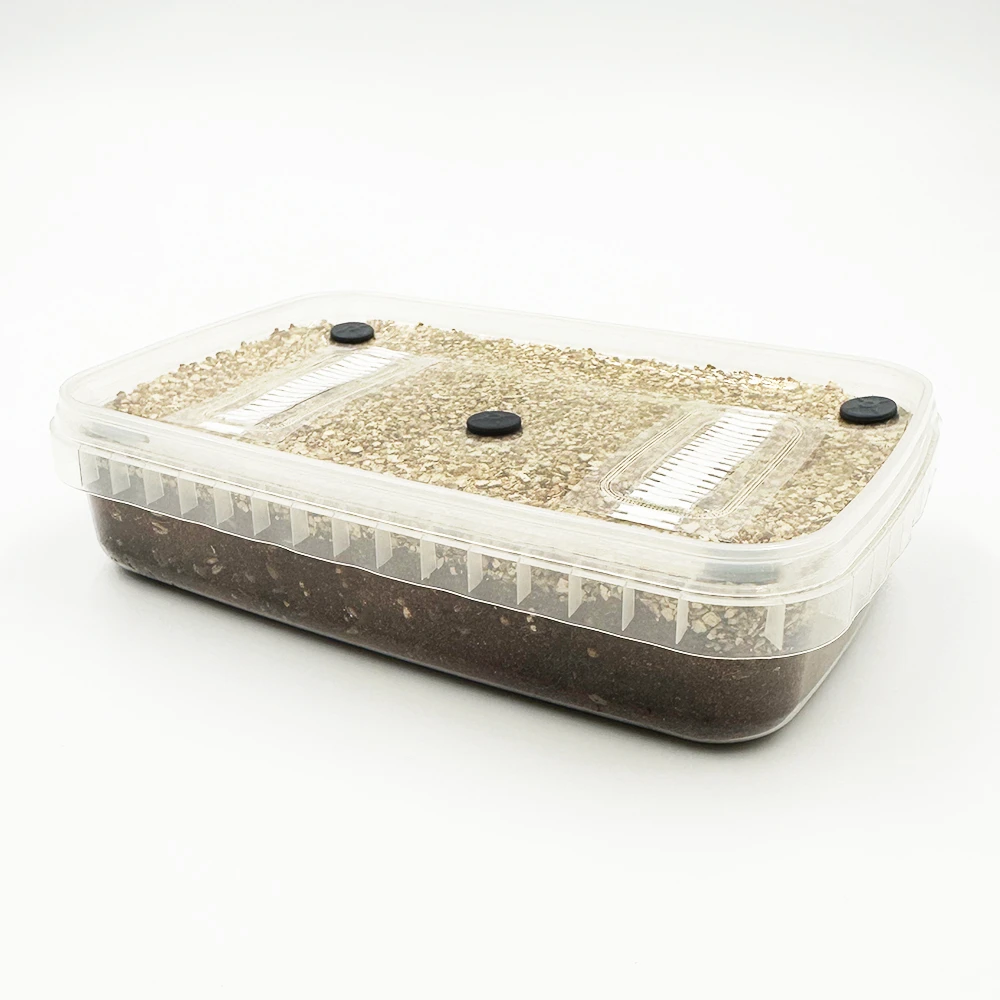
| Container | SAC O2 Microbox TP750, from Belgium |
|---|---|
| Size | 750 ml. Lid 180 x 120 mm, base 172 x 110 mm, 45 mm tall. |
| Material | Clear, tough polypropylene, so you can watch the mycelium grow. The lid seals airtight. |
| Filter | White #30 filter in the lid: SAC O2's middle air-exchange grade, white rather than red so the colour is never confused with contamination. |
| How the filter works | Randomly arranged fibres, working on the HEPA principle, trap mould spores, mites and thrips while air passes through. |
| Heat | Can be autoclaved at up to 123 °C. |
| Afterwards | Box and lid are 100% recyclable. |
Step 1
Inoculation of Sterile Cylocybe Special Substrate
Work in a small, clean and draught-free room. We always recommend working within a Still-Air Box when completing inoculations of any product.
 Open the photo full size
Make sure you're showered with fresh clothes. Clean your hands and forearms with one of the hand wipes for 40-60 seconds, then fit your face mask and gloves securely.
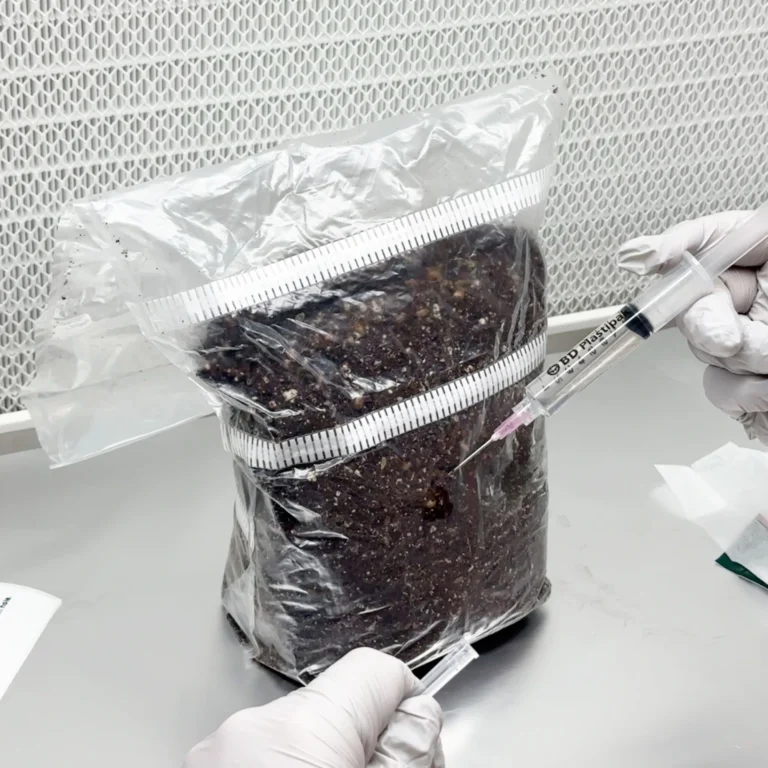
Prepare your chosen gourmet mushroom spore/culture syringe for use by screwing in the new sterile needle we've given you.
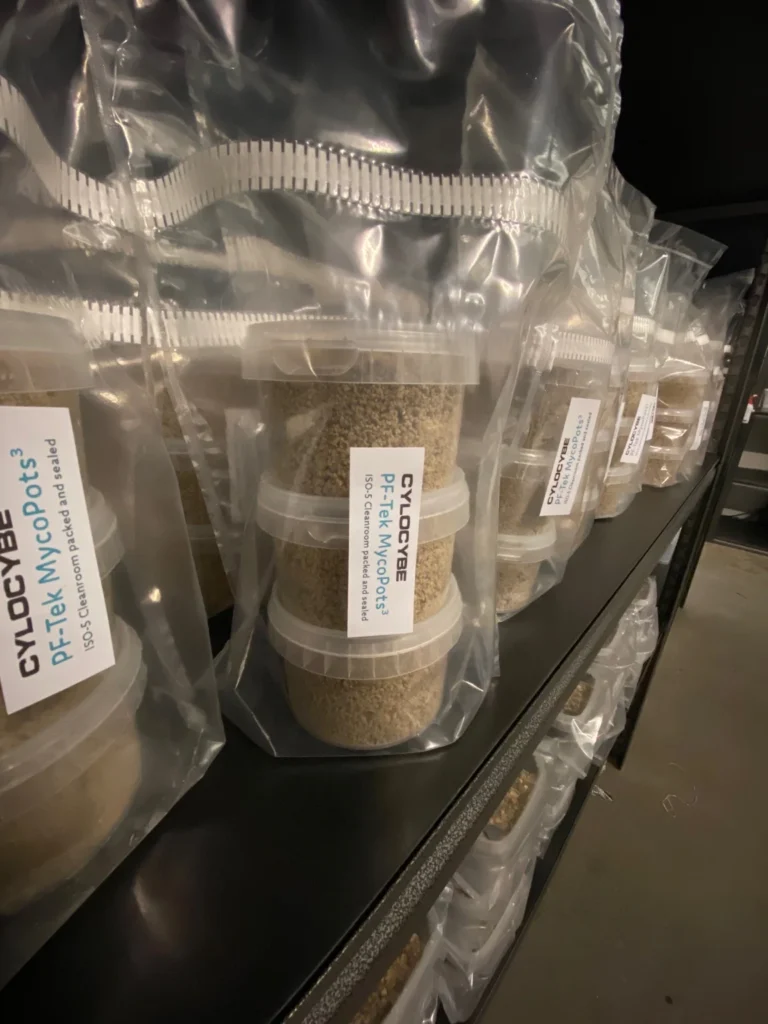
Remove your box from the bag. It's now exposed to the open air and potential contaminants - this is where working within a SAB will greatly reduce your chance of contamination.
Clean all of the grey rubber injection ports on the box lid with a 70% IPA / 2% Chlorhexidine wipe for 40-60 seconds. Don't touch or try to remove the white air filter strips - this is essential.
Spread 3ml of your gourmet spore or culture solution between every injection port - take care and do not add any more than 3ml in total to your box.
If you have any solution left and want to store it - put the cover back on the needle and keep the syringe in a cool, dark place - a drawer is ideal.
Step 2
Colonisation of Cylocybe Special Substrate
Mycelium is living and needs to breathe, so don't ever store your box in an airtight container. The cardboard box it arrived in is an ideal place to now store your colonising box to keep it clean.
Temperature is so important for achieving good colonisation results. Being too hot (above 26C) or too cold (below 18C) may result in contamination or slow to no colonisation growth.
Stay around 23C (give or take a couple of degrees) and try to maintain a consistent temperature, ie. don't let the temperature go up and down too much.
Using a liquid culture, agar or grain-to-grain instead of spores? Aim for 26C - those are live mycelium, not spores.
Avoid heat mats please! The warmth is not spread equally which may create excessive condensation, leading to water build-up and an easy pathway for contamination to enter your box. Consider building or buying an incubator if you're struggling to maintain these temperatures - it's way cheaper than keeping your home heating on all the time and gives much better results too.
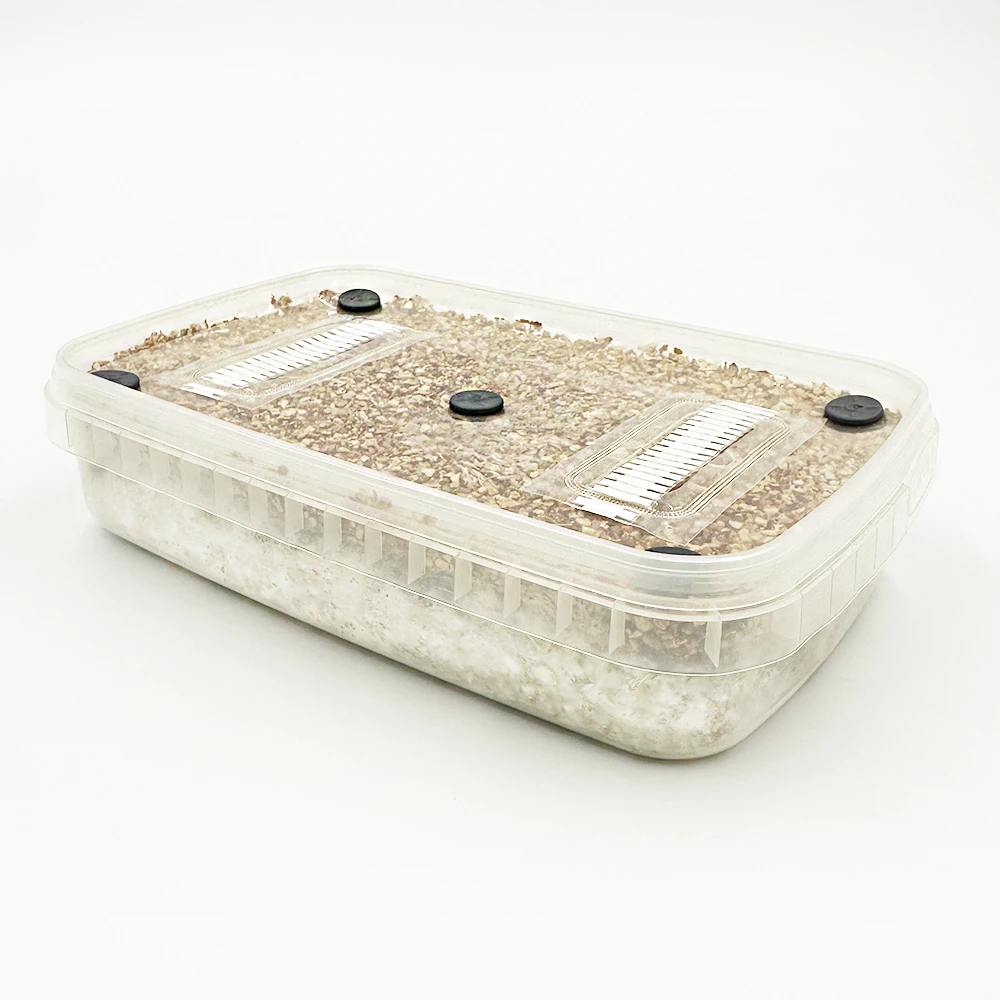
At 23C (give or take a couple of degrees) it will generally take around 3-5 weeks at optimum conditions for the substrate to reach full colonisation - but this does depend on other factors like genetics, etc. and nature being unpredictable! Even once it looks fully colonised, if you have the patience, give it an extra 3-7 days - this will almost guarantee full colonisation in the places you can't see.
 Open the photo full size
Step 3
Dunking for Humidity and Hydration
When the substrate is fully colonised i.e. completely covered in white mycelium, you are ready to use a method called 'dunking' to prepare for fruiting. Do not ever take the lid off your box before full colonisation (if the dry vermiculite layer on top isn't covered in mycelium, this is okay! You are just looking for the dark substrate underneath to now be completely white).
Fill a pot with fresh water, deep enough to submerge your colonised substrate (known as a 'cake') in. Open your box and remove the colonised cake - it will be a solid block. Place this in the water and put a couple of plates on top to stop it floating, as you need it to be fully covered in water at all times. Put a lid on the pot to stop dust and flies getting in. Leave your cake submerged like this for anything between 6-24 hours.. depending on how much patience you have! But obviously - the longer you leave it, the better your results will be.
Step 4
Perlite for Maximum Humidity and Hydration
If you didn't opt for the Enhanced version of the kit, skip this step.
Pour your perlite into a strainer and rinse under a tap until it's soaking wet. Then pour it all into the provided XL Grow Tent - don't worry if it's still dripping wet. Please cover your mouth and nose when working with perlite - it's dusty and nasty to work with (take it from us).
Step 5
Place Cake into XL Grow Tent
If you're using perlite, cut a piece of tin foil slightly larger than your cake and place this on top of the perlite so the cake doesn't touch it.
Keep your perlite wet (recommended, but not totally necessary): Perlite can dry out quickly, so every other day, pour some water into your grow tent and mix it around with a clean hand so the perlite becomes drenched. It's okay to have an excess of water in there, and adding a little bit of 3% hydrogen peroxide to the water can help kill microbes. Just be careful the wet perlite never touches your cake - it just sits there, so it can bring a higher risk of contamination.
After your cake is finished dunking, take it out of the water and give it a little rinse under a tap - it's been sitting in its own dirty bath water for up to 24 hours. Allow excess water to drain off and then carefully place it into the XL Grow Tent.
Make sure to fold over the top of your grow tent to keep the humidity in and the dusty nasties out. A little tape might come in handy if it's not staying closed.
Step 6
The best bit... Fruiting your mushrooms!
Maintain a temperature just below your incubation temp for this fruiting stage, around 21C (give or take a couple of degrees) tends to be great for many popular species. When the temperature is right, essential levels of humidity will naturally build up inside the grow tent from the water you just allowed to soak into the substrate.
Mist and fan: Misting 3-6 times a day and fanning is recommended for best results. Don't start misting until at least 24 hours have passed since you dunked, as there will be loads of water in your substrate at this point and you could waterlog it. After that, open the tent, give your cake a fine mist until it glistens, fan in some fresh air (a wave of your hand or a piece of card is plenty) and close it back up. If you notice any excess water, dab it up with tissue paper.
Humidity and FAE (fresh air exchange) are extremely important for pinning and healthy mushroom development, as is temperature and light. They will all need to work in harmony.
We suggest cutting a 1cm slit through both sides of the tent, near to the top and placing an electric fan somewhere in the room on low setting. This will create a gentle air current inside the room which will increase FAE inside the grow tent. Your mushrooms will also need light to grow - we recommend indirect sunlight or a 5000-6500K LED or fluorescent light a couple of feet away.
If you notice the inside of your grow tent looking dry, there are a few things which can cause this: The environment is too cold so humidity is not developing inside your grow tent, the fan is too close, the slits you cut in the tent are too big (cover excess with tape), grow lights are too close and drying out the substrate... Observe what's happening and adjust your setup as required - fantastic results depend on it.
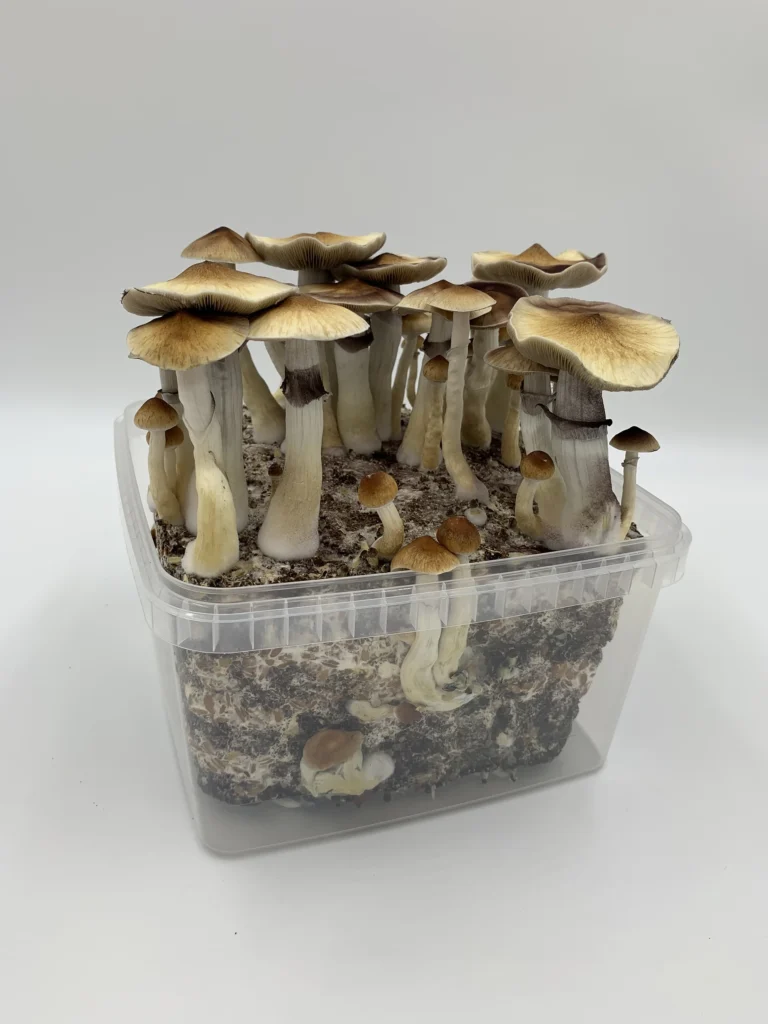
After around 3-7 days you'll begin to see lots of tiny white dots - these are hyphal knots which will develop into primordia, aka mushroom pins... the exciting part! It'll then only take 4-5 days for them to grow into fully mature mushrooms ready for harvest.
During this time, they'll let you know if something isn't quite right - fuzzy mycelium at the base of the mushrooms and/or thin stems are an indication that more FAE is needed so increasing the fan speed or length of the cuts on the tent might be something to try.
Don't worry about any mushrooms growing around the sides and bottom of the cake, you'll still be able to harvest them. If you want to give your mushrooms more room to grow next time, consider using a fruiting chamber.
When the veil beneath one of your mushroom caps is about to tear off, this is when you should harvest your first flush. If you don't get there quick enough, spores will begin to drop from your mushroom caps and make a mess! It's best to cut the mushrooms off with a clean scalpel or knife, you can also just pull them off but be careful not to damage the substrate too much.
After you've harvested all the mushrooms from your first flush, you should dunk your cake again to rehydrate it for round 2! Remember to rinse it and allow excess water to drain off before placing back into your grow tent. It's really important that you dunk your cake between each flush for best results. If using perlite - you should also pour it into a strainer again and rehydrate it whenever you're dunking your cake.
If you've taken good care of your grow kit, you should achieve multiple flushes of beautiful mushrooms before the nutrients are all used up.
Step 7
Happy shroomin' ♡
Thanks so much for ordering our grow kit. We hope you love using it and reap the rewards!
If there's anything you're still unsure about, get in touch through Messages in your account or the chat button at the bottom of any page. We're a friendly bunch!