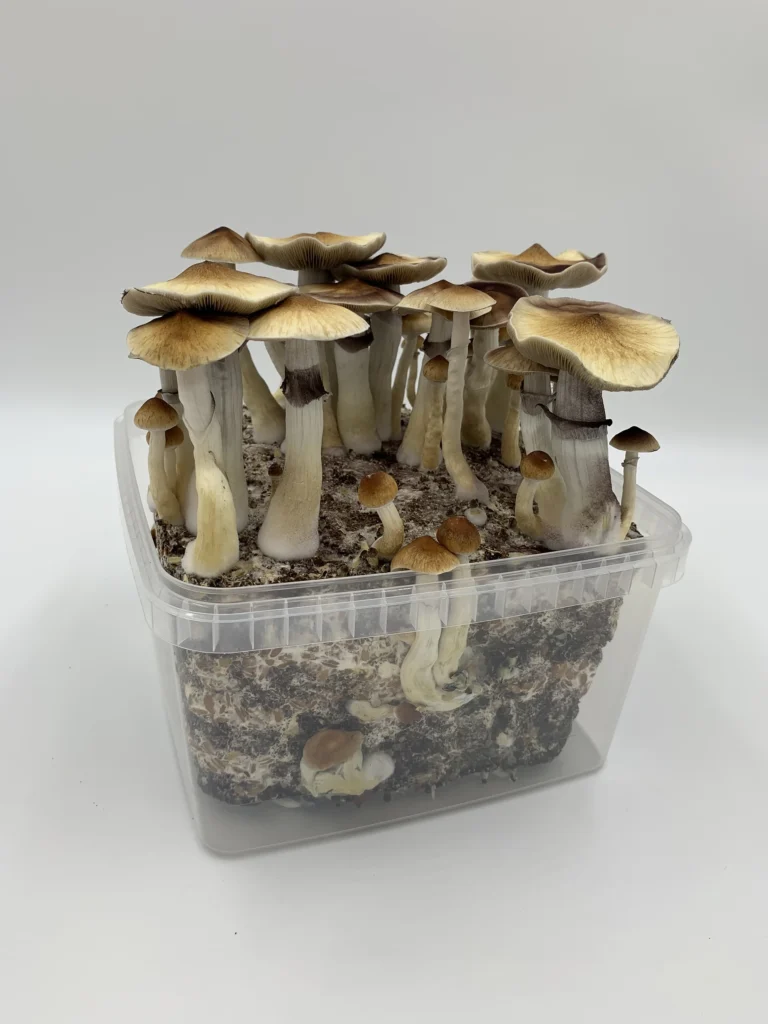
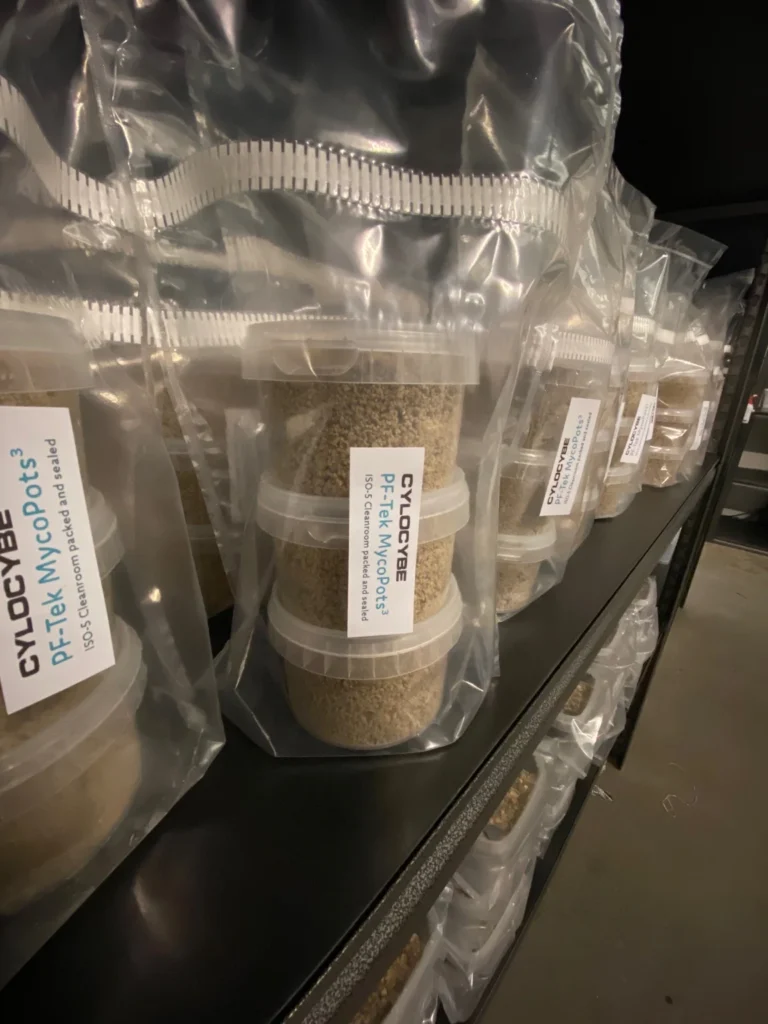
What's in the kit
- 1000ml Sterile Substrate A
- Hygiene Kit: face mask, 2x hand wipes, 1x 70% IPA / 2% Chlorhexidine wipe and 1x spare 18G sterile needle, plus sterile gloves if you picked a glove size
- Peel 'n' Inject Sticker - a polypropylene sticker with extremely high adherence to the polypropylene bag
Required: 6 or 12ml gourmet spore or LC syringe
Step 1
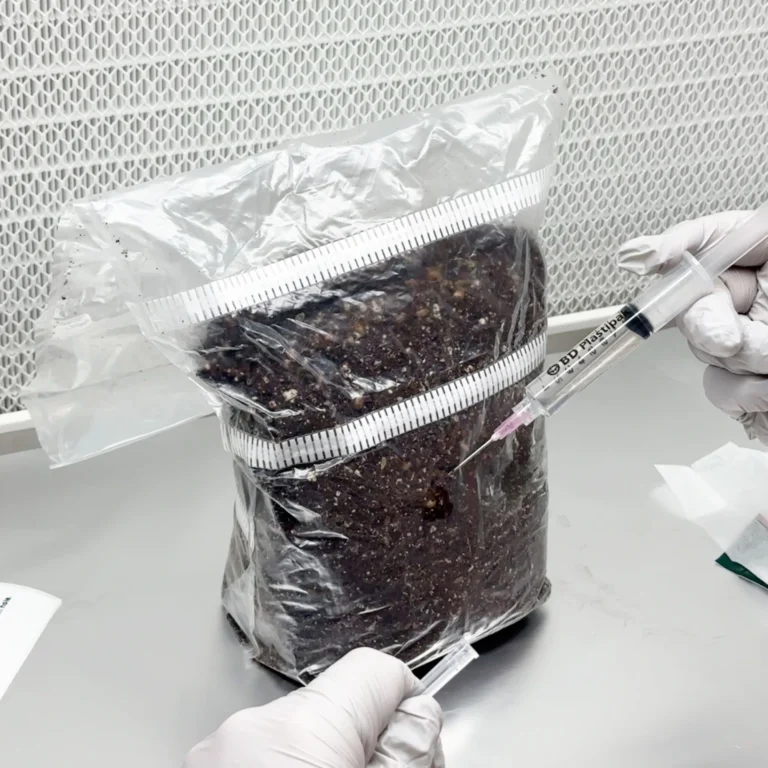
Inoculation of Letterbox Monster
Reducing the risk of contamination is crucial in successful mushroom cultivation, and you can achieve this by working in a small, clean, and draught-free space, ideally using a Still-Air Box (SAB) and taking thoughtful steps to reduce the chance of cross contamination.
Before starting, cleanliness is key. Shower, clean clothes. Your Hygiene Kit contains hand wipes for cleaning your hands and forearms - wipe them for 40-60 seconds, then fit your face mask and gloves.
Next, prepare your syringe by attaching the sterile needle we've given you and have your Peel 'n' Inject sticker to hand. Your Letterbox Monster will be folded in half, so peel back the plastic to reveal a nice clean and crease-free surface, wipe the spot with the 70% IPA / 2% Chlorhexidine wipe for 40-60 seconds, then inject right into the substrate. Inject anywhere from 6ml - 12ml of solution and quickly apply the Peel 'n' Inject sticker over the hole the needle made. Push the sticker down firmly.
Now, you can break up the substrate through the bag so that it falls to the bottom of the bag. It's now just waiting for it to colonise with white mycelium.
Step 2
Colonisation of Letterbox Monster™
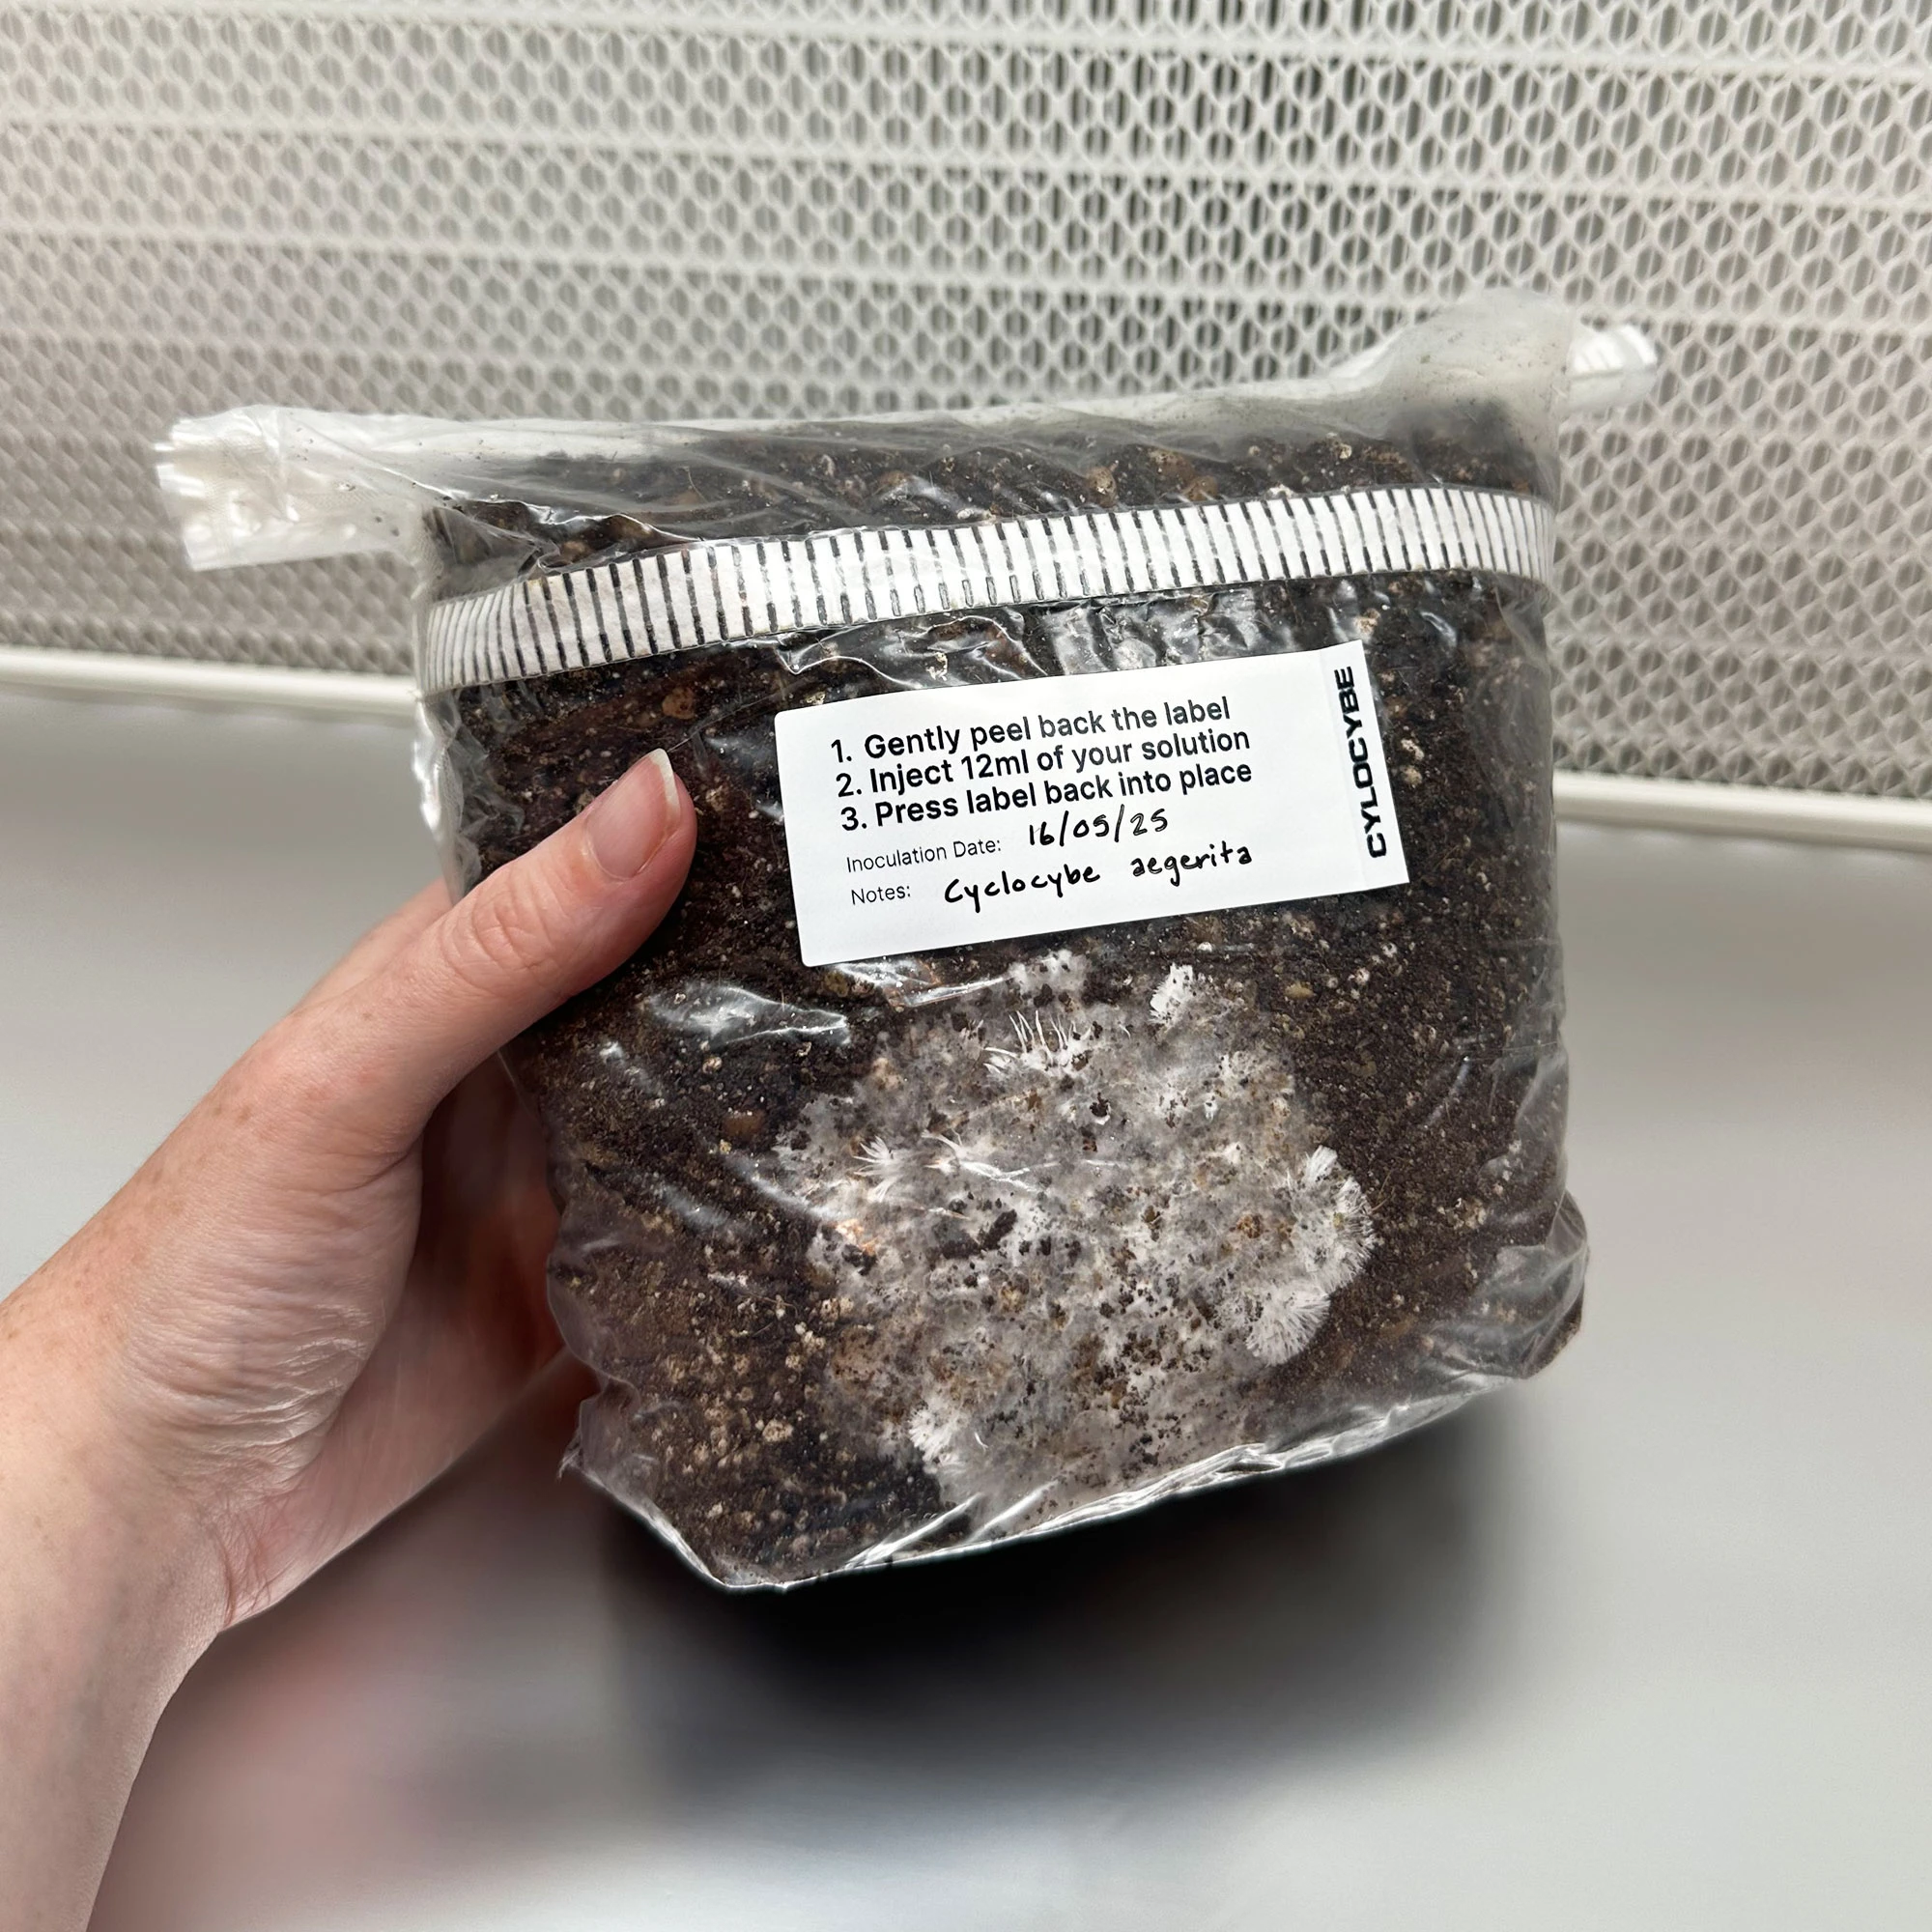 Open the photo full size
The picture above shows Substrate A colonising in a bag - after inoculating the substrate, you'll break it up and sit it vertically like in the picture!
Colonisation Temperatures
Temperature is vital for healthy and fast mycelium growth. Use this table to find the ideal temperature for your inoculation method.
Spore Syringe: ideal temp 23C (give or take a couple of degrees), expected time 10-14 Days (Sometimes takes longer)
AC / LC / G2G: ideal temp 26C, expected time 7-10 Days
For faster mycelium growth with Substrate A: on day 7 after inoculation thoroughly mix the substrate in the bag. Use both hands to rub the bag, breaking the contents and mycelium into a fine, loose crumble. The finer and more evenly mixed the crumble (achieved by repeatedly flipping the bag), the more uniform the mycelial distribution and the faster the colonisation. Do not repeat the step more times than this - repeating it can stall growth. Leave the bag to continue colonising afterwards.
Step 3
Dunking for Humidity and Hydration
When the substrate inside the Letterbox Monster bag has fully colonised (completely covered in white mycelium), you should use a method known in the hobby as 'dunking' to get as much water into the mycelium cake as possible.
There are so many different ways to achieve this hydration, but the easiest is to simply add water to the Letterbox Monster bag. We'd suggest a litre of spring water (but tap can work too). Pour this over the myc cake, weigh it down so it stays submerged (as it will try to float!).
Fold over the top of the bag to keep everything as clean as possible. Leave your cake submerged like this for anything between 6-24 hours, depending on how much patience you have!
After this dunking period, drain the water from the Letterbox Monster bag and give it all a good rinse with clean tap water (spring is fine too, but it's not necessary) and then drain thoroughly as we don't want stagnant water pooling.
Step 4
The Best Bit... Fruiting Your Mushrooms!
Maintaining a temperature of around 21C (give or take a couple of degrees) during the fruiting stage is ideal for best results with many popular species of mushrooms. Essential levels of humidity will naturally build up inside the bag from the water you allowed to soak into the substrate during dunking.
Mist and fan: Misting 3-6 times a day and fanning is recommended for best results. Don't start misting until at least 24 hours have passed since you dunked, as there will be loads of water in your substrate at this point and you could waterlog it. After that, open the bag, give the cake a fine mist until it glistens, fan in some fresh air (a wave of your hand or a piece of card is plenty) and close it back up. If you notice any excess water, dab it up with tissue paper.
Humidity and Air Exchange
Humidity and FAE (fresh air exchange) are extremely important for pinning and healthy mushroom development, as is temperature and light. They all need to work in harmony.
Your Letterbox Monster is double bagged, which keeps the air exchange low while it colonises. Once it's dunked and ready to fruit, cut the top of both bags to release the outer bag, then flip the outer bag over the top of the inner bag that holds your cake - that's what opens up the fresh air exchange for fruiting. Placing an electric fan somewhere in the room on a low setting (but don't go out buying one if you don't already have one) helps too. Even opening a window from time to time can be great for creating some air currents which will help increase the FAE inside the bag.
Light and Environmental Conditions
Your mushrooms will need light to grow. We recommend indirect sunlight or a 5000-6500K LED or fluorescent light a few feet away - if the light is heating the substrate, move it further away.
If you notice the inside of your bag looking dry, it may be due to the fan being too close, or grow lights (if using them) being too close and hot. Observe what's happening and adjust your setup as required. Fantastic results depend on it.
Pinning and Growth
After around 3-7 days, you'll hopefully begin to see lots of tiny white dots. These are hyphal knots that will develop into primordia, aka mushroom pins. It will take 4-5 days for them to grow into fully mature mushrooms ready for harvest.
During this time, they'll let you know if something isn't quite right. Fuzzy mycelium at the base of the mushrooms and/or thin stems are an indication that more FAE is needed. Increasing the fan speed might be something to try.
Don't worry about any mushrooms growing around the sides and bottom of the cake. You'll still be able to harvest them. If you want to give your mushrooms more room to grow next time, consider using a fruiting chamber instead of the bag.
Harvesting and Subsequent Flushes
When the veil beneath one of your mushroom caps is about to tear off, this is when you should harvest your first flush. For best results, you should repeat the dunking process after each harvest. If you've taken good care of your grow kit, you should achieve multiple flushes of beautiful mushrooms before the nutrients are all used up.
Expected Yields
With proper care and optimal conditions, the Letterbox Monster™ can produce impressive harvests across multiple flushes. Remember that each flush typically produces less than the previous one, with the first flush usually being the most abundant.
Step 5
Happy shroomin' ♡
Thanks so much for ordering our grow kit. We hope you love using it and reap the rewards!
If there's anything you're still unsure about, get in touch through Messages in your account or the chat button at the bottom of any page. We're a friendly bunch!